Your resin moulds are quite an investment in your resin hobby so you want to make sure that they last a long time. After you've been resin crafting for a while, you'll start to get quite a collection of moulds. No matter what type of moulds you have, they won't last forever. But if you look after them, you'll get many, many casts from them.
So, let's break this down into the two main types of moulds you'll use with resin:
PLASTIC and SILICONE,
and look at what the best practices are for caring for each type of mould.
Plastic Resin Moulds
Plastic resin moulds are inexpensive compared to silicone moulds but because they are vacuum formed, mould shapes are limited to simple shapes. Because the moulds don't have as much flexibility or stretch as silicone, they need to be wider at the top of the mould or straight-sided to remove resin from them.
The plastic used in resin moulds is polypropylene. This is a type of plastic that resin won't stick to so it's ideal for resin moulds. These moulds are thicker and sturdier than the moulds used for other crafts such as candy making. Plastic moulds made for other crafts are generally not suitable for resin, firstly, because they are made of a type of plastic that resin sticks to and secondly, they may not withstand the heat generated by resin as it cures.
Plastic moulds can easily be damaged so you need to take care when working with them. You might have to twist the mould to release the resin cabochons but you need to be careful not to damage the mould when you push the castings out. Pushing with force will cause a "crease" in the plastic and these types of dents show in the next piece you cast in the mould, as will any scratches, so keep sharp objects away from the cavities of the mould.
Tips for demoulding resin from plastic moulds
1. Spray the Mould with Mould Release
Even though resin moulds are made from polypropylene, I recommend spraying the mould with mould release before casting with resin. You can use either a pressure can or pump spray. This simple step can make all the difference between an easy demould and having a difficult time getting the resin out of the mould. Let the mould release dry before pouring resin into the mould.
2. Wait for the Resin to Cure
Don't try to demould resin from plastic moulds until they have reached "soft cure". This is generally around 24 hours for epoxy resin. Some epoxies take longer and some are shorter but go by what the instructions in your resin kit say.
3. Flex the Mould to Break the Seal
To demould your cabochons or bracelets from plastic moulds, you'll need to flex the mould to break the seal between the resin and the plastic as if you were trying to release ice from an ice cube tray. As the resin starts to release, you'll notice that an air pocket begins to open up between the two and once that happens, just keep working your way around the mould, flexing it as you go until the air pocket is all the way around the resin. You should then be able to press the back of the mould to pop the item out.
4. Tap the Mould on the Bench
If flexing the mould didn't release your casting, you can give it a few short, sharp taps on the bench. This can sometimes release the resin from the plastic. Keep in mind that your mould is plastic and that it can break so don't be over-zealous with the tapping like I did!
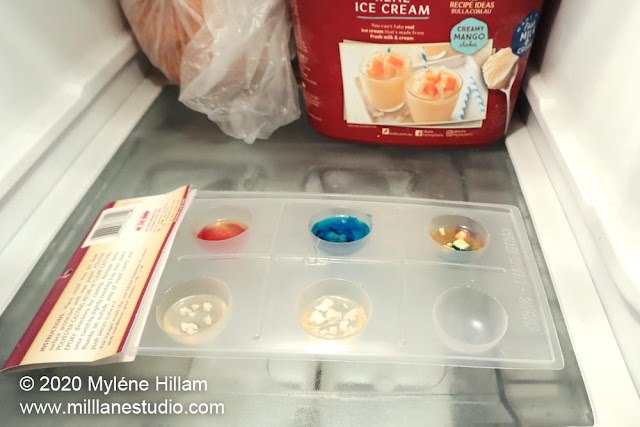
5. Place the Mould in the Freezer
And this last trick is my favourite. Place the mould in the freezer for between 10 and 30 minutes. This causes the resin to contract and in most cases, it releases from the plastic really easily.
Expert tip: Once you've demoulded all your resin pieces from the mould, spray it with mould release BEFORE putting it away. This way, you'll be able to pour resin at your next resin casting session without having to wait for the mould release to dry!
How to Store Plastic Moulds
Plastic resin moulds can warp or bow if they're not stored flat. And I can tell you from experience that a warped mould is very difficult to work with! Once they're bowed like this one, it's impossible to get them flat again.
This pour mould got buried amongst a pile of other things in the heat of summer and it wasn't sitting flat. I soon realised that I'd need to find a better way of storing moulds and this is the system I came up with:
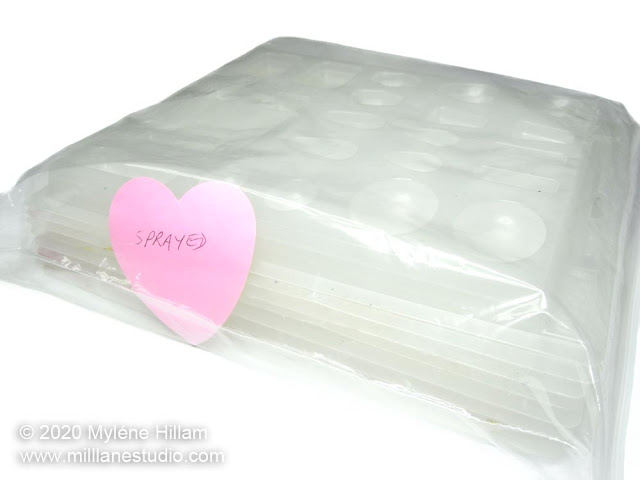
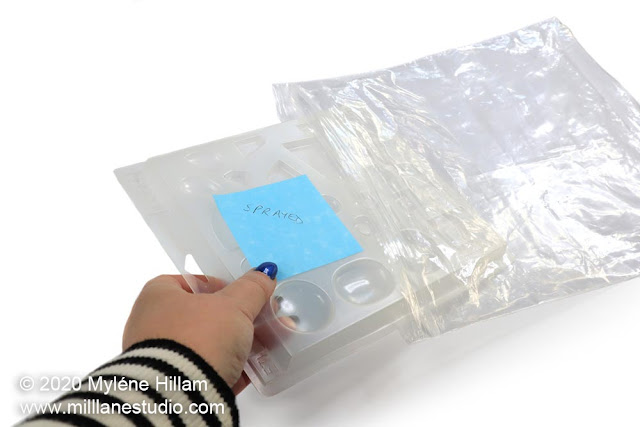
1. After spraying my plastic moulds with mould release, I let them dry and then place them in a zip lock bag to keep the dust and lint away. I also slip a Post-it Note inside the bag that reads "SPRAYED".
For those that are the same shape, I line up the cavities so that the moulds nestle inside each other (these are all placed in a single zip lock bag). The weight of those on top helps keep ALL the moulds flat.
 |
2. I stack them all in layers in a plastic tub with a sheet of corrugated cardboard or matt board between each layer of moulds. Try to group moulds of the same dimensions in each layer.
3. I prefer to store them stacked horizontally but if your storage space dictates that you must store them vertically, sandwich them between two layers of firm cardboard and secure with elastic bands so that they don't bow. For larger moulds where an elastic band would be too tight, use a length of hat elastic and tie it into a knot.
4. Keep them in a cool place, away from sunlight as UV can break plastic down in time.
Using Other Types of Plastic Moulds
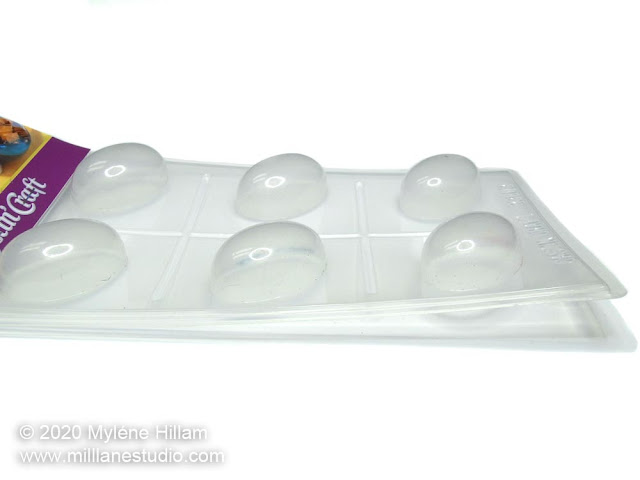
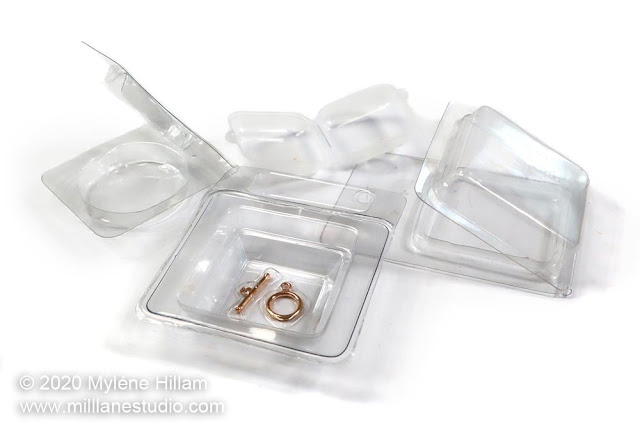
If you decide to take a chance on a plastic soap mould, blister packaging or a chocolate mould, spray it well with mould release. Sometimes, they actually work!
Even so, these types of plastics will only make short term moulds but they can be fun whilst they last. So, hope for the best but be prepared for the worst... if you can't get the resin out of the mould, not only have you ruined the mould, you've wasted your resin too.
Oh, and one more thing about using moulds from the kitchen, once a mould has had resin in it, it can no longer be used for food.
Silicone Moulds
Silicone moulds are the best thing since sliced bread and will take your resin casting to a whole new level! You can buy them or make them yourself and they come in every design you could possibly think of. And yes, you can even use silicone ice cube trays and cake decorating moulds which come in an enormous array of fun designs!
But as with plastic moulds, once a silicone mould has had resin in it, it can no longer be used for food.
Because resin doesn't stick to silicone, it's not necessary to spray moulds with a release before filling them with resin, but it will help condition the mould so you get a few extra pulls from them.
Cleaning Silicone Moulds
Silicone Moulds attract dust, fluff and pet hair. And some of the mix-ins you use, such as glitter, mica powder and metal leaf flakes will also stick to the silicone. You'll need to clean all these things off your moulds before pouring the resin or that stray pet hair will permanently become part of your resin! Adhesive tape will make short work of cleaning the silicone. Just dab a piece of tape across the stray bits and it will clean up your mould in no time. This is my preferred way to clean silicone moulds. For more detailed instructions, see this article on How to clean silicone moulds.
But there might be times when you need to wash them with soap and water; for instance, if you're using your moulds with multiple resin types. Each time you use a different type of resin, say epoxy one day, and polyurethane or UV resin the next, chemical residue is left behind. Although the residues are invisible, they will combine and cause the silicone to degrade faster than if you use only one resin type in each mould, so cleaning away that residue is essential to extend their lifespan.
Washing moulds is simple to do. Just use a mild dishwashing liquid and water and smear it around the entire inside surface of the mould with your hands (avoid using anything abrasive such as steel wool, nylon sponges or toothbrushes as these will all damage the silicone). Wash away the soapy liquid and pat dry with a lint-free cloth. If it's a bangle mould, you may find it easier to leave the mould upside down to drain on the sink. You'll need to allow the mould to fully dry before pouring resin into it.
Things that will Destroy Silicone Moulds
Copious Amounts of Alcohol Ink
The popularity of the Petri Dish technique has given rise to an untold number of torn silicone moulds across the globe. It's a great technique that reveals fascinating hidden worlds inside the resin.
But the enormous quantities of alcohol inks used in this technique will lead to the silicone breaking down very quickly. You can extend the life of these coaster-type moulds by spraying with mould release but ultimately, you will have to replace the mould.
Excessive Heat
Another process that breaks silicone down quickly is the application of excessive heat. A BBQ torch or gas lighter passed quickly over the surface of the resin to pop bubbles won't damage the silicone but using a butane torch (such as those used in resin art) is overkill for small moulds. Silicone moulds can handle being in an oven at temperatures of up to 205°C (400°F) but the heat from the flame of a chef's torch or a butane torch is much higher. Excessively heating the silicone will cause the resin to stick and be impossible to remove from the mould without tearing it.
Resin... Yes, Resin!
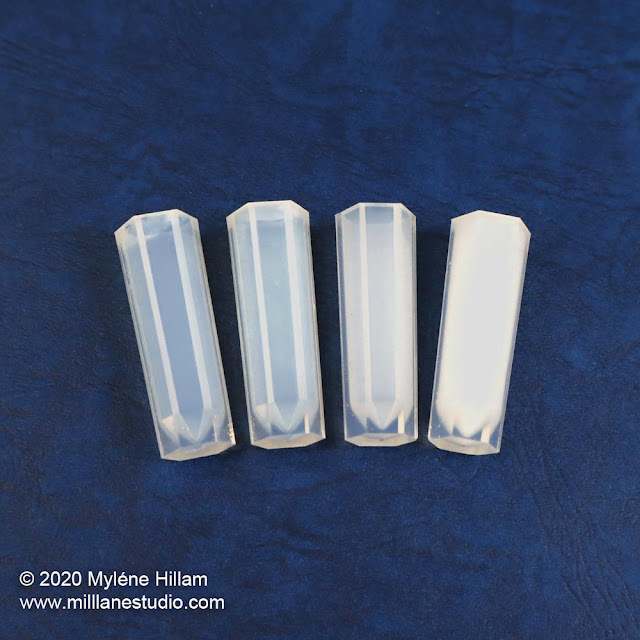
If you've been using UV resin, you might have noticed that the clear moulds don't last forever. In fact, you might have noticed that clear moulds soon turn cloudy or milky white.
That's a combination of the UV resin and the heat from the UV lamp breaking down the silicone. It will happen even if you use epoxy resin in the mould. You can't avoid the heat build up (it's part of the curing process) but you can store the moulds away from direct light when they're not in use so that you don't unnecessarily expose the moulds to UV light. Store them in a box, a drawer, or anything that will keep them from being exposed to sunlight.
Regardless, at some point in time, you will need to replace your silicone moulds.
As silicone moulds begin to deteriorate, you might notice some of these signs:
- The mould surface becomes really smooth to the touch, instead of having that "grippy" feel about it
- The detail of the mould begins to feel hard instead of springy to the touch
- Resin doesn't release easily from the silicone even though it is cured
- Some of the silicone comes out with the resin or the silicone tears as you try to demould it (this mould is DEAD!)
At that point, you might get one or two more pulls from the mould if you spray it with mould release before filling it with resin.
How to Demould Resin from Silicone Moulds
When it comes to demoulding resin from silicone moulds, you just need to gently pull the silicone back from the resin all the way around the mould. For open-backed moulds, that will be easy. But some moulds are a little trickier to get the resin out of, like the super popular cylinder and wand-style crystal moulds. A little bit of liquid soap and some water to lubricate the top of the mould will break the vacuum seal between the resin and silicone and make the resin slide right out. Watch this short video to see how to demould resin from slender moulds in action.
Pin This!
'Til next time.....

If you can't get enough of My Tutorials and you want even more inspiration, click here to find my books and printable pdfs






No comments
Post a Comment