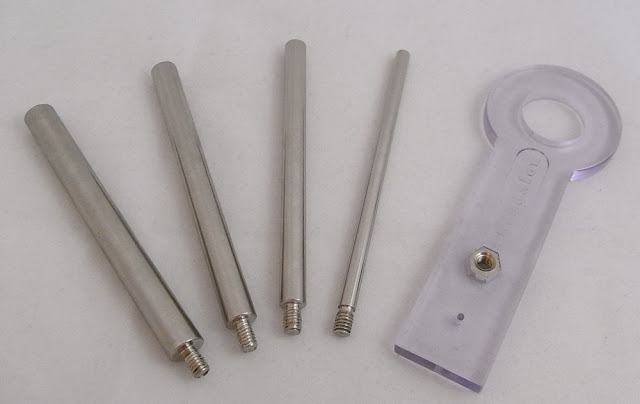
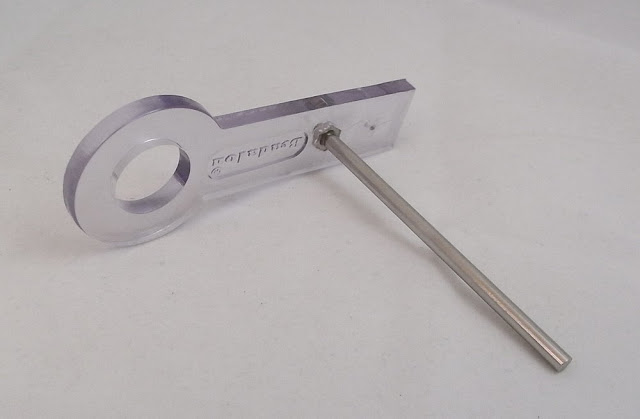
 This jump ring maker is from Beadalon. It makes (from left) 8mm, 7mm, 6mm and 4mm. It's also available in 16mm, 14mm, 12mm and 10mm and there is an oval jump ring maker available too.
 I thought I'd add a tutorial on how to make your own jump rings too. It's not a difficult thing to do but sometimes it's helpful to have pictures. The advantage of making your own is being able to choose the gauge of the wire as well as the diameter of the rings and of course, you can choose a colour to match your project!
 First, gather what you need: wire, flush cutters and the jump ring maker. For making jump rings, you must use flush cutters rather than wire cutters so that you get a flat cut across the wire and not a pointed cut. Choose the mandrel according to the size jump ring you need for your project and screw it into the base.
Begin by inserting the end of the wire into the small hole
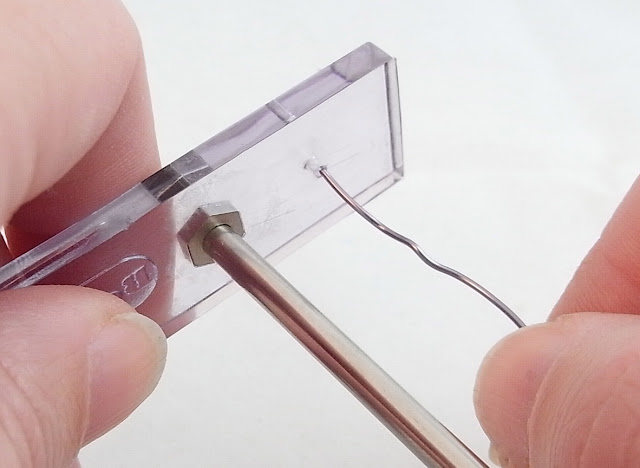
and then bend the tail over so that it's secure.
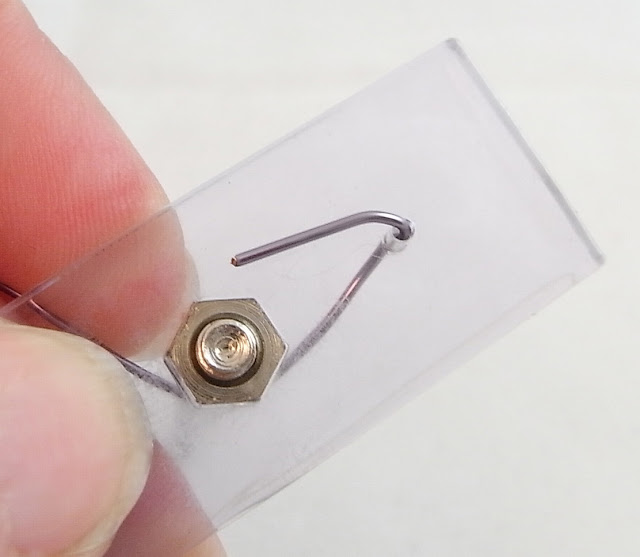 Next, place your finger into the larger hole. Hold the mandrel and the wire in the other hand and begin to wrap the wire around the rod beginning close to the clear base. As you wind, keep the coils close together so that your jump rings will be uniform in shape.
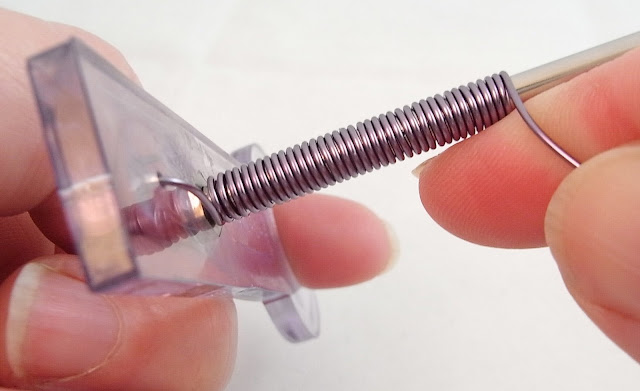
Once you've formed a coil, cut away the roll of wire.
 Straighten the tail you placed through the hole in the beginning
 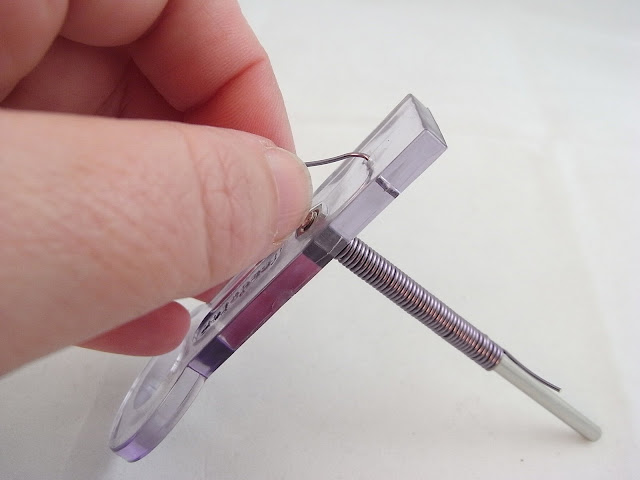 and slide the coil off the end of the mandrel.
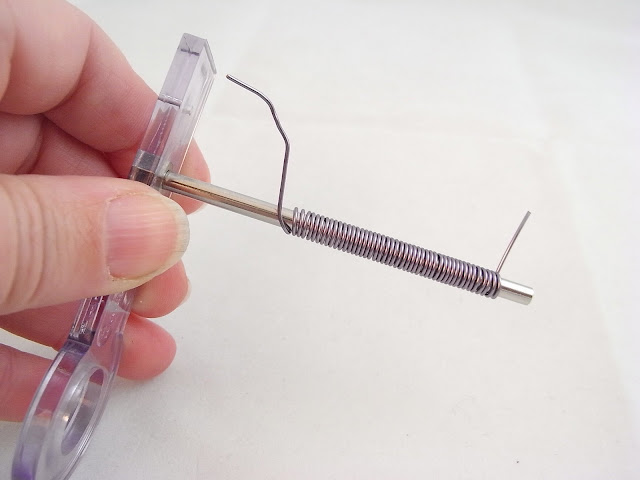
OK, so now you've got a length of tightly coiled wire, how do you turn that into jump rings?
This is where the flush cutters come into their own. They will leave a nice flush cut on one side of every cut you make.
To begin with, trim away the tail from the coil.
 Cut the rings from the coil one at a time.
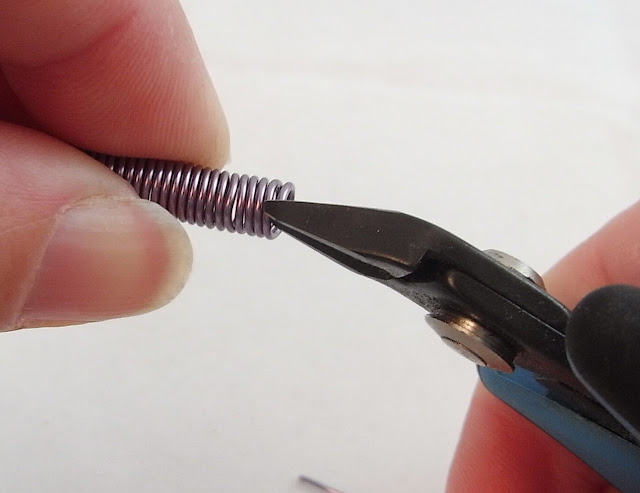

Notice that one side is flush but the other isn't.
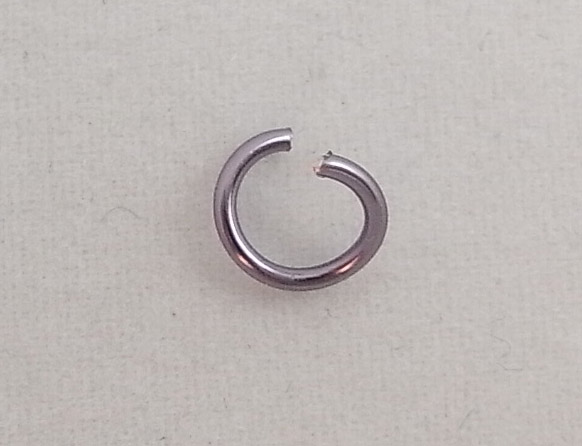 You'll need to trim the opposite side of the ring in the same way so that it too has a nice flush cut. Use a pair of flat pliers to hold the ring or if you prefer hold it between your thumb and index finger.
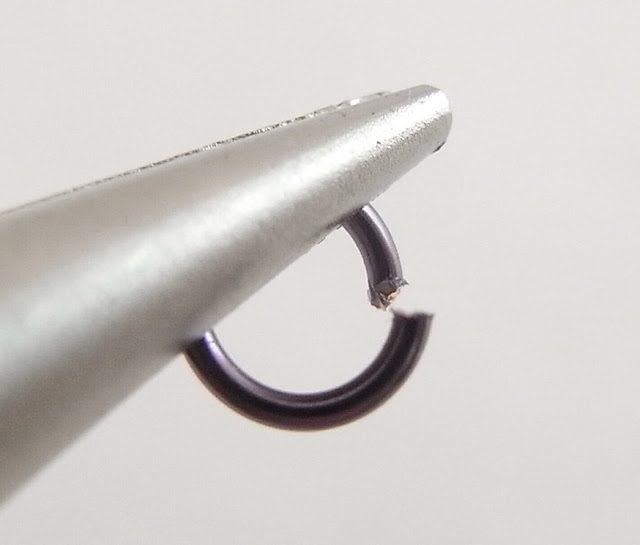 Place the flat side of the flush cutters against the jagged edge of the jump ring and cut.
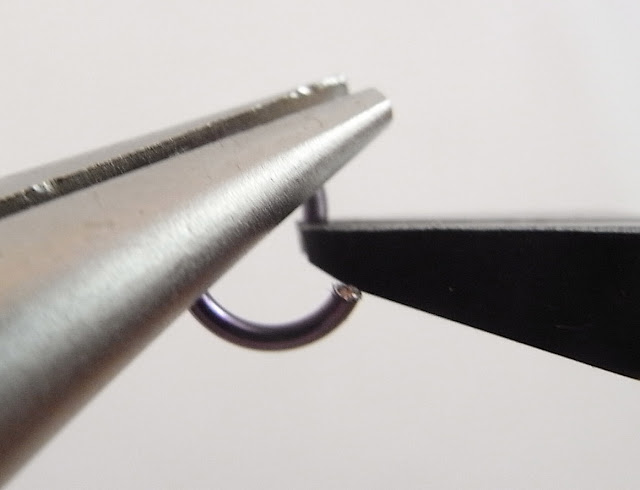 If necessary, nip away any burrs that might be left.
Trimming both ends flush like this will give you very neat jump rings that butt together really well making the joins much less conspicuous.
I often make a coil much larger than what I need especially when I'm working with gold or silver and I cut off only what I need for the project. The rest I place in ziplock bags for the next time I need jump rings of that size and colour.
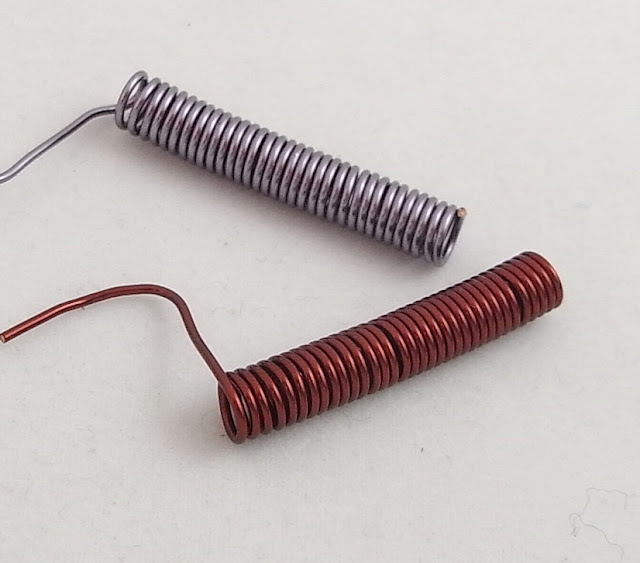
You can also use a jeweller's hack saw, but you will actually slice away a portion of the jump ring when you cut it and when it's formed into a ring its internal diameter will be slightly smaller than the mandrel you formed it on. So take this into consideration if you need your jump rings to be the exact size of the mandrel.
You might also enjoy this related post:
How to make triangle jump rings
Pin it for Later!
'Til next time...




Thank you for the pics! I use different size knitting needles to make my jumprings, I'd love an oval jump ring maker, I think they are the best. I usually use two knitting needles to make those, side by side. Slippery but it works!! I like the "tidying up of the other side" of the jump ring bit! Makes perfect sense, now!
ReplyDelete