The ones given to attendees are purely functional, and frustratingly, I always find mine turns itself back to front so that when you meet someone and they look down at your name badge all they see is the back of it. It doesn't seem to matter which way you wear it, it always flips itself over again. Not surprising really, as they are secured by just one point at the top of the badge so no amount of fiddling with it will prevent this phenomenon from happening. But this show, I'll be wearing one that is a lot less likely to flip over; it will be attached by the two top corners and it's made from a sturdy Kumihimo braid.
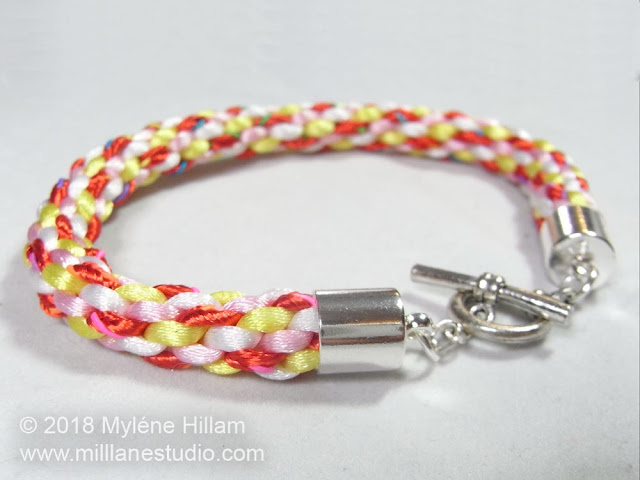
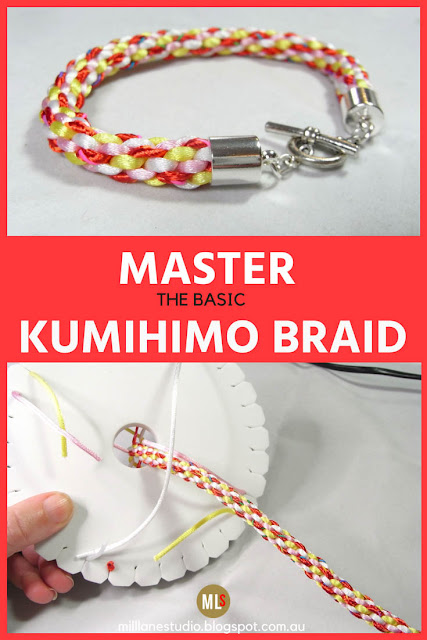
And whilst you might not have the need of a lanyard, this particular braid is also really suitable for jewellery making so let's get to and make a Kumihimo bracelet.
You'll need four 1 metre (39") lengths of rat tail cord in your choice of colours and a Kumihimo Disk.
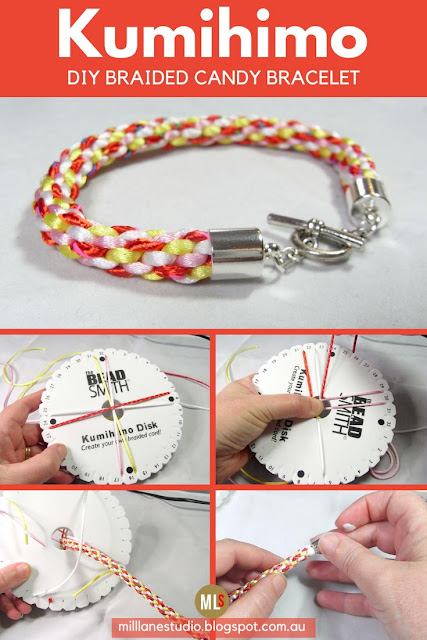
 Find the middle of the first length of cord and place it across the hole in the middle of the disk and then place the cord into the slot on the left hand side of the dot at the top of the disk. Pull the cord firmly and place the other end into the slot to the right of the bottom dot. Repeat with the other cords until the disk looks like the photo.
 Now it's time to begin the braid. There are just three actions involved:
Step 1: Hold the centre of the cords with your right thumb and with your left hand, lift the bottom left cord out of its slot....
 and place it into the slot to the left of the cord at the top of the disk. You now have 3 cords at the top and 1 cord at the bottom.
 Step 2: Now, switch hands and place your left thumb over the centre and using your right hand, lift the cord at the top right of the disk....
 and place it into the slot at the bottom right of the disk.
 Step 3: Rotate the disk counter clockwise.
And that's it. Continue with these three simple steps and you will see the braid begin to emerge from the bottom of the disk.
 Continue until you have used up all the cord and you will have a braid approximately 20cm (8") long.
 Tie the pairs of cord together so that the braid doesn't unravel when you take it off the disk.
 You'll need approximately 18cm - 19cm (7" - 7 1/2") to make a bracelet. Measure your wrist to check how long you need to make it and then subtract about 3/4" for the toggle closure.
Use a needle and thread to stitch through all the cords at the desired length and then wrap the thread 3 or 4 times around the braid to bind it all together.
 Trim the cords closely to the binding.
 Use a good dab of glue on the ends and slide the braid into a snug fitting cord end. A strong glue like Weld Bond or 5-minute epoxy are my go to adhesives.Once the adhesive has dried, add a jump ring and two or three chain links to the bar and then connect the jump ring to the cord end. Attach the toggle to a jump ring and connect to the remaining cord end.
And there you have it - a simple and fun bracelet that can be made in any colour you like.
Now that you've got the hang of the basic round braid, check out the Kumihimo Bracelet Collection at AllFreeJewelryMaking.com where you'll find Kumihimo Bracelet ideas for every season of the year!
And for more ideas from this blog, see this related post:
Beaded Leather Kumihimo Bracelet with Sliding Knot

If you can't get enough of My Tutorials and you want even more inspiration, click here to find my books and printable pdfs


No comments
Post a Comment