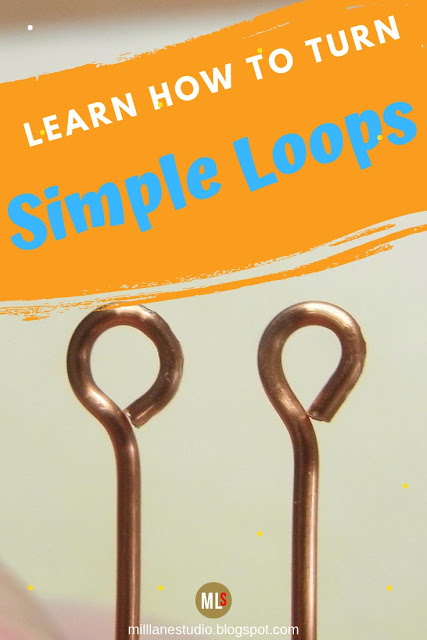
If you're a jewellery maker, then learning how to form a loop will be a mainstay of your jewellery making skills. Mastering this technique will ensure your jewellery is strong and secure.
There are a few different ways to make eye loops but today I'm going to show you the method I use and the two slightly different loop shapes it will give you.
Buy yourself a spool of inexpensive, 20 gauge copper wire so that you can practice without ruining all your eye and head pins whilst you're perfecting your loops. Copper wire is soft and malleable which will make practising easy. Avoid hard wires like steel as they can be difficult to work with. You can use 22 gauge wire if you have it on hand.
Here's what you'll need:
- Soft 20 gauge wire
- Flat nose pliers or Chain nose pliers
- Round nose pliers
- Flush cutters
Begin by cutting a 5cm (2") length of wire. It doesn't have to be exact.
Place the flat nose pliers approximately 1cm (3/8") from the end of the wire. In this photo, that's the left hand edge of my pliers which is 1cm from the end of the wire.
Bend the wire at this point at a 90° angle. I prefer to use the flat nose pliers because they give a sharper bend.
Switch to the round nose pliers. Hold the pliers in your dominant hand and grip the end of the wire in the pliers so that you can only just see the tip of it.
Rotate your wrist inwards as far as it will comfortably turn.
Release the wire from the pliers. Rotate your wrist so that it's facing upwards and regrip the wire at the same position in the pliers as before. Rotate your wrist inwards again until the loop is completed.
This forms a nice round loop. But you might prefer your loops to have slightly straighter sides. You can do that by making some minor adjustments when you're forming the loop.
Bend the wire as before but this time make a 45° bend.
Grip the end of the wire in the pliers making sure that approximately 1mm (1/32") is visible beyond the jaws of the pliers.
Make the loop following the instructions above.
You can see that this loop is more straight sided.
Here's the two loops alongside each other for comparison.
If you close your loops really well, you're jewellery will be really secure and you won't have problems with pieces becoming unhooked.
Pin this for Later!
'Til next time.....

If you can't get enough of My Tutorials and you want even more inspiration, click here to find my books and printable pdfs


No comments
Post a Comment