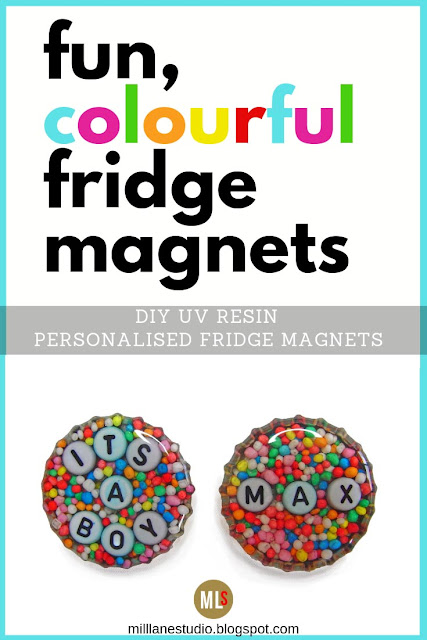
But this is a project that would also be great for kids to get involved in too. It can be a way of helping on older sibling adjust to having a new baby in the house. Or they can make a set for their grandparents who will love such a thoughtful, handmade gift. With close supervision, even young, school-aged children can make these!
For this project, I've used bottle caps, Magic-Glos UV resin, alphabet beads and 100s and 1000s. I've also tried this project using Alumi-UV as well as the inexpensive Chinese UV resins and they were successful too. The last 2 photos in the post are using those UV resins.
How to Make UV Resin Magnets
Start by removing the liner from the inside of the bottle caps so that you have a flat bottom to work with - or you can be forgetful, like me, and not do that! It just means that you won't have as much depth to work with and you'll need to cover the liner with a layer of resin to create a flat surface for the next step.Curing the Resin
Place the piece under a UV lamp to cureFor Magic-Glos, you need a 9amp lamp for about 10 minutes
If you're using Chinese UV resin, use a 36W lamp
And for Alumi-UV, you need a 40W lamp for 20-30 minutes.
If you don't have access to a lamp, place your bottle cap in the sun for 10 minutes to cure it or until it is no longer tacky.
Once it's cured, add more resin, the alphabet beads and lots and lots of 100s and 1000s.
Because I forgot to remove the line, the top of the letters are sitting above the resin. That's OK if you don't mind it being a bit bumpy but you do need to make sure that all of the 100s and 1000s are covered so that moisture doesn't get in and dissolve them - especially if you live in a humid climate like me.
In this case, I wanted a smooth, domed top so I added another layer of resin to cover the beads and 100s and 1000s and then cured it.
How to Attach the Magnet
To turn the bottle cap into a magnet, I like to use a strong adhesive like 5- minute epoxy. Mix it up according to the directions (you can see how to do it properly in this post: how to mix 5-minute epoxy) and apply to the non-magnetised side of the magnet. Position it on the back of the bottle cap and you're done. Isn't this a fun and easy project?!!Fixing Bubbles
But even when a project is as easy as this one, things don't always go to plan. I ended up with a huge bubble on the second one which made its way to the top whilst the resin was curing. By the time I discovered it, it was too late to pop it.But all is not lost. I drilled the bubble open into a big hole.... sometimes, things have to get worse before they get better!
And then I filled it with another layer of resin. All fixed! You can't even see where the bubble was! Here's the finished pair of fridge magnets.
Why not make up a whole set? Here's some other ideas to get you started:
- Baby Girl/Baby Boy (good to use if bub's name is too long to fit)
- For longer names, spell baby's name out by putting each letter in a separate bottle cap. Use bigger letters for more impact
- Baby's birth date
- Miracle
- Angel
- Precious
- Blessing
- Newborn
- Cutie Pie
- Bundle of Joy (do one word on each bottle cap!)
- The name grandma will be known by
 |
| Alumi-UV Resin |
 |
| Chinese UV Resin |
Pin this Project!
'Til next time.....

If you can't get enough of My Tutorials and you want even more inspiration, click here to find my books and printable pdfs


No comments
Post a Comment