OK, a peace symbol is definitely not my style and even the colour is out of my comfort zone. But....... CHALLENGE ACCEPTED!
Teaming it with a leather lace band is a pretty hip look and so on-trend at the moment, but that's been done before and it seemed like a cop out to go down that road - this is a challenge after all!
However, I did think it would make a great bracelet so I pulled out lots of green beads to see what I liked and this is the selection I made.
I love the handpainted square and round beads in the bottom row: the flowers are the pefect motif for a peace bracelet. And a couple of hearts won't be out of place either.
I started off by cutting a 45cm (17 3/4") length of 0.5mm Stretch Magic. Even though 1.0mm fits comfortably inside these beads, the elastic needs to run through the beads twice so the narrower elastic works better for this design. It's always a good idea to pre-stretch the elastic which will help minimise overstretching once it's been worn a few times, so I gave it several good tugs before placing a bead stopper on one end.
My stringing pattern is really simple: 4 milky white and 4 green flat ovals with the colours alternating. This is the underneath section of the bracelet.
All the pretty beads are strung in the top section, along with the challenge bead.
On the other side of the bracelet I've strung a second underneath section, in reverse order to the first one. So now I've got two underneath sections. You'll see why in the next few steps.
By threading the end of the elastic through the beads in the top section....
and exiting out the bottom of the second square bead, the bracelet is now circular.
Now it's time to remove the bead stopper from the other end and thread it through the last three beads in the top section, creating a double strand of beads along the bottom of the bracelet.
Now the two ends are together and ready to be tied off.
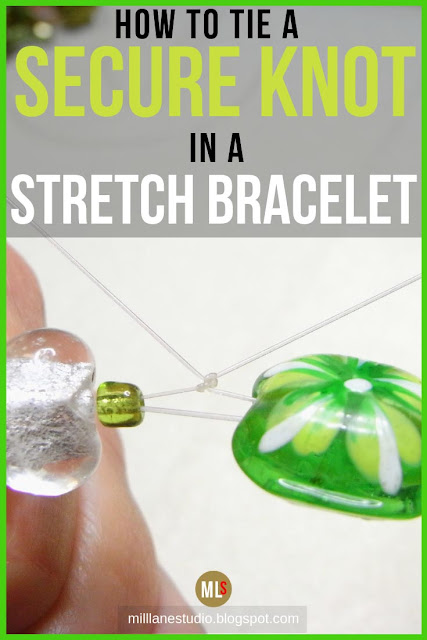
I usually tie a half knot followed by a surgeon's knot, stretching both the cord and the knot tightly in between every knot I tie. I tied an extra double knot on this one to make sure it would hold.
And even though my knot is tight, I like the added security of a dab of GS-Hypo cement.
With the adhesive dry, I trim away the ends.... and slide the knot up inside the hole of the square bead where it can't be seen.
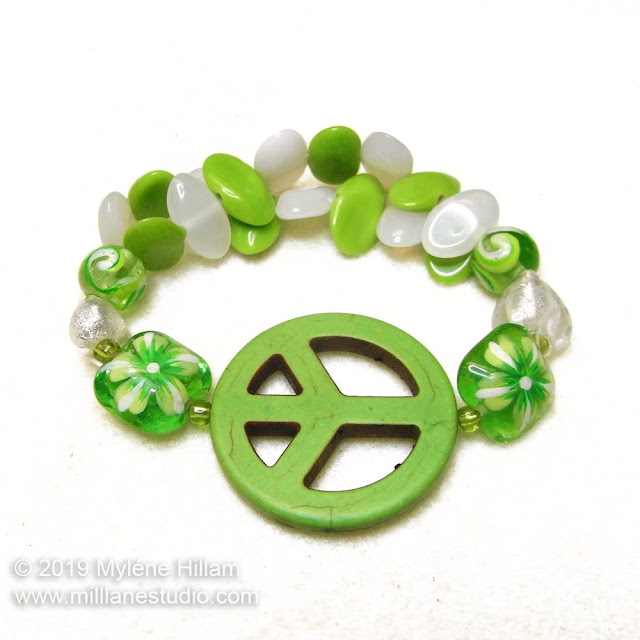
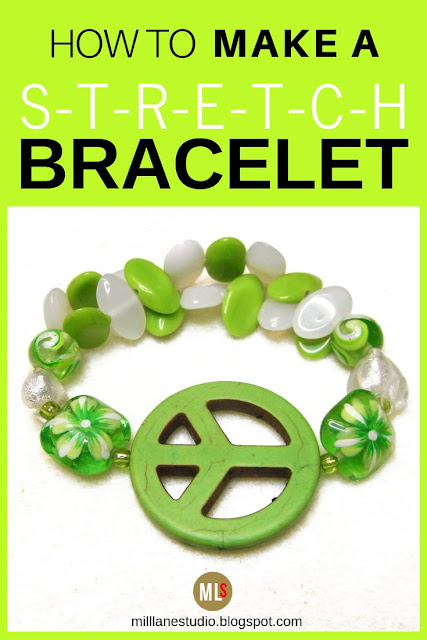
And here's my Flower Power Peace bracelet. I kinda like it...
and I might even be enticed to wear it so I think that I can say, Challenge successfully completed!
Pin this Idea!
'Til next time.....

If you can't get enough of My Tutorials and you want even more inspiration, click here to find my books and printable pdfs


No comments
Post a Comment