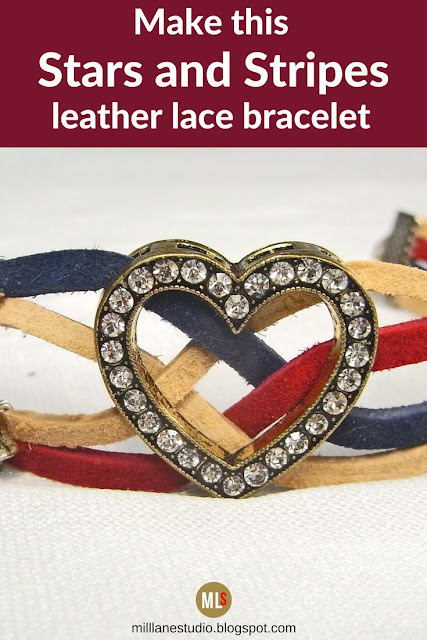
Red, white and blue....Stars and Stripes. Today I'm putting my spin on Stars and Stripes for the 4th of July.
Silver Creek Leather recently added some new colours to their Sof-Suede colour range and two of them are just perfect for the nostalgic feel of this bracelet: Cadet Blue and Cranberry. Combined with Sandy Beach, and you have a soft vintage look.
To make this bracelet, you'll need:
Silver Creek Leather Sof-Suede Lace: Cadet Blue, Cranberry and Sandy Beach (Michael's is also carrying these new colours)
Brass and Crystal Heart Slider (Hobby Lobby)
2 13mm silver ribbon crimps
10 6mm silver star beads
28g silver wire
adhesive tape
2 4mm silver jump rings
Silver press stud clasp (aka hitch and ball)
Tools: flush cutters, chain nose pliers
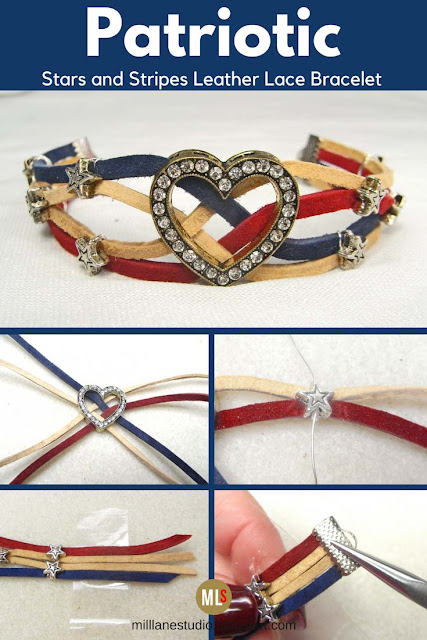
Cut two 8" pieces of Sandy Beach and one piece each of Cranberry and Cadet Blue. Thread one of the Cadet Blue pieces through the heart slider diagonally from the top left hand hole, down to the second bottom hole on the right.
Insert the Sandy Beach lace from the middle hole on the left through the bottom hole on the right.
Now repeat on the other side using the second piece of Sandy Beach lace. It should pass under the Cadet Blue lace and over the first Sandy Beach lace.
Insert the Cranberry lace in through the middle hole on the right hand side of the slider, over the Cadet Blue lace and under the Sandy Beach lace, exiting from the bottom hole on the left.
Cut a 15cm piece of wire. Flip the heart slider over to the back. On the right hand side, wrap the wire around the Cranberry and Sandy Beach laces so they lie side by side.
Bring the wires to the front and insert the wires through a star bead. Wrap the wires around the back of the laces and bring them back to the front again. Insert them through the star bead and then repeat twice more so that the star bead is secure.
Trim each of the wires close to the bead. Repeat this process with the Cadet Blue and Sandy Beach laces.
Add additional stars evenly along the Sof-Suede so that it looks like this.
Align the laces so they are sitting flat and place them on a piece of adhesive tape.
Trim the ends evenly to the length you require for your bracelet. Remember to take into account the space the clasp will take up.
Place the ribbon crimp over the ends and press the teeth into the suede lace until the laces are secure. Repeat at the other end of the bracelet.
Attach one half of the clasp to each end of the bracelet with the jump rings.
Happy 4th of July to all my American friends!
Pin this project!
'Til next time.....

If you can't get enough of My Tutorials and you want even more inspiration, click here to find my books and printable pdfs


No comments
Post a Comment