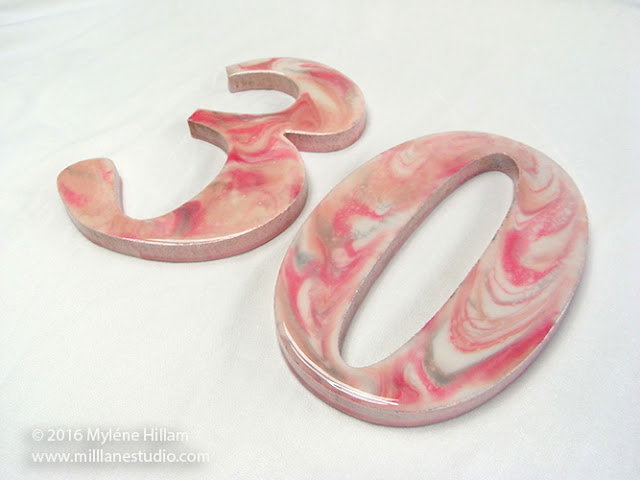
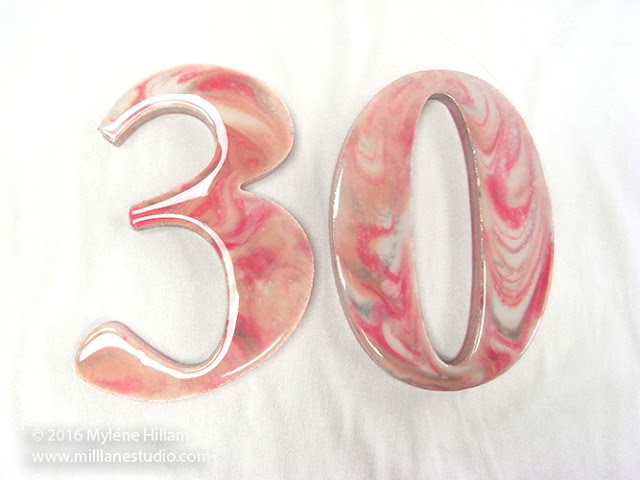
This faux marble technique was developed by the clever folks at ETI more than 20 years ago and I promise you that it is super easy and gives marble-ous results!
Here's what you'll need:
- ETI Envirotex-Lite resin
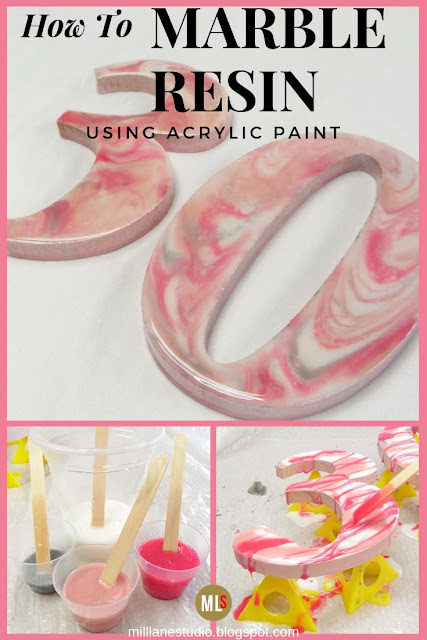
- Acrylic paint in four coordinating colours. I chose titanium white for the background, light pink as the main colour, bright pink and silver as my accent colours.
- Wooden numbers - 17cm (6 3/4")
- Paint brush
- Painter's Pyramids
- 8 oz plastic measuring cup with brushes
- Disposable plastic party cup
- 3 30ml (1 oz) graduated measuring cups
- wooden stir sticks
- Painter's plastic drop sheet
- Disposable Nitrile gloves
- Rubbing alcohol in a spray bottle (or a gas lighter) - for popping bubbles
Can you Colour Epoxy Resin with Acrylic Paint?
The short answer is, YES, you can. But....
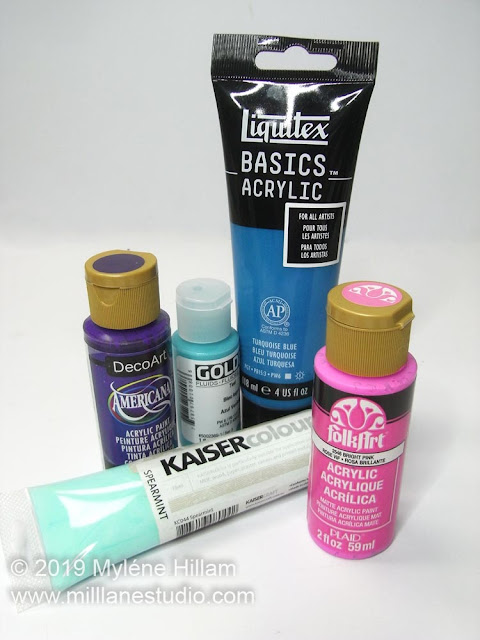
Not all acrylic paints work well in epoxy resins. Each resin has it's own formulation, as does each acrylic paint and they're sometimes not compatible. But the large colour range available makes it worth trying them out. Before colouring all the resin you've mixed, test your chosen colours in a small amount of resin first. If any of the paints don't mix into the resin properly and you get granules of undissolved pigment through the resin, then make a note (keep a journal of what you've tried). It doesn't necessarily mean that those paints don't work in epoxy, it just means that they didn't work in the brand of epoxy that you used. Keep in mind that those same paints might work marvellously in a different brand of epoxy. In general, I've found that the more expensive artist quality paints have worked really well in epoxy resin but I've also had success with some, but not all, of the cheaper craft paint brands.
Prepping the Surface
Before starting, cover your work space with the painter's drop sheet.Apply a coat of paint to the front and side edges of the numbers to seal the wood. Choose a colour that will work with the colours you've chosen for the marbling. This base colour will give the marbling colours a little more oomph!
Tip: After creating a few projects with this technique, I found that there was a much easier way to clean up the drips that collect on the back of the project than babysitting the resin and brushing them away as they form. Instead, tear short strips of painter's tape and apply to the edges of the back of the number before you mix the resin.....
And then, trim the tape as close as you can to the edge. Now continue on with the tutorial.
Once the resin has completely cured, you can carefully remove the tape and then apply a coat of paint to the back for a really neat finish.
Voilà!
Now.... back to the nitty gritty of the tutorial.
Elevate the numbers on the Painter's Pyramids.
Mixing and Colouring the Resin
From here on in, you'll need to wear gloves. Measure out the two parts of resin in equal quantities. You'll need approximately 90ml (3oz) of mixed resin for numbers of this size. It might seem like a lot of resin for a small project but to achieve the marble finish, you need twice as much resin as you'd normally use.The mixing instructions in the kit are really good and for best results, you should follow them to the letter. But basically, mix the two parts together for two full minutes, scraping any unmixed resin off the sides of the cup a couple of times.
Transfer the resin to a second cup.
And then mix for a further minute. This double mixing method gives reliable results so it's worth the extra effort.
Before adding colour to the resin, make sure you read the note about using acrylic paints in resin at the beginning of the tutorial.Pour 7.5mls (1/4 oz) of mixed resin into a small cup and 15mls (1/2 oz) into each of the other two small cups. Add a small squirt (just a few drops) of colour into each one. Only use as much paint as it takes to make the resin opaque. If you over-do the paint, the resin will not cure properly.
See how to clean your cups for re-use in your next project here!
Mix the paint into each cup of resin thoroughly.
You can see that the colour in these four pots is only just opaque. You don't want to add any more paint than is necessary. But if you're colours aren't quite opaque enough, just add a little more, one drop at a time.
Creating the Faux Marble Effect
Pour the base colour across the numbers. You want the resin to flow over the sides.Drizzle the main feature colour across the numbers at an angle.
Use a wooden stir stick to drizzle thin strands of the two highlight colours across the numbers diagonally.
Very lightly draw the brush across the surface of the resin randomly. This will open up and soften the marble patterns in the next step.
Now comes the best part - creating the marbling. It's messy.... but fun!
Pick up the numbers and tip them sideways so the colours begin to run into each other and drip off the edge. Tilt the number in a different direction to give the marbled pattern more movement. You can continue tilting the number in any number of directions until you are happy with the look. I only tilted the numbers in two directions. If you don't like the look you've achieved, you can start again by adding more of each of the colours.
Use the paint brush to wipe away the drips underneath. Use the excess to paint resin onto the sides and underneath.
Spritz the surface lightly with rubbing alcohol to pop any bubbles that have surfaced. If using a gas torch, pass the flame briefly across the surface of the resin until the bubbles pop.
You will need to keep wiping the drips away for a couple of hours if you didn't tape the back of the numbers. If your numbers will also be seen from the back, whilst still wearing gloves, pick the numbers up carefully by the edges and spread the resin across the back to smooth it out. Place them back onto the Painter's Pyramids. Dispose of the brush.
Then set the numbers aside in a dust free area to cure for several hours. The manufacturer's directions tell you how long it will take according to the temperature in your work space.
I'm sure you'll agree, this is absolutely marble-ous!
Like this technique? Pin it!
'Til next time.....
If you can't get enough of My Tutorials and you want even more inspiration, click here to find my books and printable pdfs





No comments
Post a Comment