Here's what you'll need to make your own shawl pin:
Straight hat pin with hook - 5 1/2"
Swarovski bicones - 5 x 6mm Emerald; 4 x 4mm Erinite
Swarovski briolette - 3 x Erinite
8 x 3mm silver spacers
Curved silver flower connector 34mm x 17mm
5 x 6mm silver jump rings
4 silver head pins
Tools: flat nose pliers, round nose pliers, chain nose pliers, memory wire shears
String the Erinite bicones on head pins and bend each one at a 90° angle.
Turn a simple loop.
Hook a jump ring through the central loop of the flower connector and slip on a briolette. Close the jump ring. Attach a jump ring and briolette to the lowest loop of each of the two outer flowers.
Open the loop on each of the bicones. Attach one on either side of the central briolette. Hook the other two through the middle loop of the second and fourth flowers.
Hook a jump ring through the outermost loop of each of the first and fifth flowers and close them.
String two spacer beads, an Emerald bicone and the jump ring on one end of the connector. Then string two spacer beads, three bicones and two more spacers.
Slide the jump ring on the connector along with the beads close to the end of the pin so that you can hook on the second jump ring on the connector.
String a bicone and two more spacers.
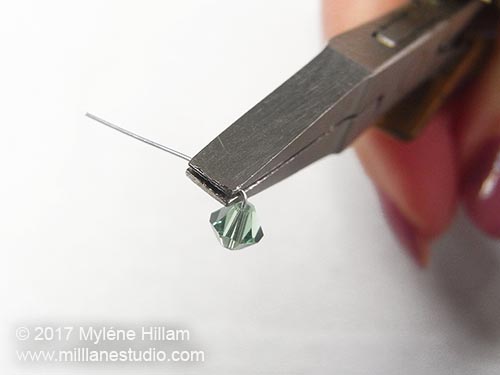
Now it's time to turn the straight pin into a kilt pin. In the next few steps, you'll create the loop in the pin. The trick here is to make sure that you have enough length left in your pin to be able to close the catch. Mine only just closed which means I made my loop just a fraction too large. To make sure yours catches easily, grip the wire in the jaws of the pliers just a little higher than the photo below shows so that your loop will be smaller.
With the hook of the hat pin facing upwards, grip the hat pin next to the last bead.
Wrap the wire over the top jaw of the pliers back towards the hook.
Remove the pliers and reposition them so that you are now gripping the wire above the bend you just made. Wrap the wire around the bottom jaw of the pliers so that you have formed a complete loop. The wire will now be pointing away from the hook.
Remove the pliers again and insert the top jaw of the pliers into the loop. Bend the wire back over the jaw towards the hook to complete the pin. If you've used a longer pin and it's too long to hook under the catch, then check out this blog post which shows how to shorten the pin.
Pin it to your favourite scarf or shawl and step out in style - it's just the thing for St Patrick's Day!
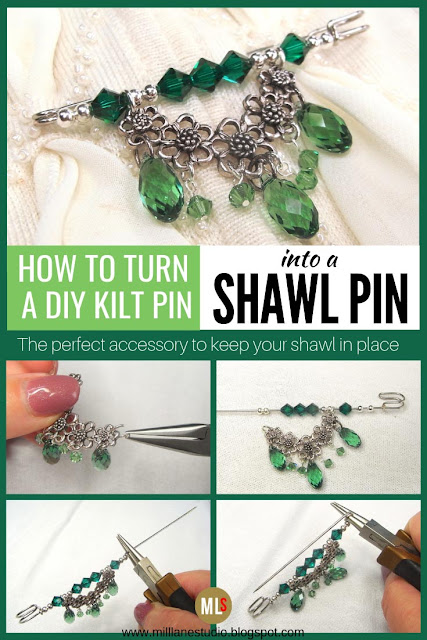
Pin this Project!
'Til next time.......

If you can't get enough of My Tutorials and you want even more inspiration, click here to find my books and printable pdfs


No comments
Post a Comment