My hands get some pretty rough treatment in the studio and because they are always in front of the camera, I get a regular manicure to keep them looking good. You've probably noticed that my nails are always a different colour!
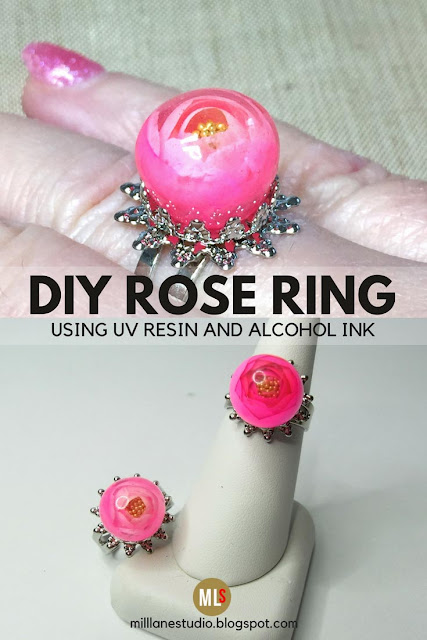
Whilst visiting my nail technician last week, I noticed she had some gorgeous 3D bubble roses on her nails and I realised immediately that this was something that we could do with UV jewellery resin. It's just a matter of building up layers of resin and painting each layer with colour. In the nail world, they paint the rose petals with gel nail polish but I've used alcohol inks which worked just fine.
So here's what you'll need to make your own.
- UV resin
- Pinata Alcohol inks. I used Señorita Magenta and White (you need the white to give the pink some opacity and some depth).
- Claro Extender (for when the alcohol inks dry on the palette)
- Gold Bead Caviar (aka microbeads)
- Tool to build the bead on. I used a ball tool and had difficulties removing it as you'll see below, so I recommend you use the needle tool
- UV Nail Lamp (at least 9 watt)
- Paint brush
- Paint palette
- Rubbing alcohol
- JoolTool or metal file to grind the bottom of the bead flat
- a filigree ring base
- 5-minute epoxy adhesive
- chain nose pliers
How to Make a UV Resin Rose Bead
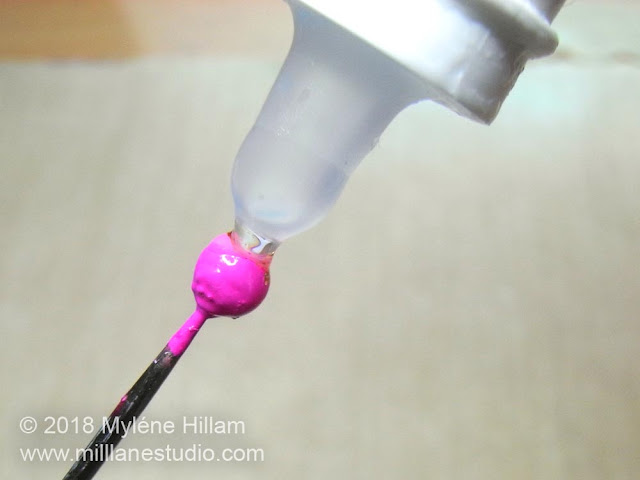
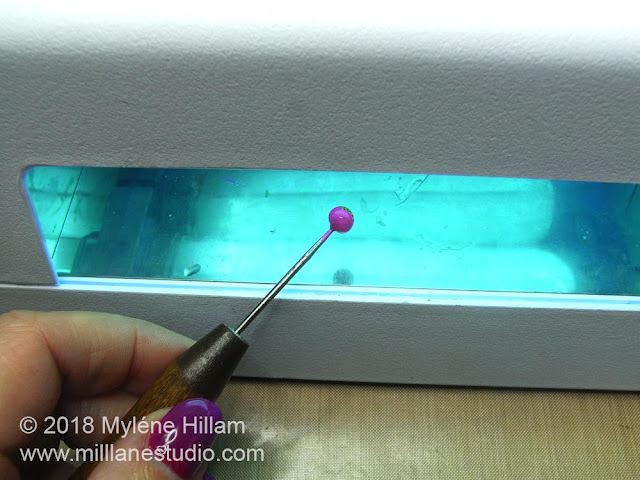
Start by applying a bead of resin to the tip of the ball tool.Place it under the UV lamp to cure. You'll need to rotate the tool constantly so the resin doesn't drip or cure lopsided. This will take several minutes depending on your nail lamp.
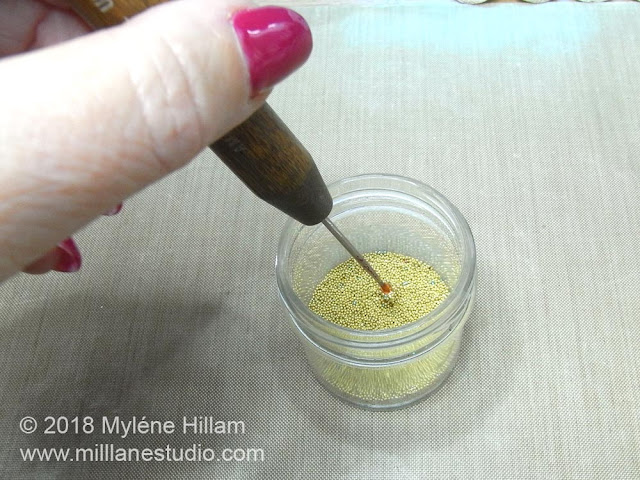
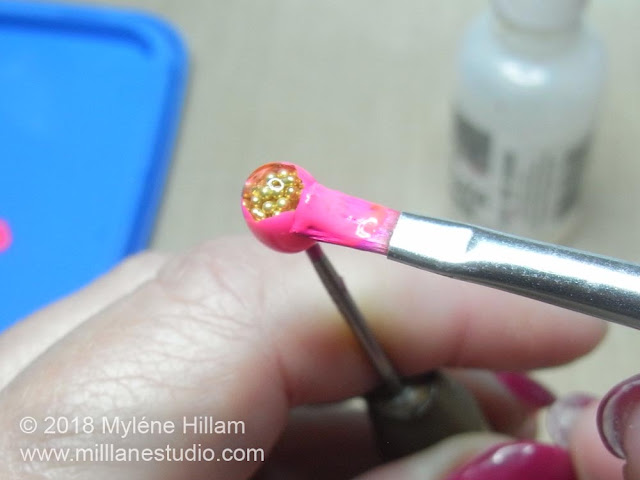
Apply another layer of resin over the cured resin and dip the ball into the bead caviar. This will become the stamens of the rose. Then place it under the nail lamp again, constantly rotating it until the resin has gelled and the beads are adhered.
Apply a coat of resin over the bead caviar and cure it under the nail lamp, rotating it until the resin gels.
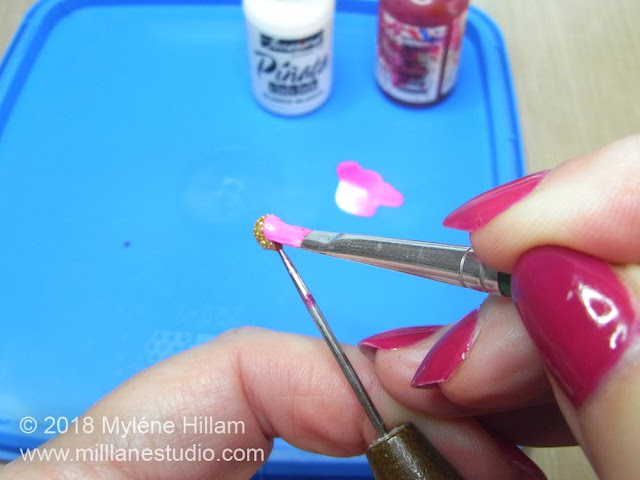
Squeeze a drop of white and pink alcohol ink onto the palette and dip your brush into each colour. Paint three of four petals around the resin ball. You want them to cup the caviar a little.
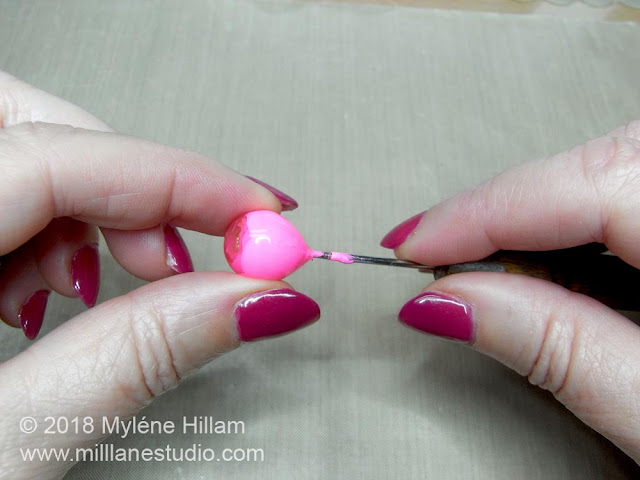
Once the alcohol ink has dried, apply a coat of resin to the whole ball and cure as before. If you apply a thick layer then it will take more time to cure. If your layer is thin, then you'll need to apply a second coat.
Paint another layer of petals on the resin, lining them up in between the petals of the first layer but so that they sit slightly lower.
Continue adding layers of resin and alcohol ink until your bead is the size that you want.
The bead should be easy to remove from the needle - just give it a twist and pull it off.
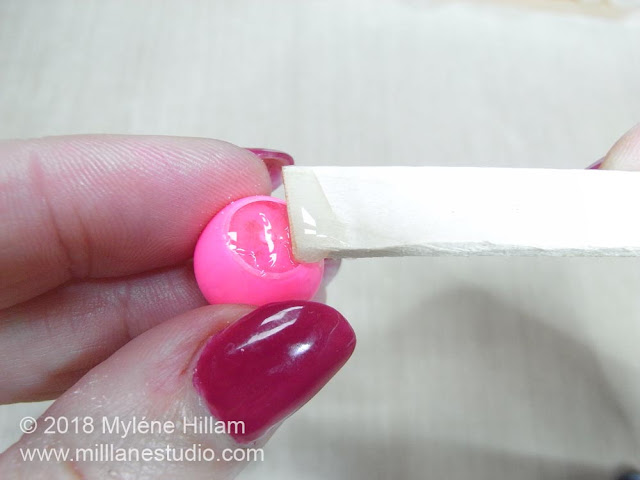
Now you need to flatten the bottom so that it will sit on the ring base. I used the JoolTool with a grinding disk because it removes the excess material so quickly and you can see what you're doing as the ninja disk rotates. I absolutely love this tool! But you could just as easily use a hand file to get the same result.
Turn the Resin Rose Bead into a Ring
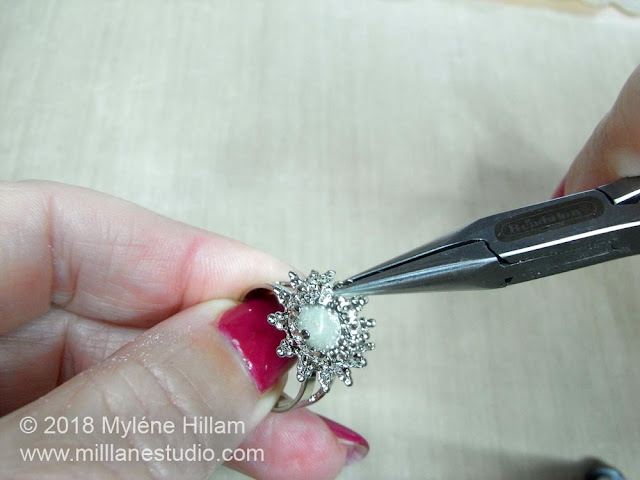
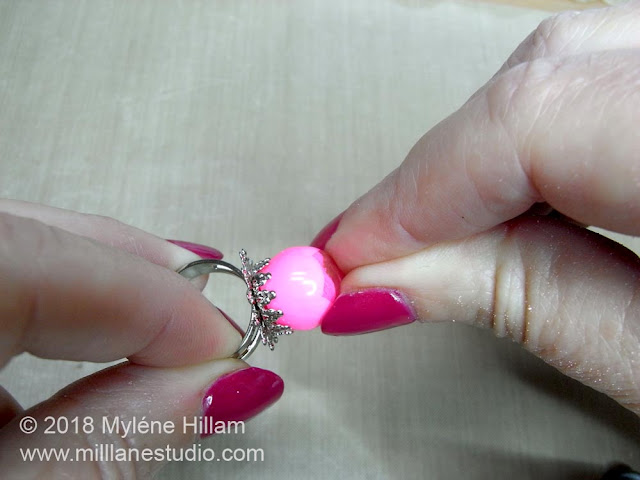
Use the pliers to open out the prongs on the ring base a little so that the bead sits snugly.Mix up the 5-minute epoxy and apply some to the base of the bead.
Press the bead into the ring base and hold it in position for a couple of minutes.
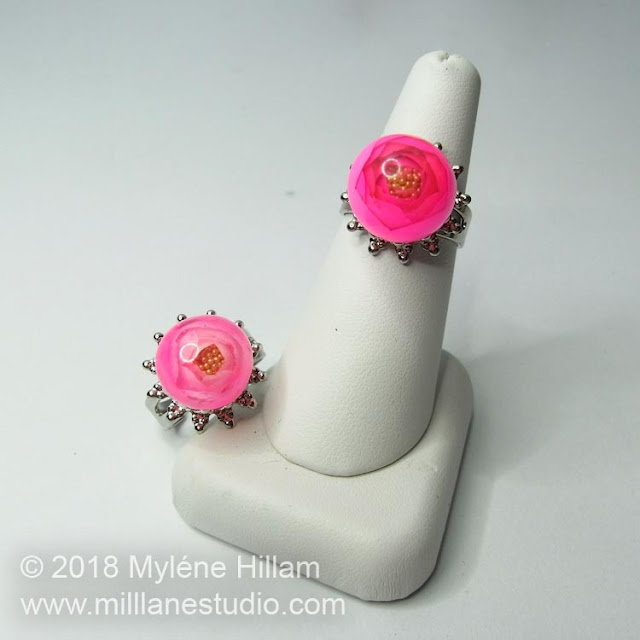
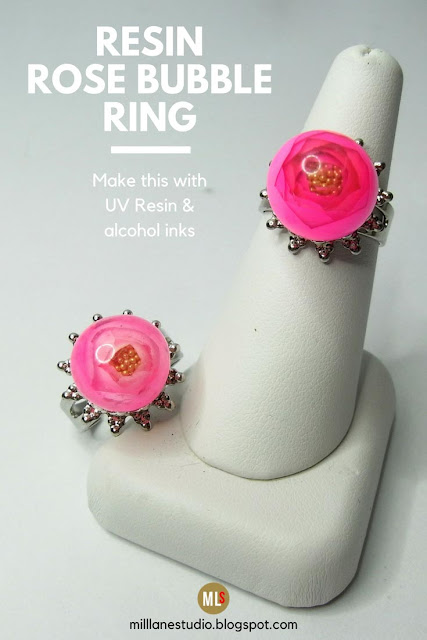
And now your Resin Rose Bubble ring is ready to wear!
Avoid this mistake!
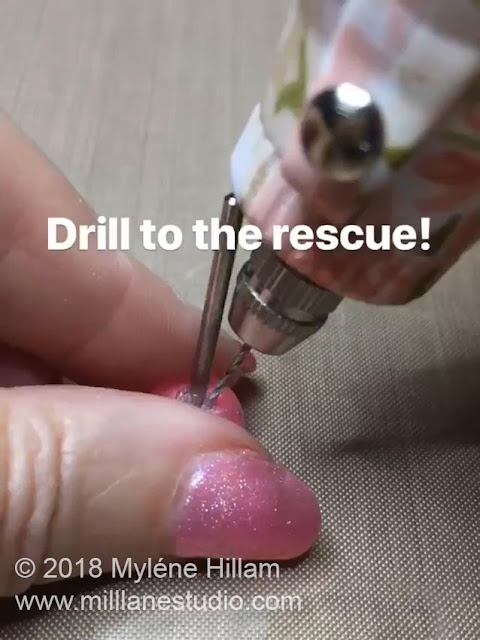
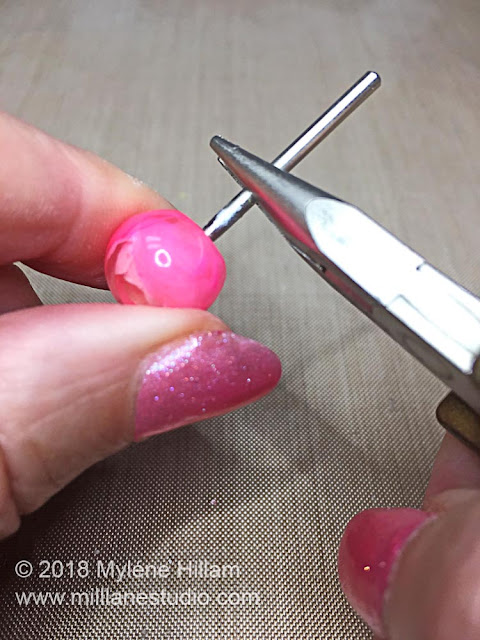
For the first bead I made, it seemed like a good idea to form the UV resin around the tip of a ball tool but that made it very hard to remove. To get it off, I had to use the grinding attachment on my Her Embosser Tool to create a flat base around the base of the bead.Then I had to switch to the drill to drill out the resin from around the spindle of the ball tool. I was lucky that the spindle came out of the ball tool so that I could drill almost vertically down to the ball tip without the wooden handle getting in the way.
Then I had to grip the shaft with a pair of pliers whilst pulling and wiggling the bead until it came free.
It took a fair bit of effort so I highly recommend building your bead on a needle tool!
Like this project? Pin it for Later!
'Til next time.....

If you can't get enough of My Tutorials and you want even more inspiration, click here to find my books and printable pdfs









No comments
Post a Comment