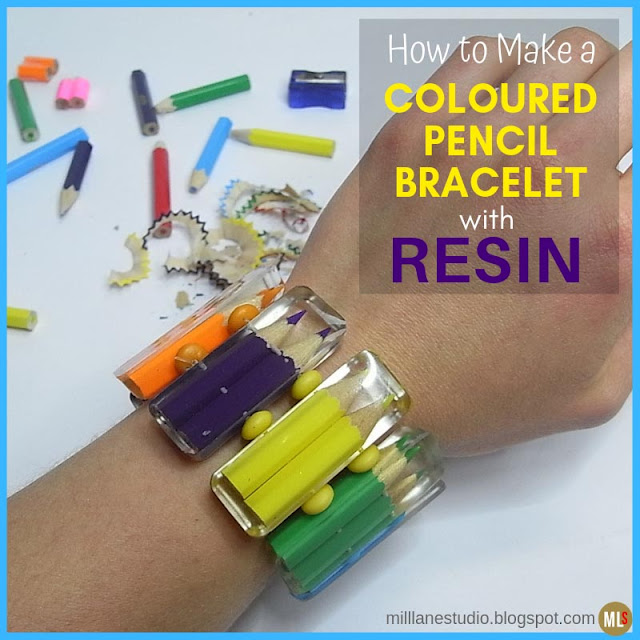
This stretch bracelet would make an A+ gift for a teacher too! It's a great way to use up your child's coloured pencil stubs at the end of the school year. Or you can just buy a cheap set of children's pencils from the dollar store.
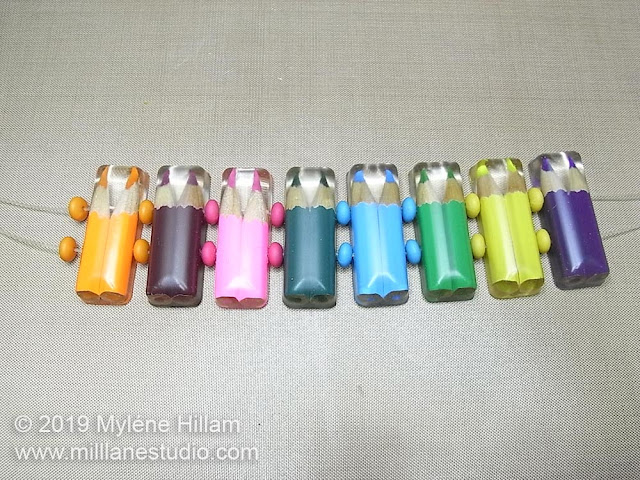
You'll need two pencils for each bar of the bracelet. I made eight bars for this one, which makes a small bangle when strung with 5mm beads. For a larger bracelet, make extra bars or add more beads in between. If you only have one of these jewellery moulds, you'll need to make the bars over several days. But if you're impatient like me, buy some extra moulds so you can make all of them at once!
Here's what you'll need to make the Coloured Pencil Resin Bracelet:
Castin'Craft EasyCast Epoxy resinCastin'Craft Mold Release and Conditioner
ETI Plastic Jewelry Mold - 11 shapes (buy extra moulds to make casting faster!)
Coloured Pencils
BBQ torch
Drill with 1mm drill bit
Coping Saw
Utility knife
Pencil sharpener (to sharpen pre-loved pencils)
Graduated plastic measuring cups
Wooden stir sticks
Disposable gloves
Ruler
Permanent marker
Adhesive tape
You'll also need:
1mm Stretch Magic Beading Elastic
Coloured beads of your choice (1mm hole or larger)
G-S Hypo Cement
Scissors or wire cutters
Prepare the Pencils and the Mould
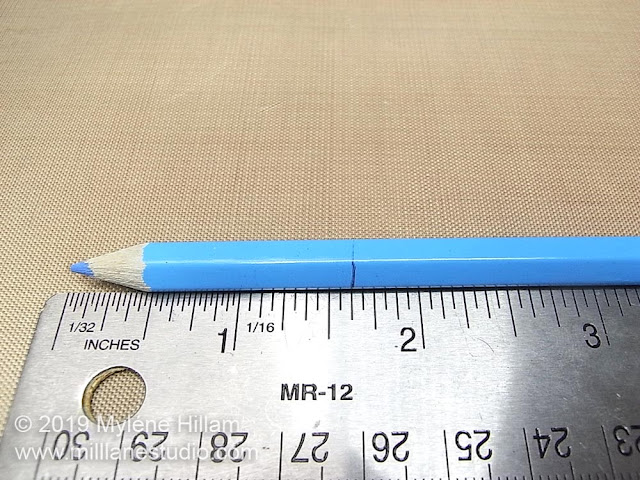
Place a mark on each of the coloured pencils 1-5/8" from the tip. Tape the two pencils together with their marks lined up.Pro tip: Centre the mark you made on the pencils on the tape. This will help prevent the pencils from chipping or splintering as you cut them.
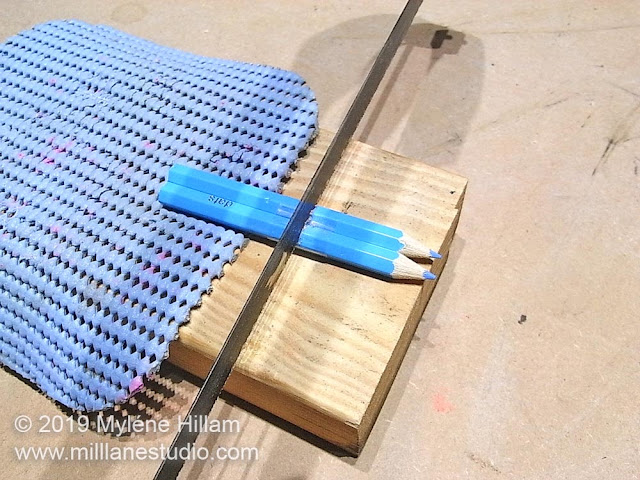
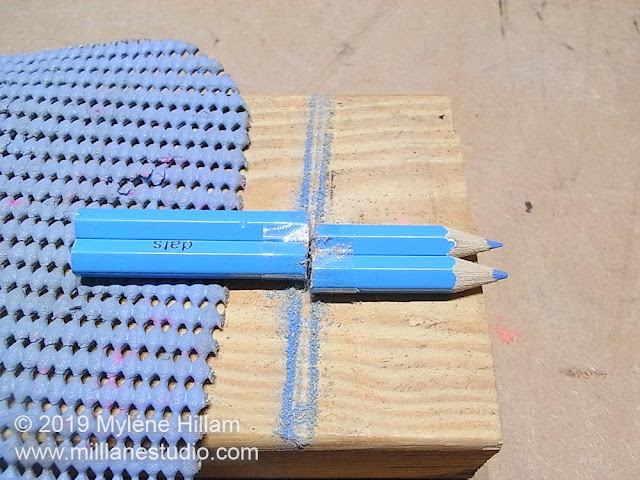
Cut them on the line with the coping saw. Take your time and cut through them slowly.
Pro Tip: Place the pencils on a block of wood with a non-slip shelf liner underneath them. This will help stabilise them so they don't roll around as you cut them.
Spray the mould with Mold Release. I like to give it a much heavier spray than what is suggested on the bottle and I use a tissue to mop up the excess liquid and then wipe that all the way around the inside of the cavity. I really want to make sure these pop out easily. And then leave the mold to dry completely.
Mixing and Pouring the Resin
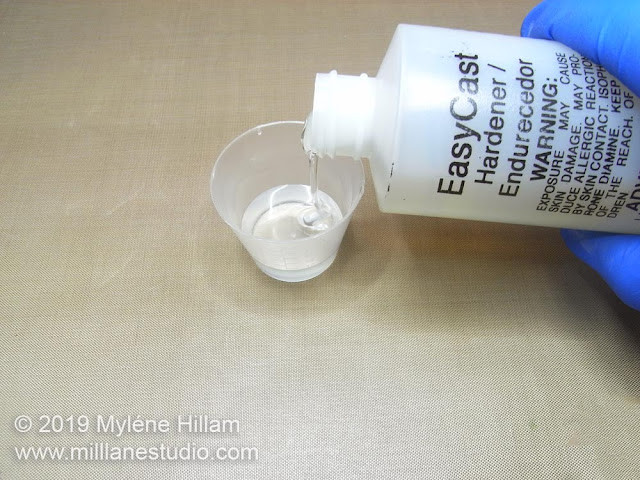
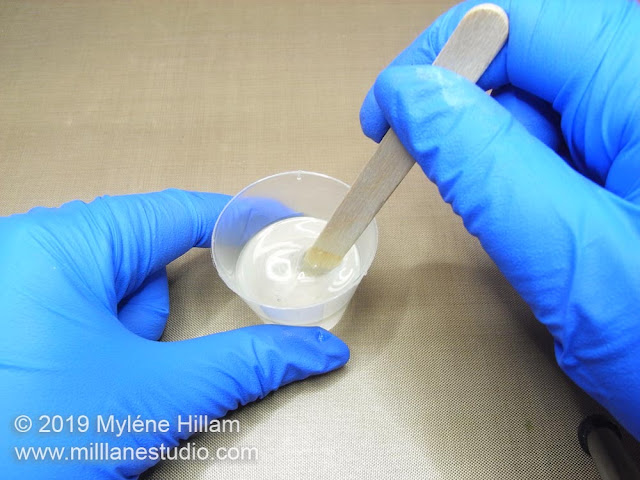
Measure out equal quantities of the resin in one cup. (I used 7.5mls (1/4oz) of each part for the first layer of resin.)Mix the resin following the instructions included in the package for the best results.
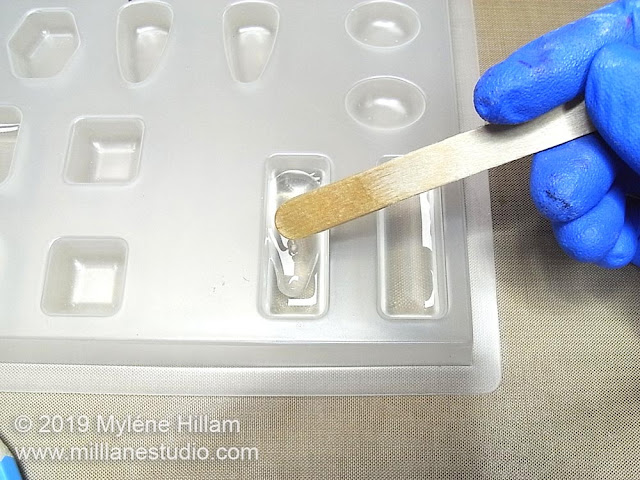
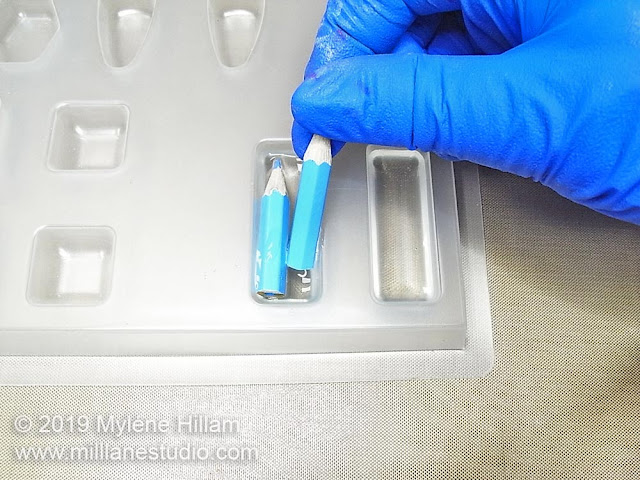
Then spoon enough resin into the bar cavities to just cover the bottom of the mould. This layer will stop the pencils from sitting right on the front of the mould.
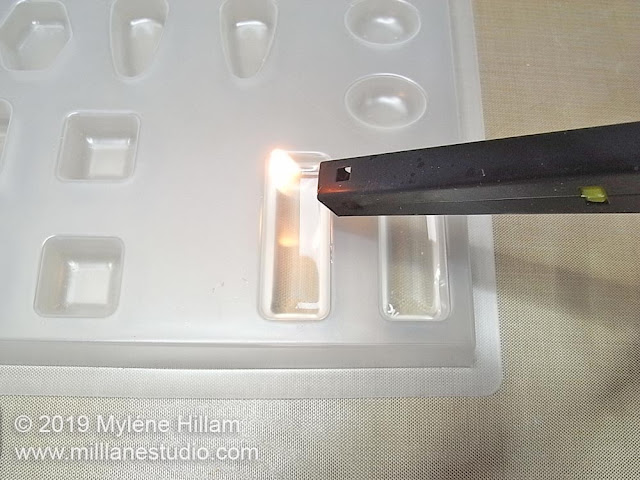
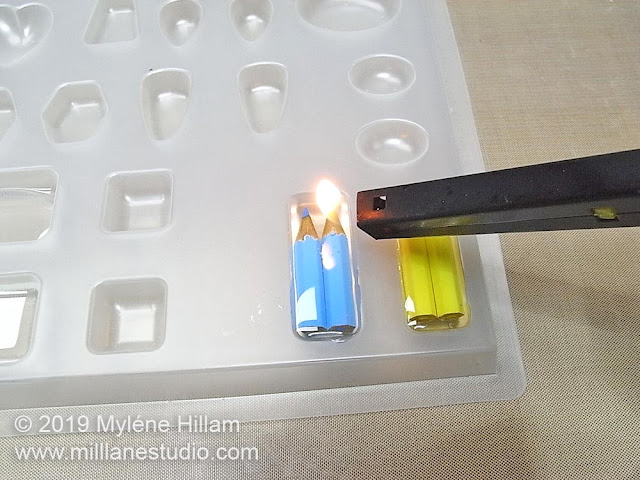
Pop the bubbles and leave the resin to cure overnight.
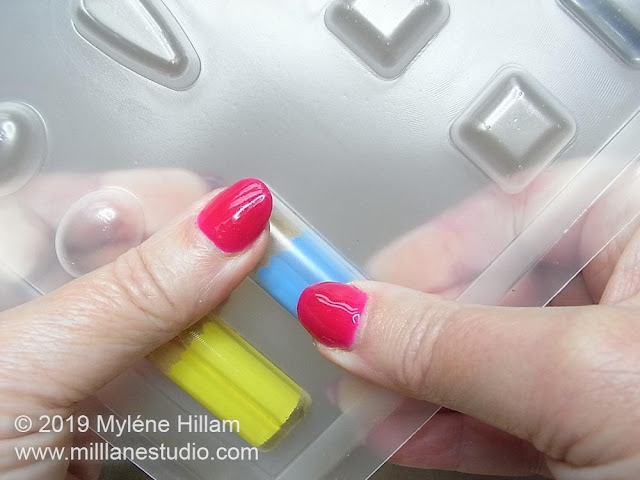
Mix another small batch of resin and half fill each cavity. If you fill the moulds, the pencils will float to the top of the mould, so keep this layer thin and it will "glue" the pencils in position. Place the pencils in the resin. Check for bubbles trapped under the pencils by viewing the mould from underneath. If there are any, carefully tease them out and pop them. Leave the resin to cure several hours.
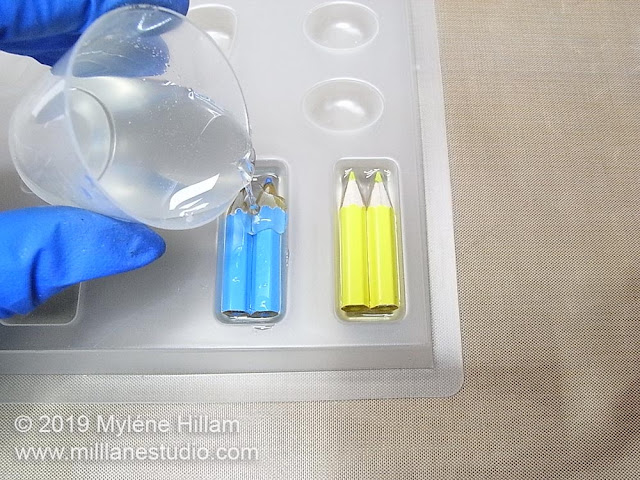
Mix another batch of resin and cover the pencils completely. Try not to over fill the mould so you won't have too much finishing to do.
Pop the bubbles and then leave the resin to cure for 24 hours.
Making the Bracelet
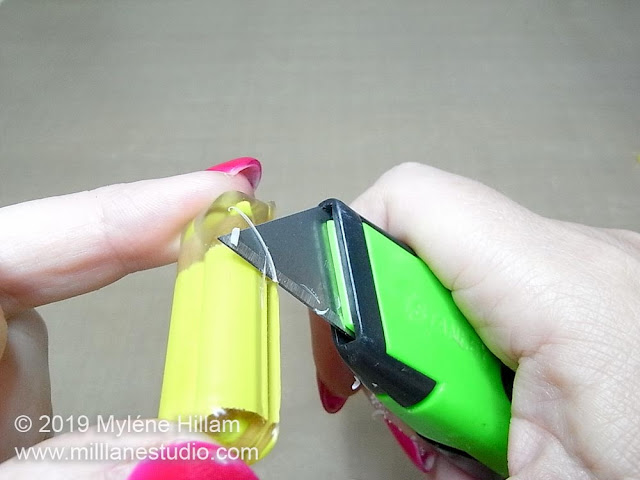
Once it's fully cured, you should be able to pop them out by pressing on the back of the cavity or giving it a little twist.If you've overfilled your mould like I did with this yellow pencil, you'll need to trim away the edges to make them flush with the bar.
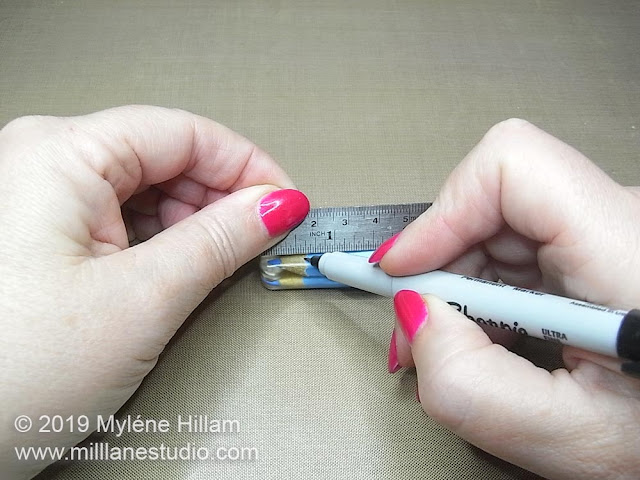
Place a mark 15mm (5/8") from the top and the bottom of each piece. You need to do this on both sides of the bars.
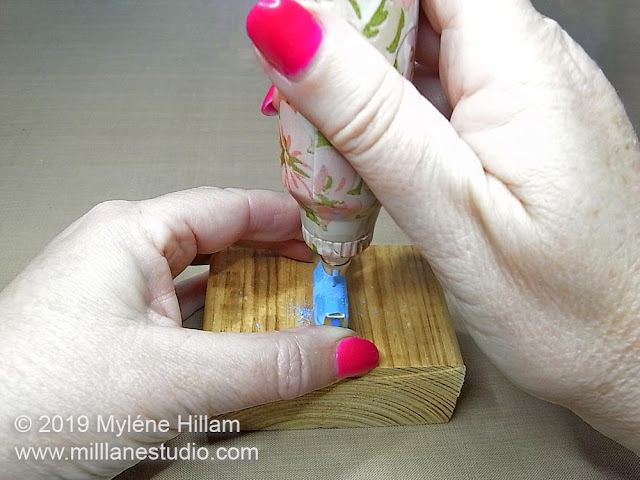
Now it's time to drill the holes. If you have a drill press and a long enough drill bit, this will be easy. But if you don't, drilling the hole is a bit tricky. You have to do it from both sides of each piece so the holes join up in the middle. This is why you've marked the bars on both sides - it will give you something to aim at as you drill!
N.B. Take extreme care when drilling without a drill press.... Keep your fingers well away from the drill.
With the bar on its long side, hold both the bar and the drill vertically and align them so you can see both the top and the bottom holes. Now drill through to the centre. It's a good idea to stop and check from both above and side on that you are drilling straight. Take the drill bit out and drill the other side in the same way. If you've aligned your drill holes properly, they will meet in the middle.
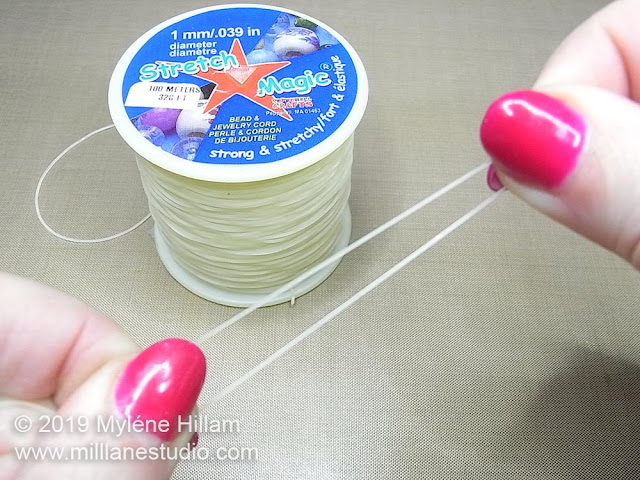
Once you've drilled all the resin, cut two 30cm (12") lengths of Stretch Magic. It's a good idea to pre-stretch the elastic so that the bracelet doesn't become overstretched with wear.
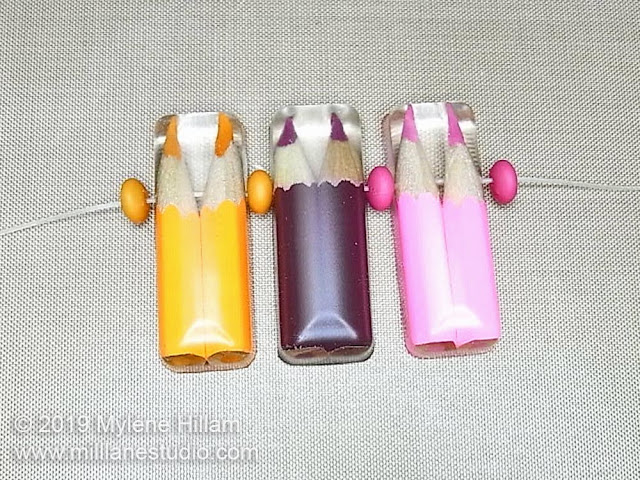
String the bars on one length of elastic at a time with your chosen beads in between.
Once you've strung the top holes, string all the pieces through the bottom holes.
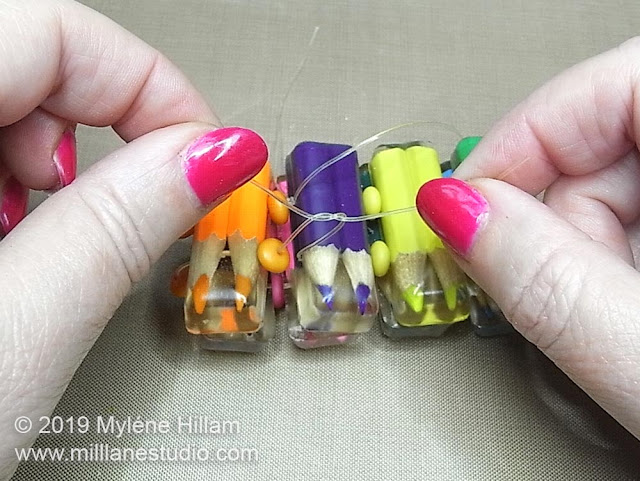
To tie the bracelet off, cross both ends of one elastic over each other in a half knot.
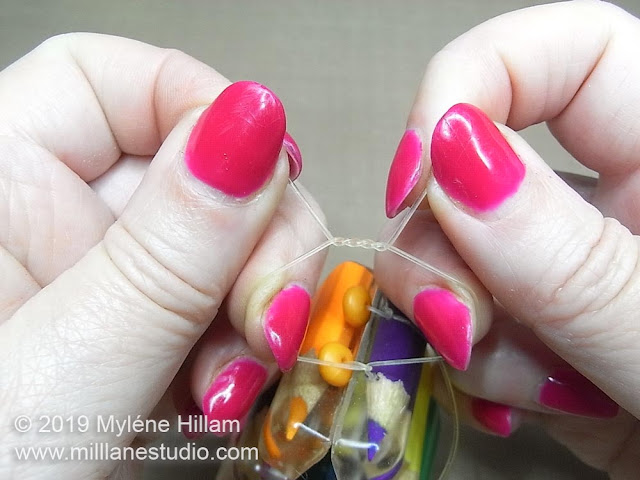
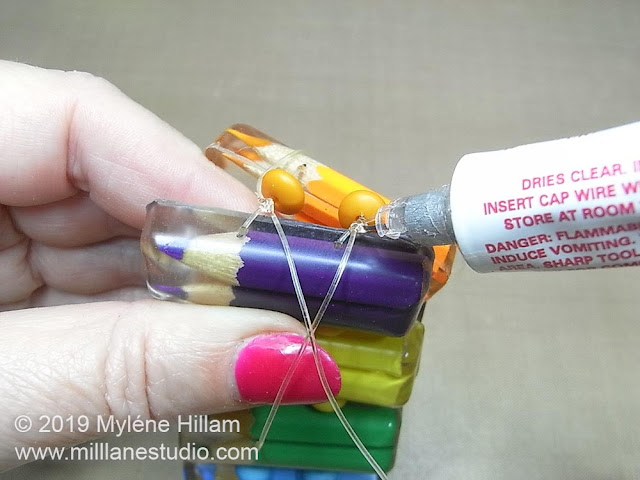
Now tie a surgeon's knot. That is, cross them over each other but before pulling the knot up tightly, cross them over again. It will look like the photo below. Pull up the knot, then pull on both the cords before the knot and both cords after the knot to tighten it.
For an extra secure bracelet, apply a dab of G-S Hypo Cement on each knot.
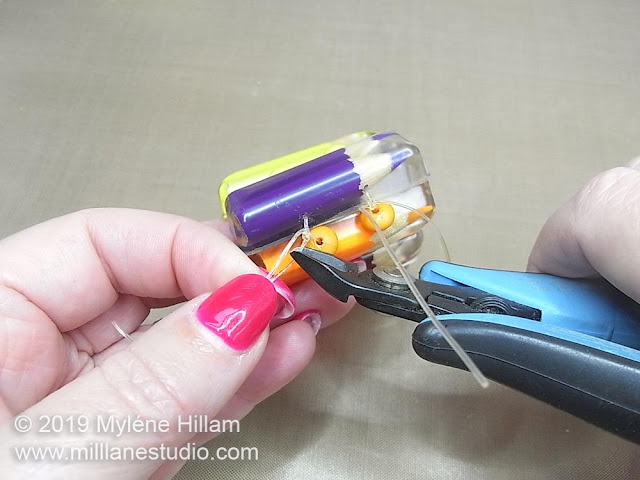
On the adhesive is dry, trim both cords to 6mm (1/4"). If the holes in your beads are large enough, then slide the knot inside the bead.
Give this fun piece of jewellery to your adult colouring book lovers and attach a note: "In case of emergency, break glass". I'm sure they'll love it!
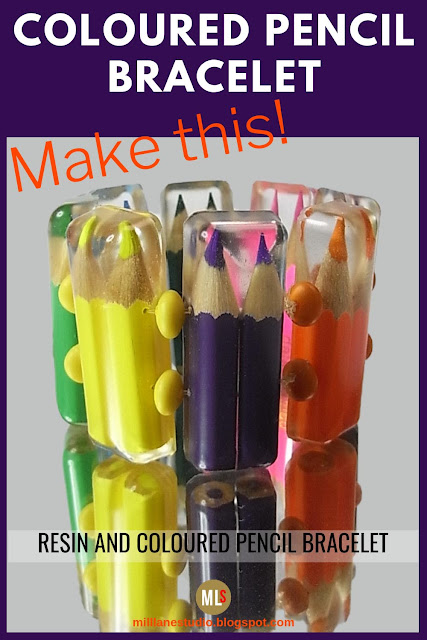
Pin this Project!
'Til next time.....

If you can't get enough of My Tutorials and you want even more inspiration, click here to find my books and printable pdfs




No comments
Post a Comment