No matter whether you're just starting out with resin or whether you've been working with resin for a while, bubbles are something you will always have to deal with. They can be really frustrating but there are ways of minimising them, or even eliminating them from your projects.
There are many different things that cause bubbles and there are just as many ways to minimise or get rid of them. Half the battle is working out WHY you got bubbles. Once you know why you're getting them, it's a whole lot easier to deal with them.
Try some of these tips and tricks to beat those pesky bubbles.
How to Deal with Bubbles in the Mixing Stage
1. Avoid Vigorous Mixing and Stir Slowly
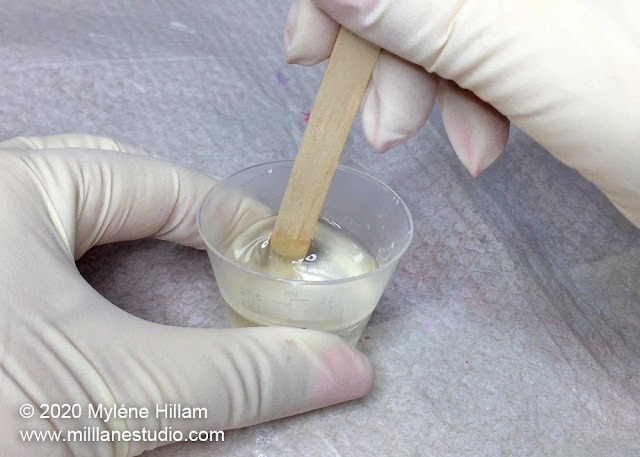
Resin needs to be mixed thoroughly for it to cure. If you stir fast or whip the resin, you'll incorporate a lot of bubbles into it. Try stirring slowly. It will take longer but when you're working with epoxy, you have plenty of time so stir slowly and you'll end up having a lot less bubbles to deal with.
2. Rest the Resin
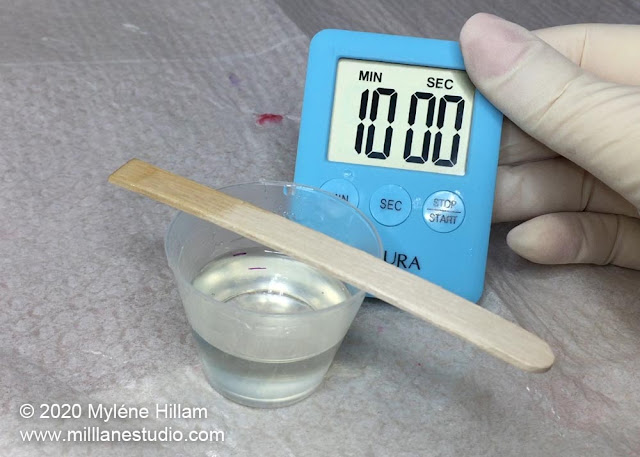
Once you've mixed the resin, let it sit for 5-10 minutes. Set a timer so that you don't forget it.Most of the bubbles you mixed into the resin will rise to the surface. They're much easier to deal with once they're sitting on the surface of the resin than when they're suspended in the resin. To see how to pop bubbles on the surface of resin, see "How to Deal with Bubbles AFTER Pouring"
3. Warm the Resin to Avoid Micro Bubbles
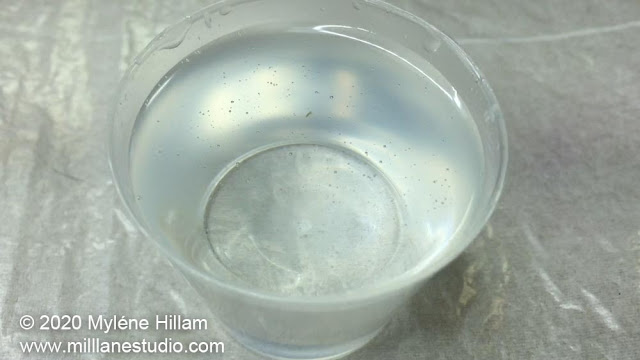
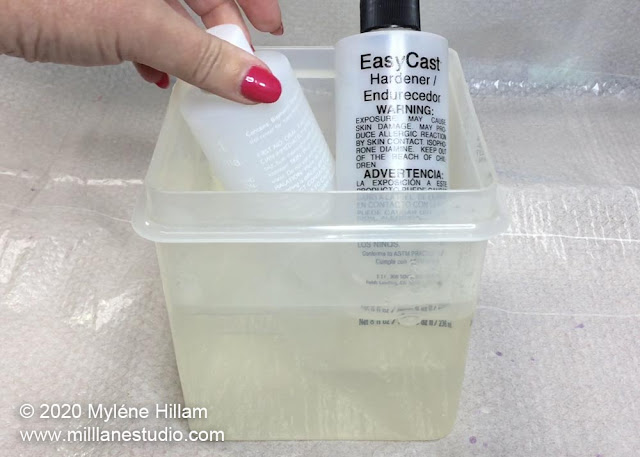
If you've ever mixed resin and it looks cloudy instead of clear, hold the cup up to the light. Most likely, it's full of tiny, microscopic bubbles. These bubbles are so small that they can't rise through the resin to the surface and if there are thousands of them, they resin appears cloudy. This is the result of mixing cold resin.If your bottles of resin feel cool/cold to the touch, try warming them in a container of warm water. Make sure the lids are on tightly so no moisture can get inside them. Leave the bottles for 10 minutes and then remove them from the water bath. The bottles should no longer feel cool. Now you can go ahead and mix the two parts together. Don't forget to refer to the instructions that came in your resin kit - they will tell you what the optimum temperature for working with your resin is.
Warning: Never mix hot resin. If the bottles feel hot, let them cool before mixing the two parts together.
How to Deal with Bubbles AFTER Pouring
Mixing resin isn't the only place that you'll encounter bubbles. Even if you have no bubbles after mixing, there are still other ways that bubbles can be introduced into the resin, so having some tricks up your sleeve to deal with them is essential.
4. Drag Them Out of the Resin
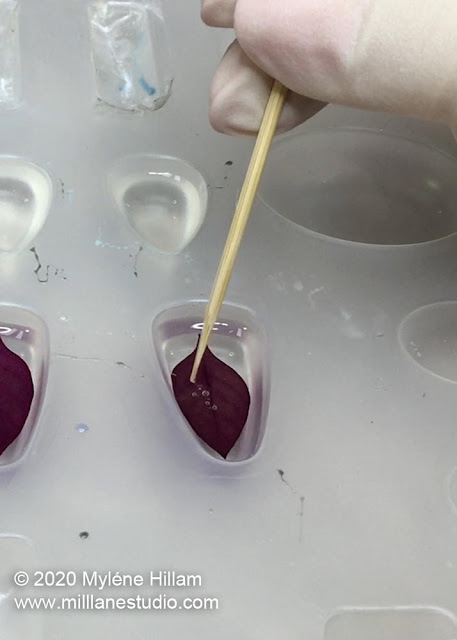
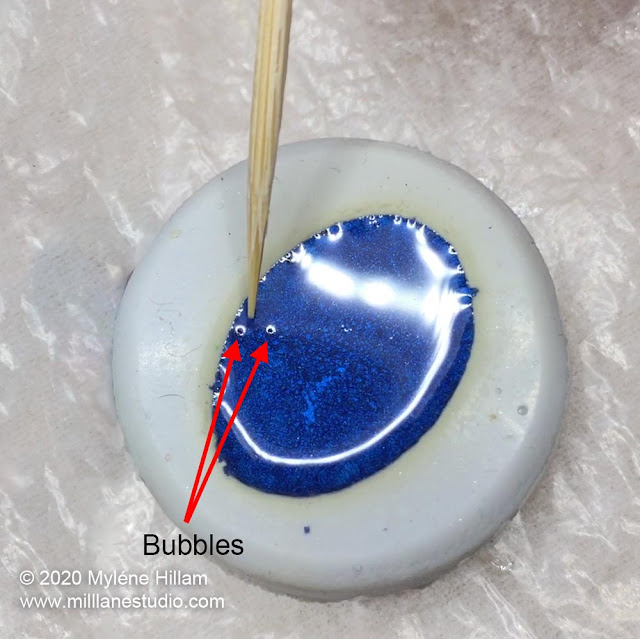
When you put textured items into resin, quite often a bubble will get trapped against the surface of the object. You can avoid that happening by "painting" on a thin layer of resin with a stir stick before placing it in the mould. But if you still manage to get a bubble, use a toothpick to dislodge it and then drag it out to the edge of the mould where you can remove it from the resin.5. Use a Straw
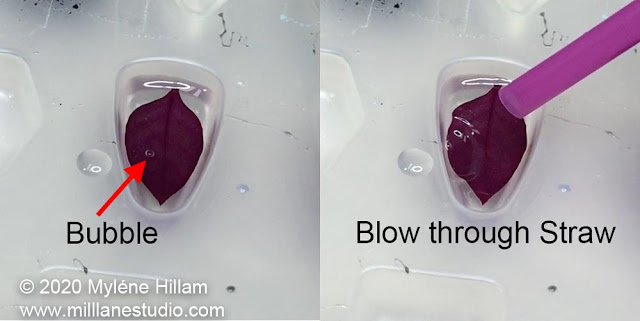
Once bubbles reach the surface, you can blow through a straw to pop them. The carbon dioxide in your breath will pop them.
6. Use a BBQ Lighter
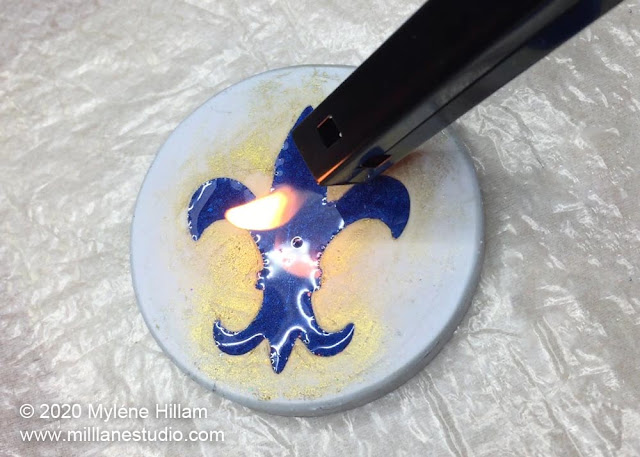
This is one of my favourite tricks. You'll need a BBQ lighter or gas torch for this trick. Pass the flame BRIEFLY across the surface of the resin. Use a back and forth motion so that you keep the flame moving across the resin surface at all times and don't linger in one spot.
7. Use Rubbing Alcohol
If you're not comfortable using a flame on the surface of the resin, then this tip might be for you. Fill a spray bottle with rubbing alcohol and spritz the surface of the resin. The alcohol breaks the surface tension causing the bubbles to pop. The alcohol will evaporate quickly without affecting the resin.
Now that you have a host of different ways of dealing with bubbles, go forth and create bubble-free resin projects.
Pin These Tips!
'Til next time.....

If you can't get enough of My Tutorials and you want even more inspiration, click here to find my books and printable pdfs




No comments
Post a Comment