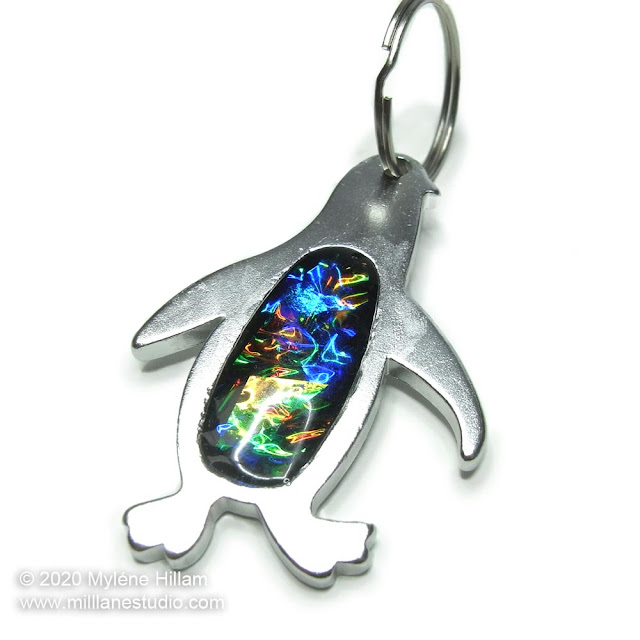
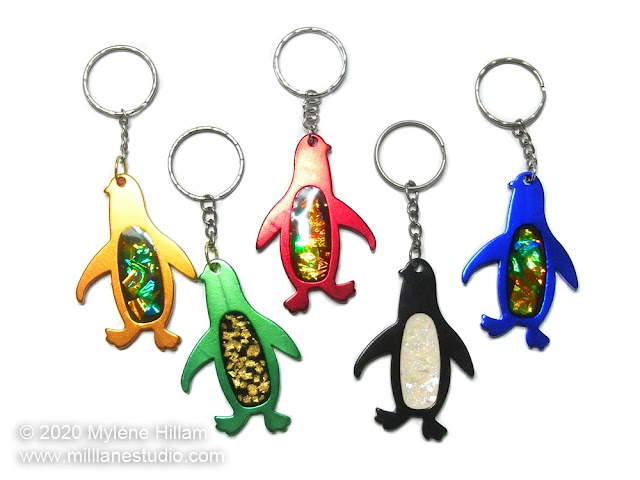
Attach a playful penguin to your key fob and turn it into a FUNKEE keychain. This anodized penguin has a belly filled with iridescent flashes of brilliant colour giving it the look of dichroic glass or a dazzling opal. But you don't need glassmaking or lapidary skills for this project...
You can easily create this dichroic glass look with UV resin and iridescent mylar flakes.
And it will only take you around an hour!
I've used an ultra-fast curing UV resin in this project. But you can use regular UV resin and still get the same results. The benefit of using this faster curing resin are that it has a lot less odour than regular UV resins, it cures FASTER and it only needs a low-wattage lamp (like a UV torch or mini UV lamp) to cure it.
Project Shopping List:
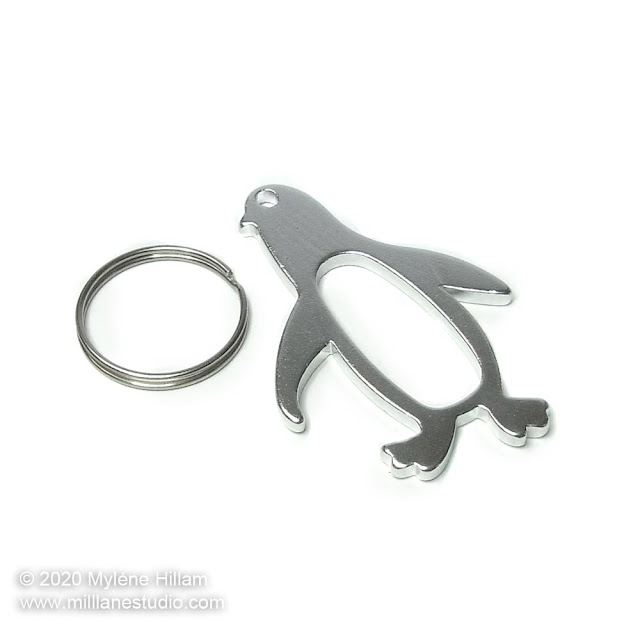
- Penguin (or other animal) anodized bottle opener/keychain (this one is similar). Tip: If you wish to use the key chain as a bottle opener, choose one where the bottle lever is separate to the body opening.
- Fantasy Film in your choice of three colours. Prepare it by cutting off a strip and applying heat to it with a craft heat tool. This wrinkles the film and adds extra iridescence. Then, cut it up into small, irregular shaped pieces. Alternatively, choose iridescent mylar flakes for nails. These will still give you an iridescent look but the pieces will be finer.
- New Upgrade UV Resin (clear hard type) - recommended
- Black UV Resin Dye
- CLEAR Packing Tape
- 12 LED UV Torch or 9W UV nail lamp or 6W mini UV lamp
- Nitrile gloves
- Teflon craft sheet - I cut mine into small squares to make it easy to work with
- Toothpick
A Note About UV Lamps for Curing UV Resin
There are a lot of different wattage lamps available and it can be confusing to know which UV lamp to choose to cure your UV resin.If you choose the same resin I used, then you can use any of the nail lamps I've suggested and get extremely quick results. This is a much faster curing resin than other UV resins. All these suggestions are very low wattage lamps but they will all cure this resin in 1 or 2 minutes (when working in layers).
If you choose a different type of UV resin, you may need a 36W lamp and allow your chosen resin to cure longer.
I used a 9W UV lamp in this project because it's mains-powered and it doesn't have a timer. The benefit of not having a timer is that you can put the resin under the lamp and walk away and you won't have to keep switching the lamp on when the timer runs out. It might seem like a small thing, but you'll soon see why it's better to not have a timer when you've had one with a timer!
The 6W mini UV lamp comes with a USB cable and it needs to be connected to a power bank or device in order to work. It has a timer which you will need to switch on each time you put the resin under it to cure.
The 12 LED UV torch runs on 3AAA batteries. Because this resin cures so quickly, holding the torch above the curing resin for a minute or two at a time is not too arduous, but if you're using one of the other UV resins, it can become very tiresome holding it for 5-10 minutes whilst the resin cures. Plus, you'll need to replace the batteries frequently if you're using the torch for 5-10 minutes at a time. But this won't be so much of an issue using the recommended UV Resin.
Preparing the Bottle Opener
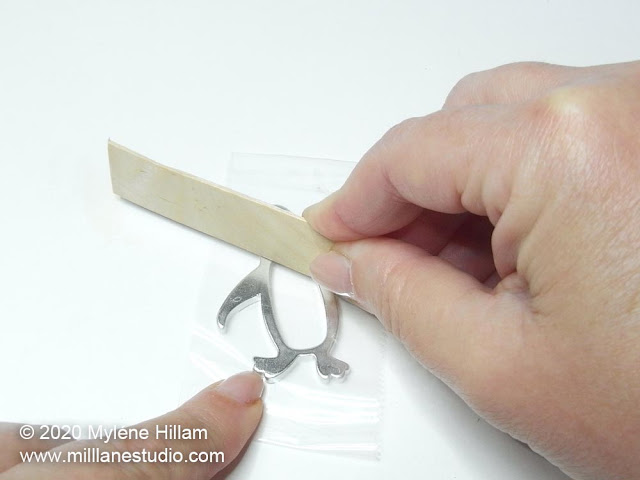
Remove the keyring (and chain if there is one) from the bottle opener.Place a piece of packing tape over the back of the opening. It's essential to use clear tape and not coloured tape for this step or the back of the piece will not cure. The tape will act as a temporary backing to hold the resin inside the penguin's belly. Burnish it well, especially around the inside edge so the resin will not be able to leak out.
Creating the Faux Dichroic Glass Look
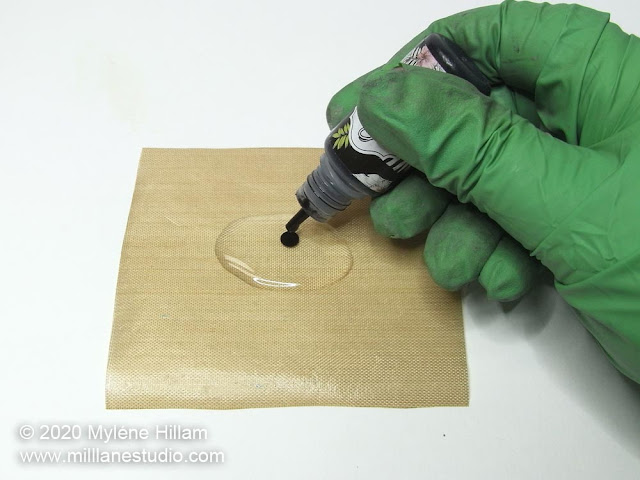
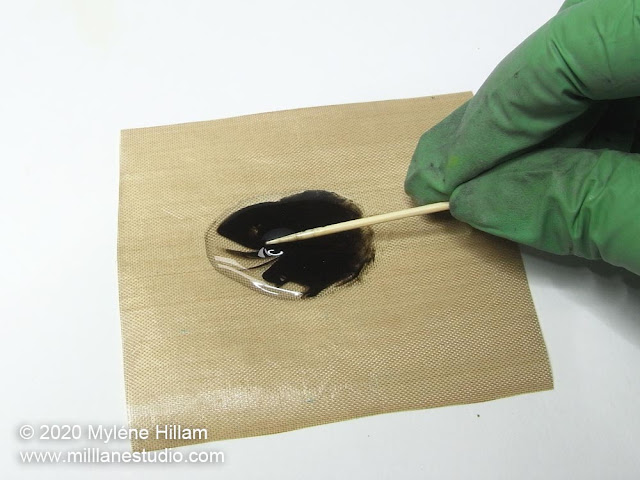
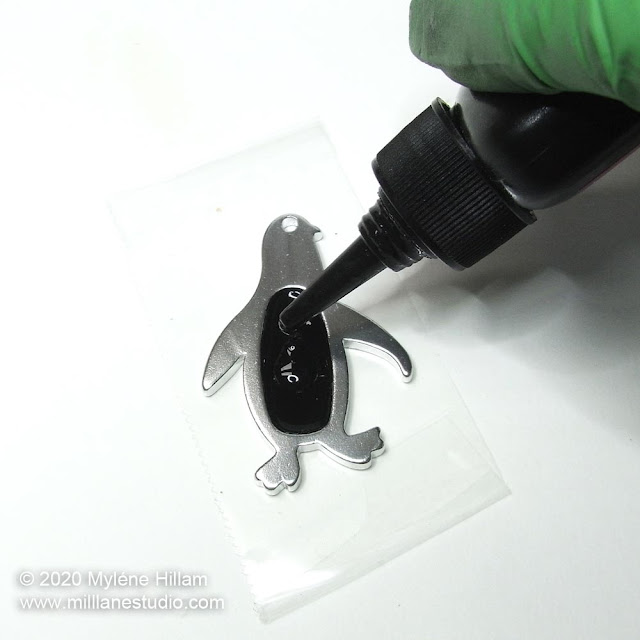
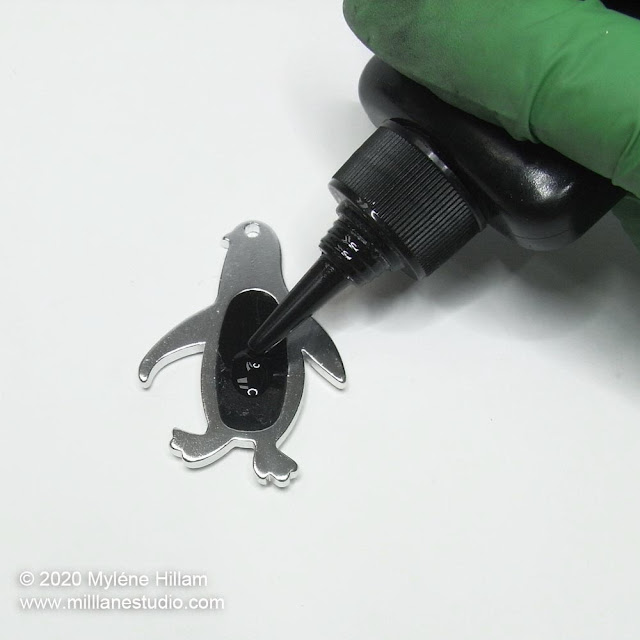
Pour out a small puddle of resin onto the Teflon square and add one drop off black dye to it. UV resin needs to be slightly translucent to cure so don't overdo the black dye or the resin won't cure properly.Mix the colour through the resin completely. You can use a toothpick, a wooden stir stick or a plastic spatula... whatever works best for you.
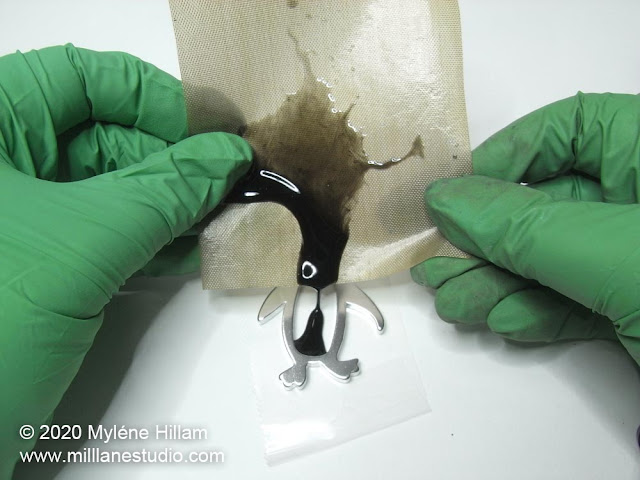
Pour the resin straight from the Teflon square into the base of the penguin.
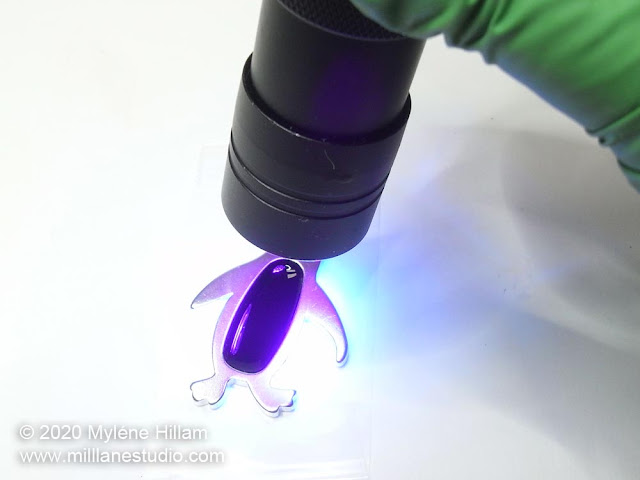
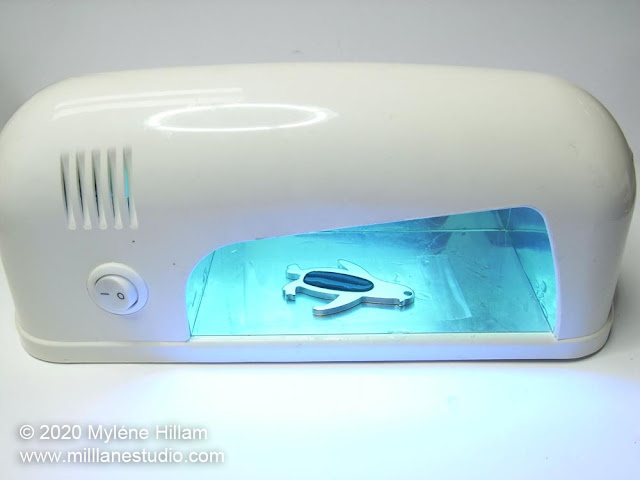
Cure the resin using the handheld torch...
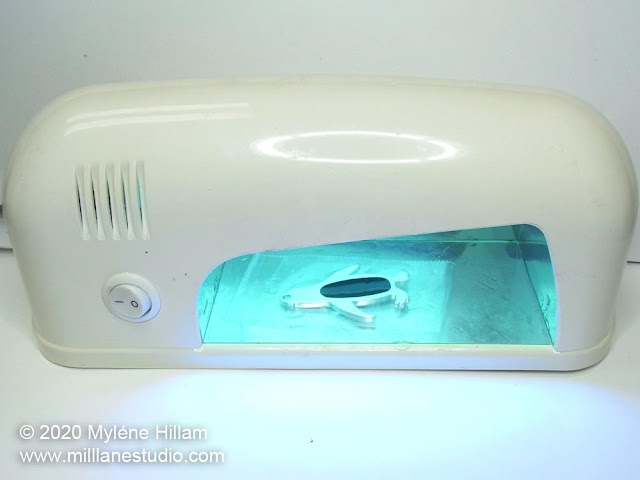
or the nail lamp... or the mini UV lamp, whichever one you choose.
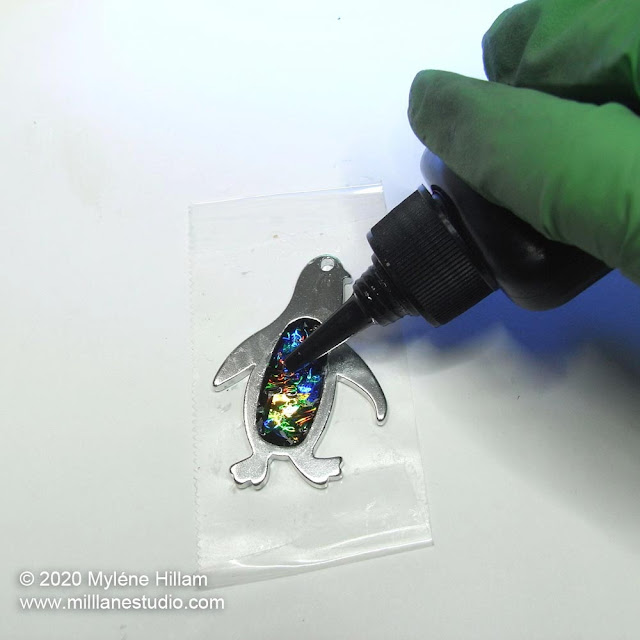
Squeeze a small amount of uncoloured resin in the centre of the penguin. You only need a very thin layer... something for the mylar pieces to stick to.
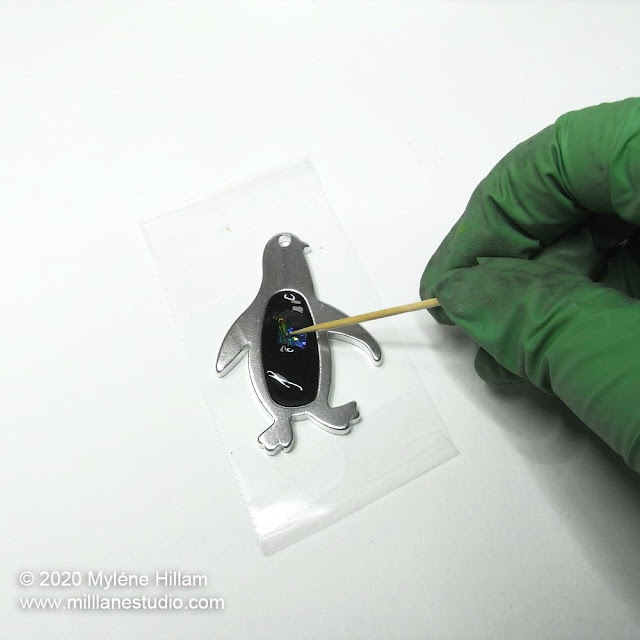
Dip the toothpick in the resin and use it to pick up a piece of mylar. Place it into the resin. Continue adding pieces of mylar to the resin, overlapping the edges to create different colours. Because this is a shallow bezel, use only one layer of mylar pieces.
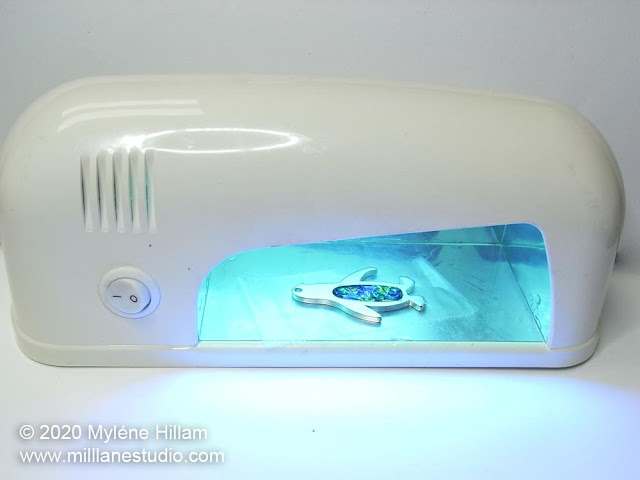
Cure the resin under the lamp.
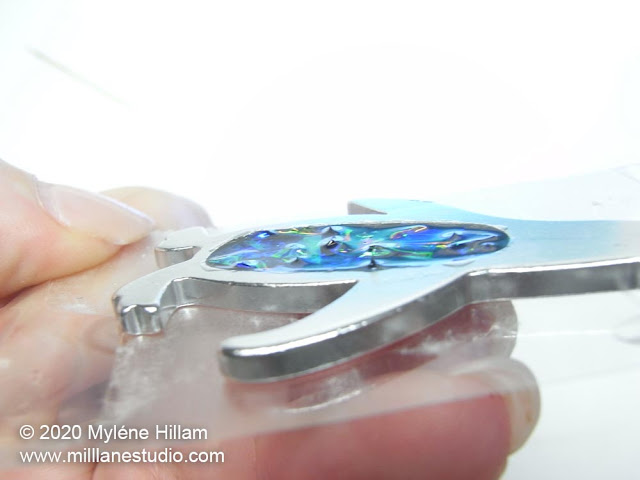
The surface will still be lumpy with small bits poking through.
Add another layer of clear resin over the mylar and cure it. If needed, add a fourth layer of resin to make the surface smooth and dome it slightly. Cure the resin.
Turn the piece over and cure the black resin. This extra step to cure the back of the piece will make sure the black resin is cured. Once it's cured, you can remove the tape.
Wipe off any tape residue with methylated spirits (denatured alcohol).
If the back is slightly hollow (mine was), apply just enough clear resin into the back to fill the hollow so that it's flat and cure it.
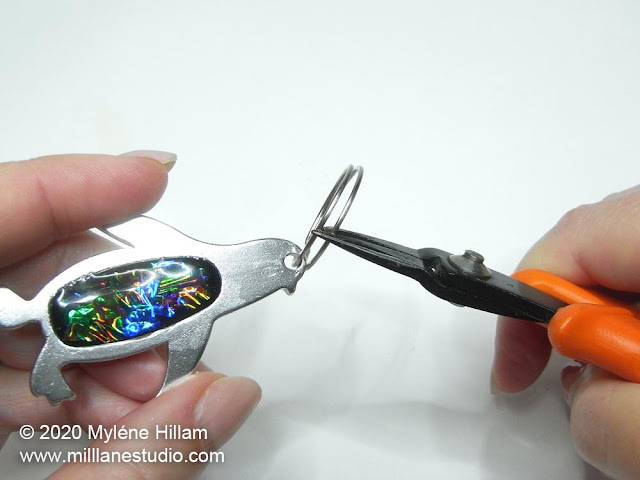
Open the keychain ring and insert it back onto the bottle opener.
And that's it! Your faux dichroic glass keychain/bottle opener is now ready for use.
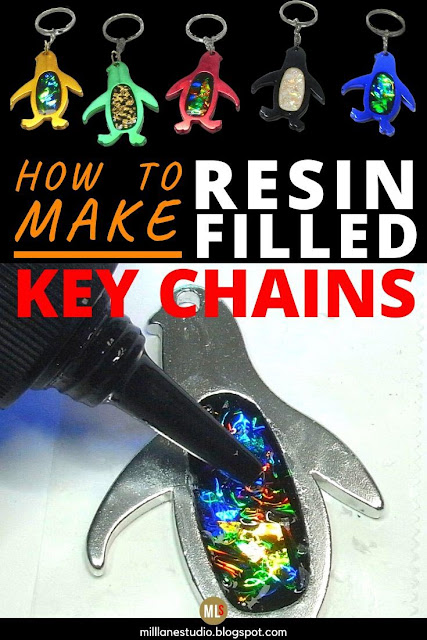
Pin this Project!
'Til next time.....

If you can't get enough of My Tutorials and you want even more inspiration, click here to find my books and printable pdfs



No comments
Post a Comment