It is such a beautiful quote and a great way to start off this tutorial.
I have always loved butterflies. I am fascinated by the transformation that takes place as a caterpillar metamorphoses into a butterfly - it is truly one of nature's great wonders. And now that we are in the first days of spring in the southern hemisphere, I thought they'd make a great subject for this tutorial.
Last week I promised I would show you how to make your own epoxy resin embellishments. And it's easier than you might think.
For this technique, I used a casting resin but for an even higher domed effect, choose an epoxy coating resin or a doming resin. These are both thicker than casting resins but I found that even with a casting resin, I still got a nice dome.
You'll need the following supplies:
- EasyCast Epoxy Casting Resin
- Some scrapbook paper images - I used Cristina Re Butterfly Garden
- Scissors (or a hole punch)
- Mod Podge
- Plastic measuring cups with graduated measurements
- Wooden stir sticks
- Nitrile gloves - choose the size for your hands
- Xyron Sticker Maker
- Paintbrush
Prepare the Images
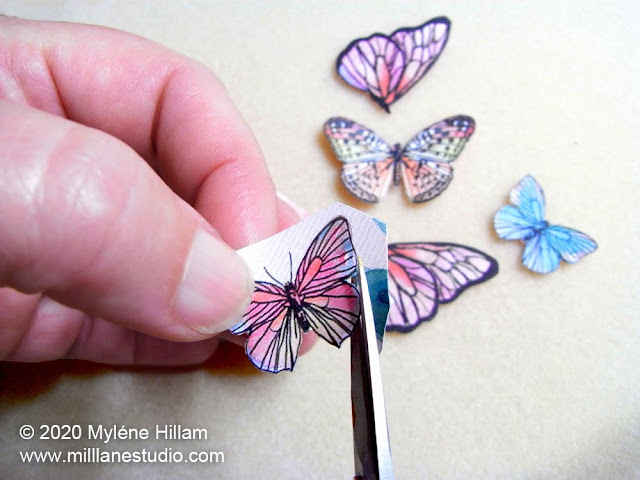
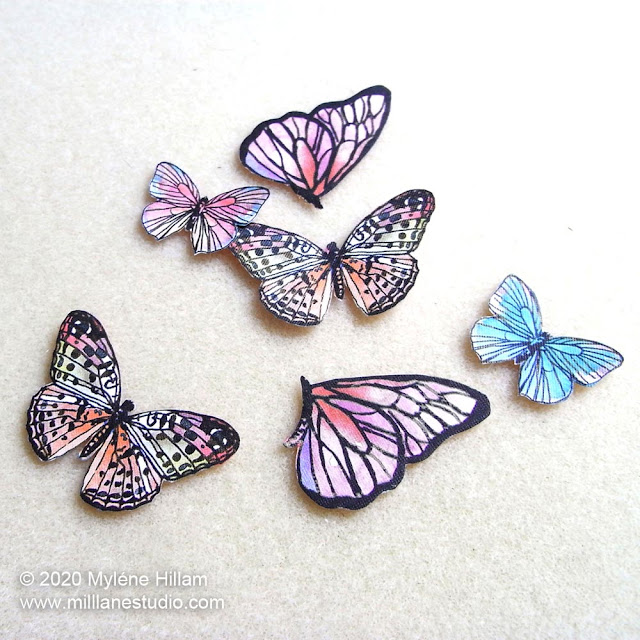
Use small scissors to cut around your images carefully. You can punch out the images using a hole punch or use a die-cutting machine if you don't like fussy cutting.The next step is sealing the paper and it's optional... but advisable.
If you want your images to retain their vibrancy, you should seal them. Uncoated papers allow resin to penetrate the fibres of the paper and make both the paper and the printed images look dull and almost translucent. If you don't mind that look, you can skip this step.
Mix the resin you've chosen following the instructions that came in your resin kit. You will only need to mix a really small amount, about 5 to 10mls (1 or 2 teaspoons) in total for a project like this.
Once all your domed resin stickers have adhesive on the back, they're ready to be used as unique embellishments to add dimension to your paper craft and scrapbook projects.
'Til next time.......

If you can't get enough of My Tutorials and you want even more inspiration, click here to find my books and printable pdfs
Seal each side of the image with Mod Podge, paying particular attention to the cut edges. You need to coat the paper thoroughly. Any spots you miss will allow resin into the paper causing what looks like an oily or wet spot on your image. Allow the coated images to completely dry (overnight, if possible) before proceeding.
Place the sealed images on a non-stick surface. I've used a Nordic Ware non-stick pan but a Teflon craft sheet such as an appliqué sheet or the Ranger craft mat is also excellent.
Place the sealed images on a non-stick surface. I've used a Nordic Ware non-stick pan but a Teflon craft sheet such as an appliqué sheet or the Ranger craft mat is also excellent.
Mix the Resin
Mix the resin you've chosen following the instructions that came in your resin kit. You will only need to mix a really small amount, about 5 to 10mls (1 or 2 teaspoons) in total for a project like this.
I can never stress this enough but if the manufacturer says measure equal quantities, then make sure you measure and mix equal quantities. Don't add extra hardener just to make sure - the resin will cure properly without adding extra hardener. And if the manufacturer says to mix it twice, then mix it twice. Following the instructions will give you great results every time!
Coating the Images with Resin
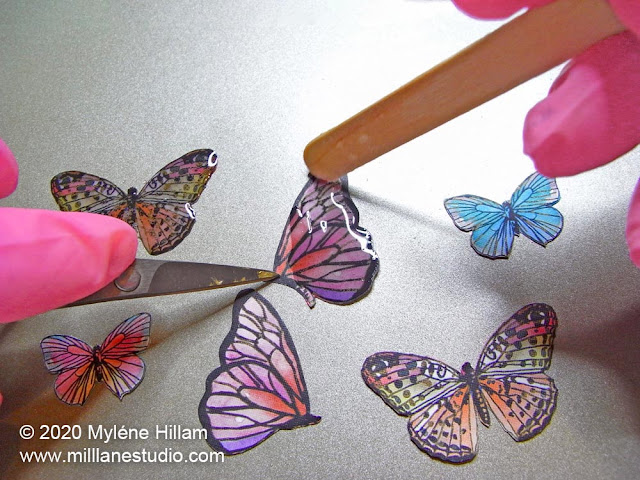
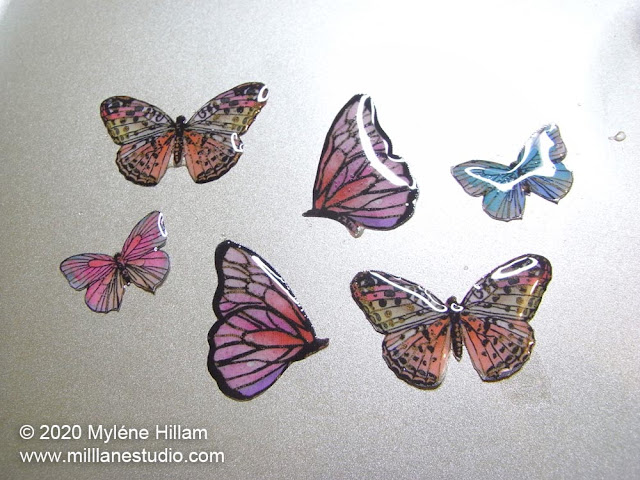
Now, "paint" the resin in a thin coat across the surface of your images. Try to keep the resin within the cut edges of the image without it pouring over the edge. You can tease it out to the edge with a toothpick.
If you have some overflow, that's OK. That's why you're working on a non-stick surface. When the resin cures, you'll be able to easily peel it off the non-stick surface!
Once you've applied resin across the whole image, you can add more resin to the centre of the image, one drop at a time, and allow it to spread across the image. This will create the dome. The trick is to stop before it overflows. Don't get too carried away trying to get to high a dome, or the pieces won't sit flat when you come to do the other side.
Set your images aside to cure. They'll cure faster in warmer weather than they will in the cold - I usually leave them for between 8 to 12 hours and then coat the back in the same way. Don't flip them over until they are cured enough that you can handle them without damaging the surface.
Set your images aside to cure. They'll cure faster in warmer weather than they will in the cold - I usually leave them for between 8 to 12 hours and then coat the back in the same way. Don't flip them over until they are cured enough that you can handle them without damaging the surface.
And that's it! Once they're fully cured they're ready to be used in your next project. And the best part about it is that they are both waterproof and durable. They are even tough enough to be used in jewellery. Wouldn't these butterflies look great as earrings?!
If you find that it's too fiddly to coat small images this way you can resin the paper first and then cut out the images once the resin is cured but you get the nicer domed-look using the first method.
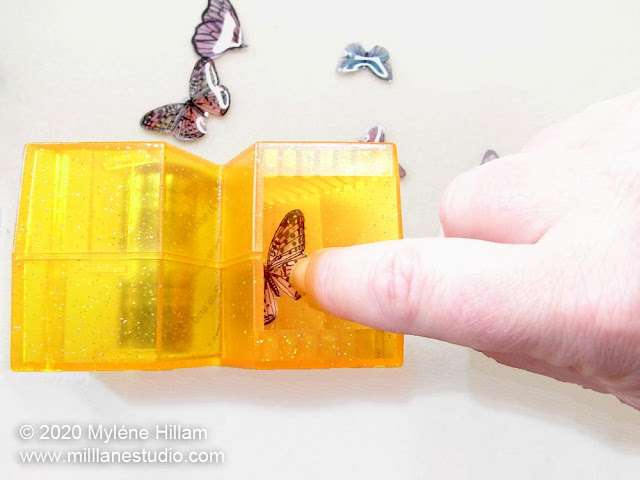
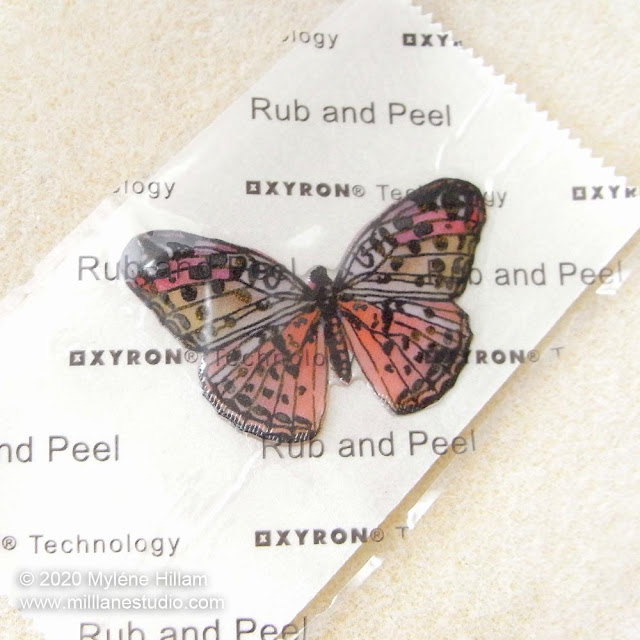
And it's easy to turn them into stickers: just run them through a Xyron sticker maker.
If you find that it's too fiddly to coat small images this way you can resin the paper first and then cut out the images once the resin is cured but you get the nicer domed-look using the first method.
And it's easy to turn them into stickers: just run them through a Xyron sticker maker.
Once all your domed resin stickers have adhesive on the back, they're ready to be used as unique embellishments to add dimension to your paper craft and scrapbook projects.
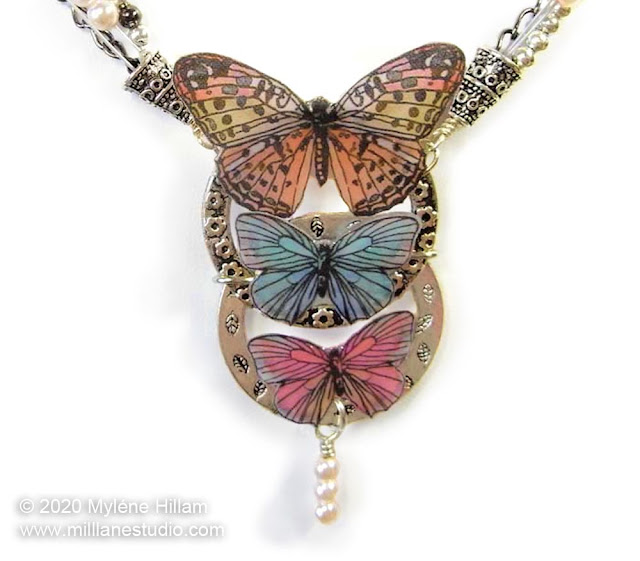
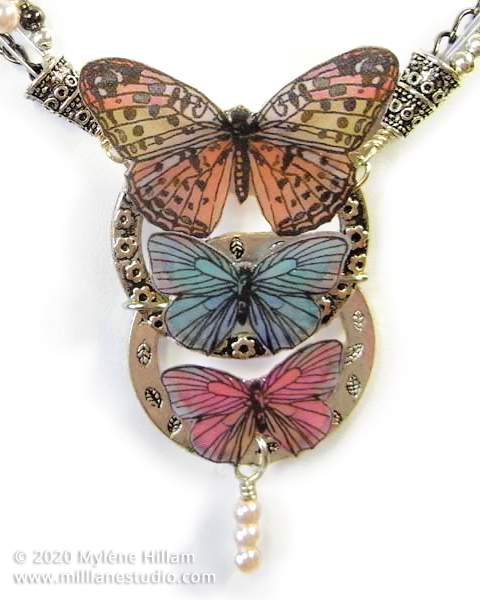
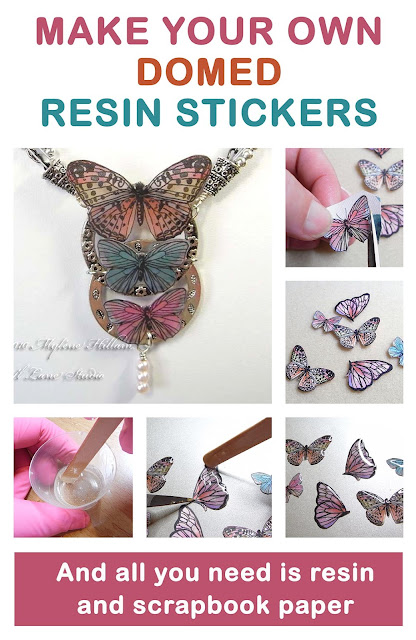
The resin makes the paper both strong and waterproof and apart from the lovely glossy finish it gives the images, it also protects them from damage so they are great to include in your mixed media jewellery designs. There's no need to run them through the Sticker Maker if you want to use them for jewellery. You can just glue them directly to jewellery findings like in this necklace, or drill holes in them to dangle them from earring wires.
Hope you have fun with this!
Pin this Tutorial for later!
'Til next time.......

If you can't get enough of My Tutorials and you want even more inspiration, click here to find my books and printable pdfs




No comments
Post a Comment