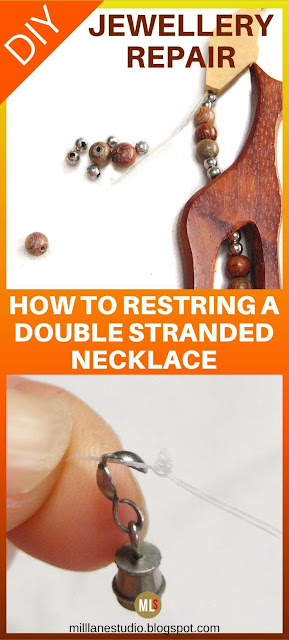
Originally, it was strung on fishing line but it had unravelled in parts and a few of the round wooden beads were lost but other than that, it's in great condition.
 |
| One strand of this double-stranded necklace has broken and some of the beads have been lost. |
I've been able to re-use all the findings but I replaced the fishing line with two strands of Fireline to make it really durable and strong. The two strands are actually part of the design too.
I'm not going to show you the whole stringing process - you can see the stringing pattern in the photo at the bottom of the post. But I thought you might like to see how I started and finished the necklace.
How to Work With Bead Tips
Bead tips are a clever (if somewhat old-fashioned) way of neatly hiding the way a piece of jewellery is constructed. The thing about bead tips (aka calottes and clamshells) is that they have a hole in them for the stringing material to be neatly captured inside. But when you're using a fine stringing material you have to work out how you can keep it from pulling through that hole so that the necklace won't fall apart. In this repair, I used two different methods.Method 1 - How to Use a Bead Tip at the Start of a Necklace
Firstly I tied a quadruple knot at the end of the Fireline. Four knots seems a bit like overkill but the knot needs to be bigger than the hole in the bead tip so it won't slip through. A dab of G-S Hypo Cement all over the knot will make sure it doesn't unravel. Now you can trim away the excess and sit the knot inside the bead tip. Give it a good tug to make sure the knot is secure and that it won't slip through the hole.Now it's on to the restringing. Here's the part of the design where the strands separate before coming back together again.
The only tricky thing with the threading is making sure that the animal beads are the right way up. An upside-down laughing hyaena is no laughing matter at all!
Method 2 - How to Finish the Necklace with a Bead Tip
Finishing the end of the necklace with knots is much trickier than at the start of the necklace because you have to pull the knots up so that there is not too much slack in the bead stringing. So I decided to thread on a seed bead which fits snugly inside the bead tip instead.To make sure it stayed securely in place, I've threaded the Fireline back through the bead two more times.
I wanted to make doubly sure that this necklace doesn't fall apart again so I also tied a double knot right above the bead and then applied G-S Hypo Cement all over the Fireline before trimming away the excess. I like G-S Hypo Cement because it dries flexible and the fine needle tip makes it easy to get into the tightest spots on the knot.
Closing the bead tips was all that was needed to finish the necklace and you can see from this photo that I didn't even remove the barrel clasp to do this repair.
And here it is, all restrung and ready to be worn by its lucky owner.
This necklace is many, many years old and yet here it is, a hot fashion item once again. Don't you love how all these old trends are re-emerging? It reminds me that quality accessories are worth hanging on to no matter how out of date they might seem.... they WILL come back into fashion again one day. Sometimes they will need updating but if you're lucky like the owner of this one, it will need nothing more than a quick repair job.
Take a look at some of these other jewellery repairs I've tackled:
Rosary Chain Necklace
Freshwater Pearl Necklace
How to Attach End Caps
Pin This!
'Til next time.......

If you can't get enough of My Tutorials and you want even more inspiration, click here to find my books and printable pdfs


No comments
Post a Comment