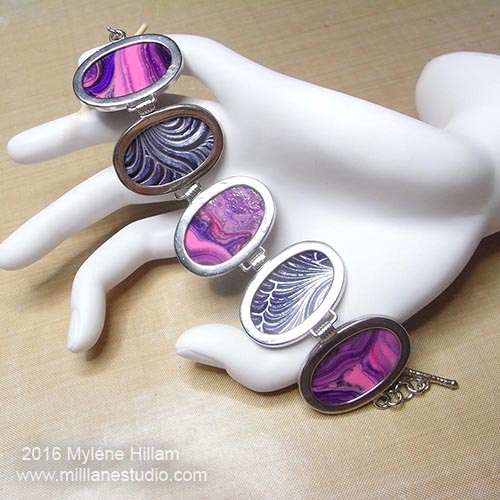
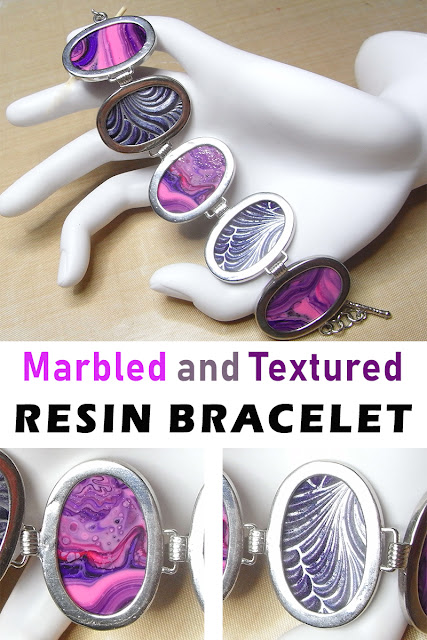
Today, I'm going to share how I made this really cool Marbled and Textured resin bracelet made with quick curing polyurethane resin. This resin cures white.
How to Make a Textured Resin Bracelet
You'll need to gather a few things:Alumilite Amazing Casting Resin
Alumilite Red dye
Alumilite Violet Dye
Alumilite silver metallic powder
Silicone texture mould - I used Kraft Lady AMKT 4 Rococo (edited - mould is no longer available. Try searching for silicone texture mats)
Soft bristled brush
Open back silver oval bracelet blank
Teflon Craft Sheet
Permanent marker
Scrap of paper
Tim Holtz Tonic Studios Scissors - they cut through resin like butter!
Stanley knife
5-minute Aralditeor strong adhesive like E6000
Measuring cups and wooden stir sticks
Brush the surface of the texture mould with the silver powder. Leave some areas lighter and some areas uncovered.
Measure 7.5mls (1/4oz) of each part.
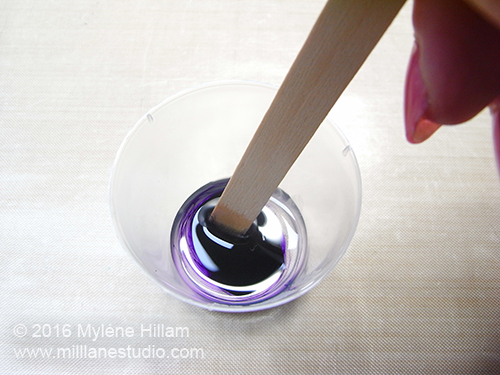
Colour Part A with two drops of violet dye.
Once cured, peel the textured resin away from the silicone texture mat. The silver powder is now permanently bonded to the resin and it highlights the texture beautifully.
For the marbled pieces of the bracelet, measure equal amounts of Parts A and B. Add 1 drop of red dye to Part A. Because this is a white resin, the drop of red dye will colour the resin pink when it cures.
Mix the two parts together. Working quickly, add 1 or 2 drops of each of the red and violet dyes and swirl them lightly through the resin.
Pour the resin into a puddle on the craft sheet and spread it to 3mm (1/8") thick. Set aside to cure.
Place the bracelet blank on your work surface with the back facing upwards. Position the scrap paper over one of the ovals and press it down so that it leaves an impression. Pierce the centre of the oval with the scissors and cut it out to create a template.
Place the template over the two pieces of resin and trace out three marbled ovals and two textured ovals.
Cut them out.........
and shave away any rough edges with the Stanley knife so they fit firmly inside the bezels of the bracelet. If you don't feel comfortable with the knife, use an emery board to file the edges down until the pieces fit.
Adhere the pieces inside the bezels with either 5-minute epoxy or E6000. Both these adhesives bond plastic and metal.
I absolutely adore all the different shades of purple that were created when the red and violet mixed together as I swirled the colours through the resin. But maybe you're not a purple girl.... maybe you prefer blue or green or yellow. So play around with the colour combinations you like to make a bracelet that works with your wardrobe. And then wear your bracelet and listen to everyone rave over how gorgeous it is!
Pin this Project!
'Til next time.......

If you can't get enough of My Tutorials and you want even more inspiration, click here to find my books and printable pdfs


No comments
Post a Comment