When single-use plastic bags were outlawed in my part of the world, it got me thinking that about all the things we consume and throw away every day. And then I began to notice how much I discarded in the studio. With every batch of resin I mix, I throw away numerous plastic measuring and mixing cups, wooden stir sticks, toothpicks, and the list goes on.
To get the best results with resin, I've always recommended using clean, NEW cups and utensils because it helps eliminate a possible source of contamination that could potentially ruin your resin project.
But when I learned that resin doesn't stick to polypropylene or polyethylene (that's what the little measuring cups are made of), it was a game-changer! I realised I could STOP THROWING CUPS AWAY and play a small part in helping the planet!
But how do you clean them so you can re-use them? I'm glad you asked!
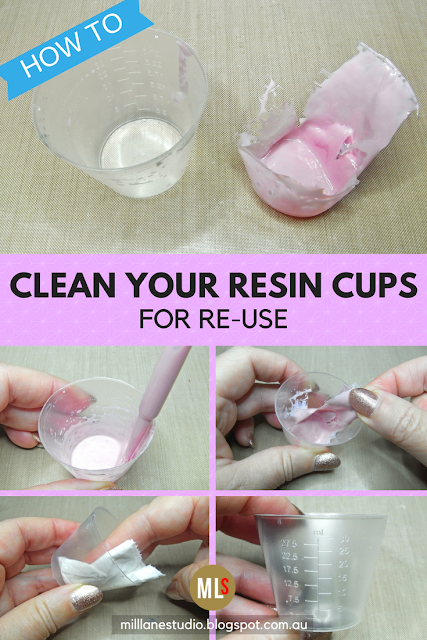
To be more environmentally aware, follow these steps to clean your resin cups.
N.B. This will only work if you use Polyethylene or Polypropylene plastic cups or silicone cups.
If you're curious, these are the three types of measuring cups I use all the time in the studio:
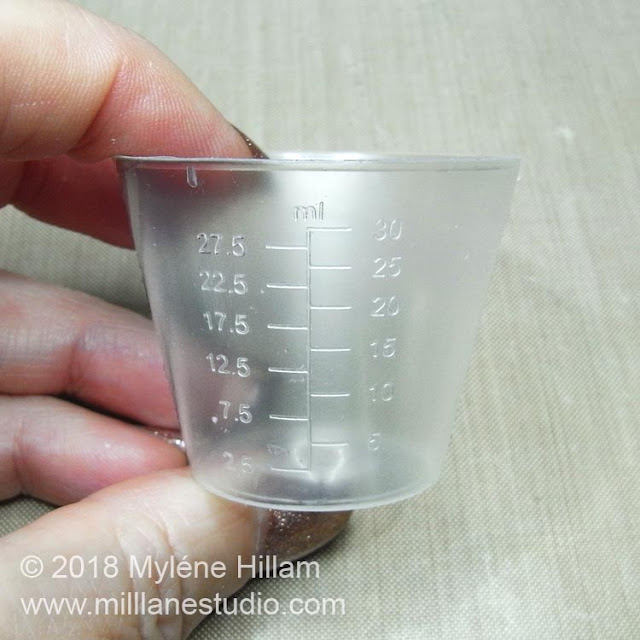
1oz (30ml) cups;
8oz (250ml) cups;
100ml silicone cups
And here's what you'll need to clean them:
Acetone, Methylated Spirits (denatured alcohol) or rubbing alcohol
Toilet tissue squares
If you're curious, these are the three types of measuring cups I use all the time in the studio:
1oz (30ml) cups;
8oz (250ml) cups;
100ml silicone cups
And here's what you'll need to clean them:
Acetone, Methylated Spirits (denatured alcohol) or rubbing alcohol
Toilet tissue squares
How to Clean Cured Resin from your Cups
Make sure that the resin has cured to the point where it is solid. I find it easier to remove once it has hardened rather than when it is still soft. Tip: Leave the wooden stir stick to cure in the cup with the resin - it will act as a "handle" for removing the resin shell.
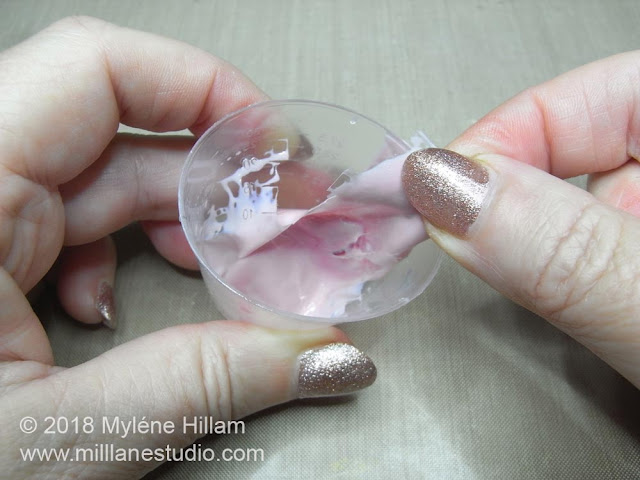
First, squeeze the sides of the cup all the way around. This will release the cured resin from the walls of the cup.
First, squeeze the sides of the cup all the way around. This will release the cured resin from the walls of the cup.
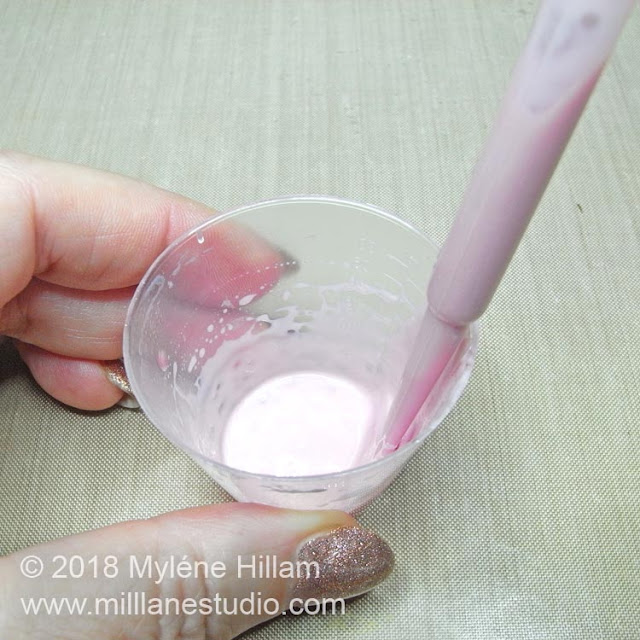
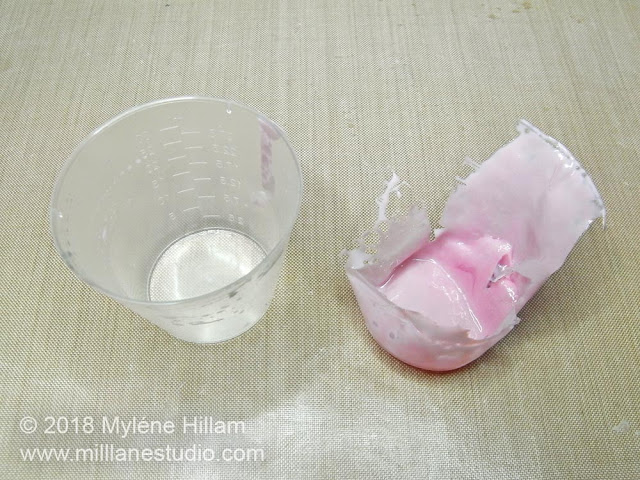
Grip the stick and give it a wiggle (my pipette removed completely because resin doesn't stick to it) and this should release the resin from the bottom of the cup. Now you can remove the resin shell from the cup and it should come away completely.
Although the resin shell has been removed, there is still resin inside the cup that needs to be removed. Sometimes, you'll find that there is some unmixed resin where the walls meet the bottom of the cup.
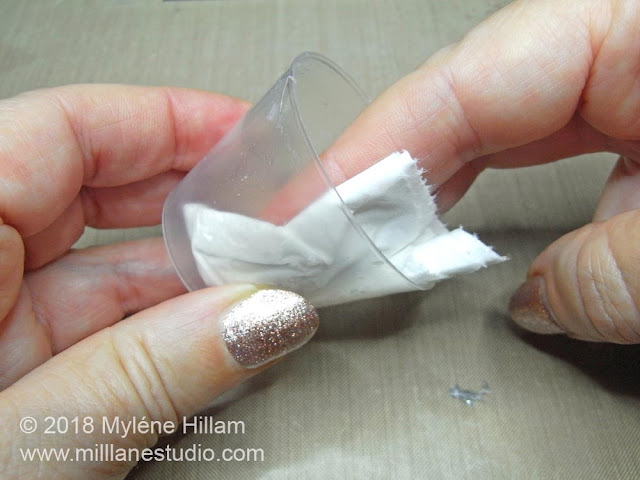
Pour the solvent or alcohol onto the tissue and wipe the inside of the cup, making sure that you remove any cured resin that's still on the walls of the cup. Pay particular attention to the bottom of the cup where the unmixed resin might be. If you leave any behind, it WILL cause problems with the next batch of resin you mix. Take a clean piece of tissue and clean it a second time.
You may need to use a piece of adhesive tape to remove any stray bits of resin left in the cup.
And that's all there is to it. Now your cup is clean and ready for re-use.

If you can't get enough of My Tutorials and you want even more inspiration, click here to find my books and printable pdfs
You can see how to do it in action in this video:
It's so much better for the environment to re-use cups and the bonus is, you'll save money that you can put towards other resin supplies. Now that's a WIN-WIN!
Pin this tip for later!
'Til next time.....

If you can't get enough of My Tutorials and you want even more inspiration, click here to find my books and printable pdfs



No comments
Post a Comment