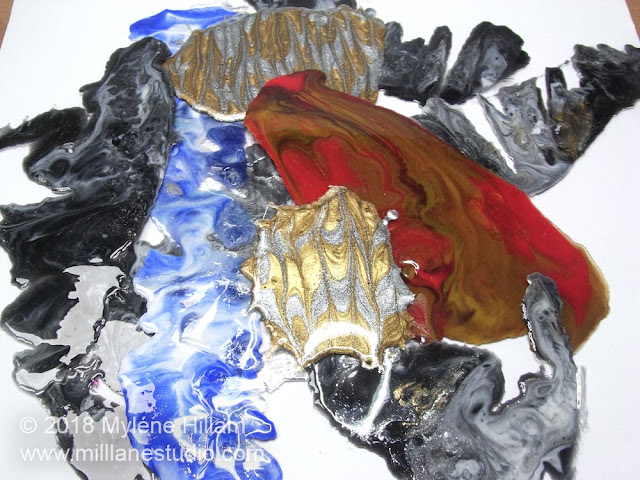
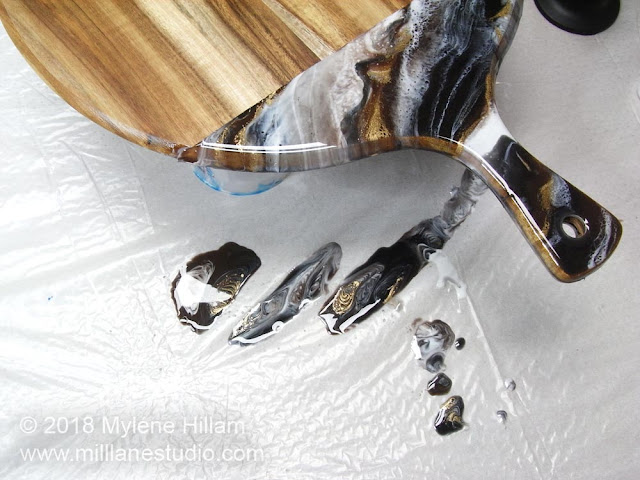
If you've ever created a resin painting, you'll have noticed that the resin flows over the edge of the canvas and onto the table below. As it drips, it pools and creates incredible marbled eddies and flows. Most resin artists just leave it to cure and then discard it.
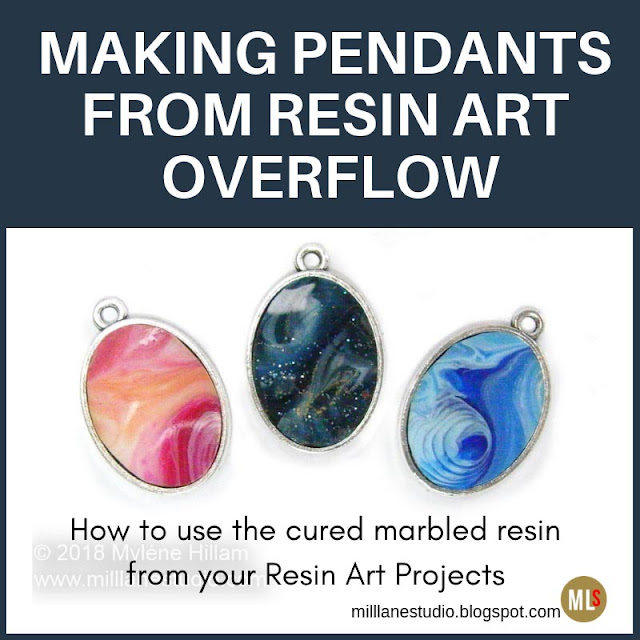
But some of the prettiest pieces of marbled resin jewellery I've made have come from this resin waste. The way the resin drips and flows is unpredictable and the patterns are much more intricate than you could ever create in a bezel so I save any of the larger pieces that I think I can use for other projects. Read on to see how easy it is to turn that waste into some unique pendants.
To start with, you'll need some cured resin overflow from a resin project. The overflow I'm using here is from a marbled cheese board. (Check out my class schedule if you'd like to learn how to make these.)
You'll also need some bezels. They come as a variety of different jewellery components: pendants, bracelets, rings.... just choose whatever takes your fancy.
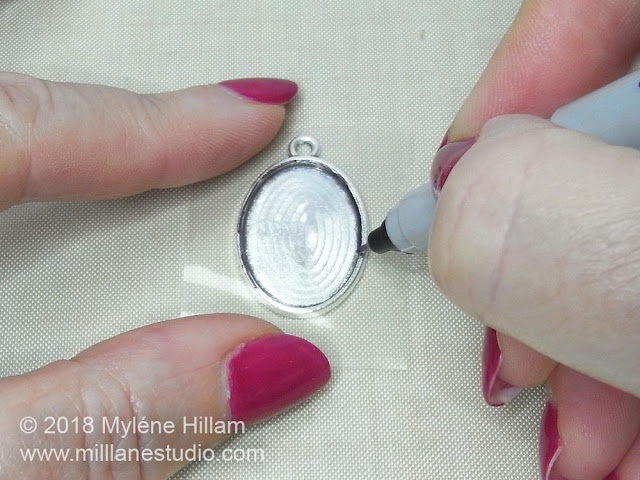
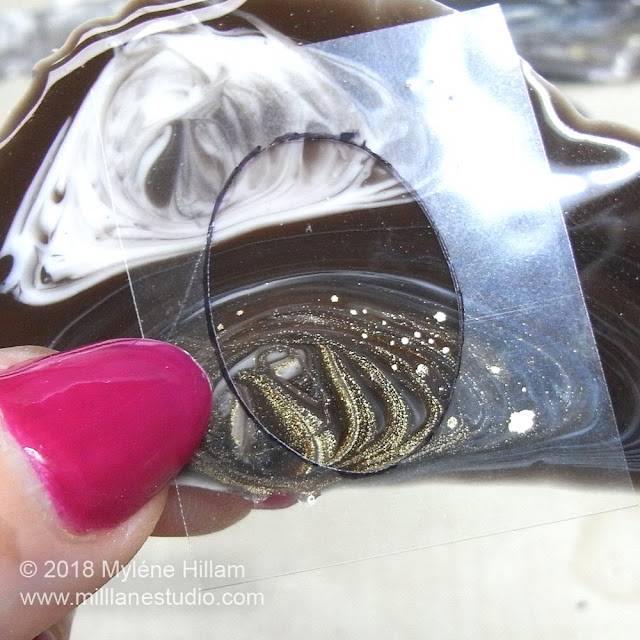
Start by cutting a template from a piece of scrap acetate. The easiest way to create a template is to place the acetate on the top of the bezel you'd like to use and trace just inside the rim with a permanent marker. Because you can see through the acetate, it makes it easy to create the template, plus it's also easy to see the patterns in the resin.
Now cut it out on the line, trying to leave both the "frame" and the template intact because sometimes it's easier to use the frame to trace around than the template.
Once you have your template or frame, place it onto the resin waste and move it around until you like what you see within the frame.
Next, trace it with the permanent marker and cut it out with scissors. I use Tonic Studios scissors because they cut through thick materials like resin as if it was butter!
But even then, sometimes the resin is too thick to cut through, so try this tip... it will work a treat!
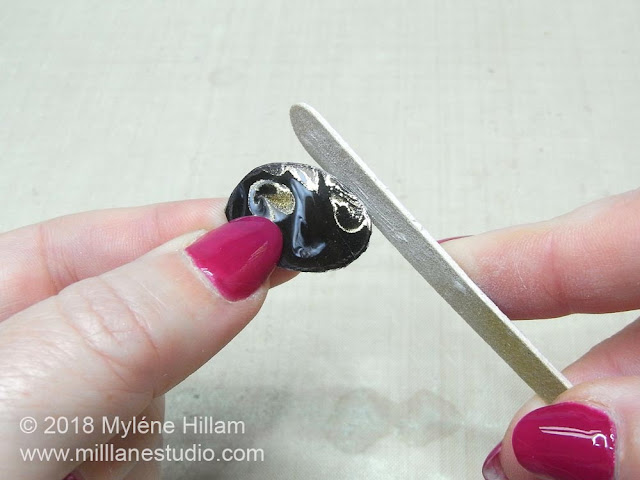
Test the resin for fit in the bezel. You'll no doubt need to do some fine tuning on the edges to get a perfect fit. I've found an emery board is perfect for fine sanding work like this. It gives you better control of what you're sanding than a piece of sandpaper because it's firm and you're less likely to accidentally scratch the front. Resin dust is very fine and it floats around. You don't want to breathe those fine particles in so make sure you're wearing a dust mask.
Keep test fitting it until it fits comfortably in the bezel.
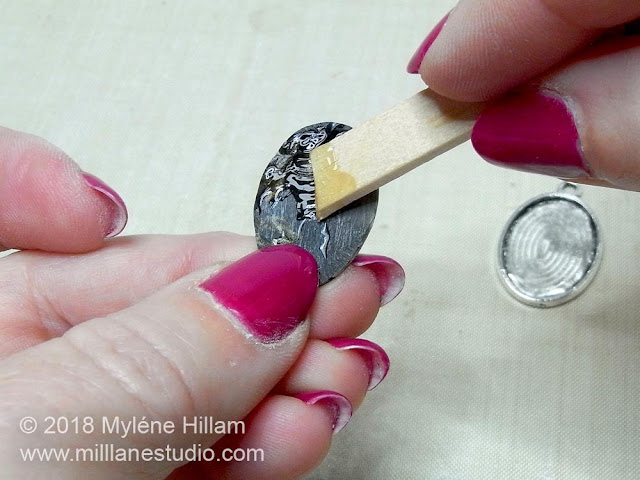
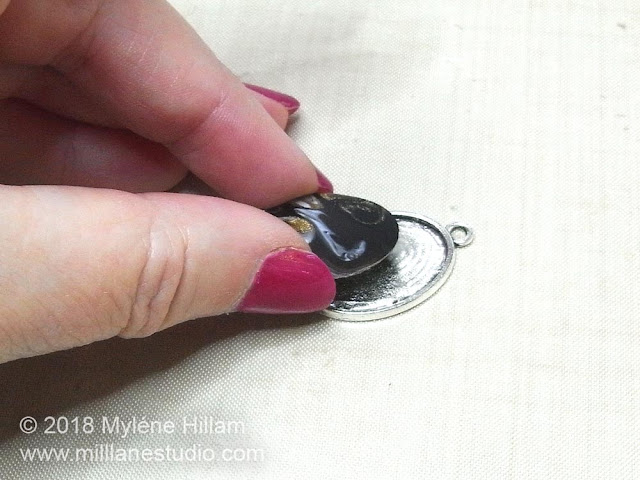
Next, mix up some 5-minute epoxy and apply a thin layer to both the bezel AND the back of the resin. For the strongest bond, you need to mix the epoxy adhesive correctly. It's easy to do, but if you've never used 5-minute epoxy before, here's a tutorial on how to mix it properly.
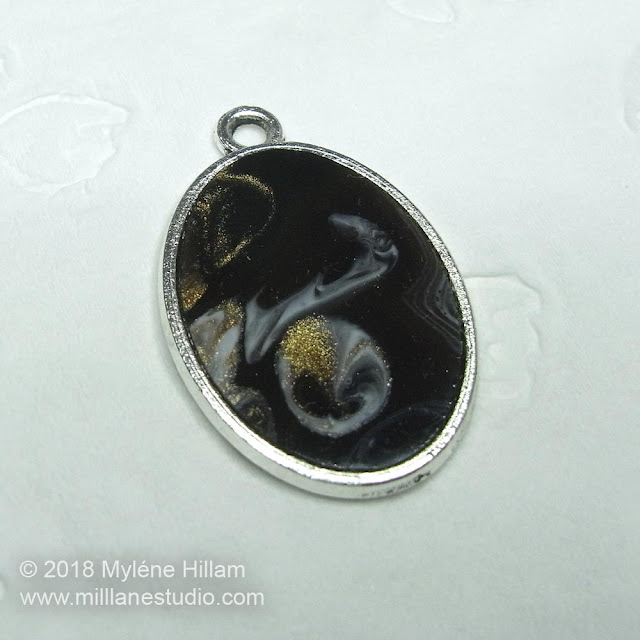
Position the resin into the bezel and you're done!
If you've been a little too generous with the adhesive and it has oozed out, clean up with methylated spirits (denatured alcohol) and a cotton bud.
Depending on whether you've chosen a deep or a shallow bezel, you can dome a layer of resin over the top but this bezel is a little too shallow for that. Besides, I like the way the resin is sitting flush with the rim of the bezel.
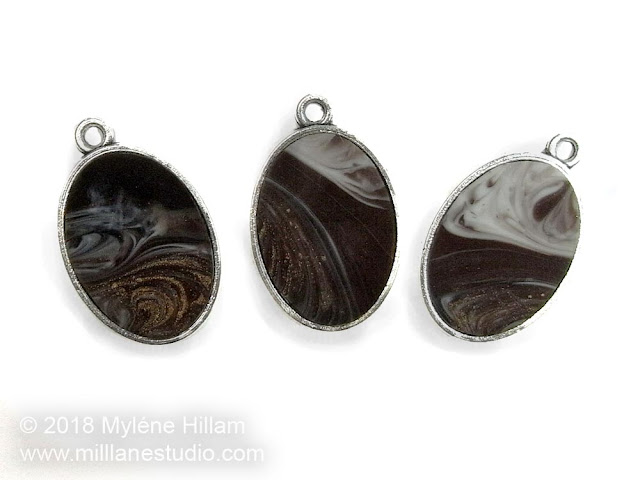
Here's some other pieces I made up from my overpour.
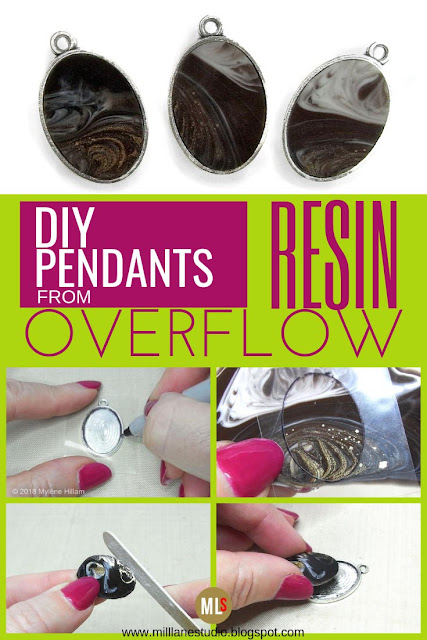
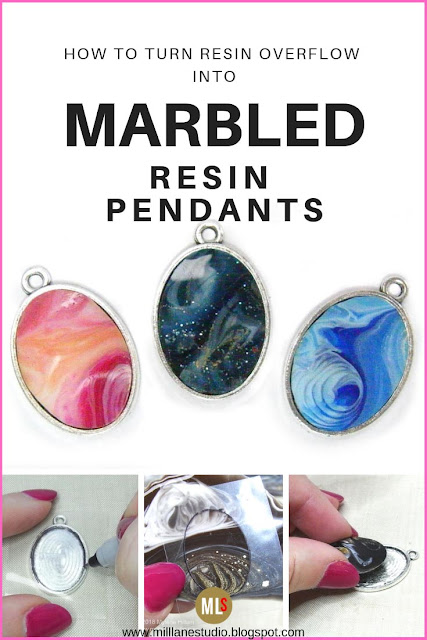
Pin this Project!
'Til next time.....

If you can't get enough of My Tutorials and you want even more inspiration, click here to find my books and printable pdfs




No comments
Post a Comment