There are a few basic jewellery-making skills that every jewellery maker should master and turning a loop on memory wire is one of them.
It seems quite straight forward... until you actually go to do it and end up with a lopsided, half-open loop that small beads slide around or catches on your clothes.
But this simple trick will change all that and make your memory wire jewellery look really professional. Read on....
You'll need:
Round nose pliers - this is the style I use.
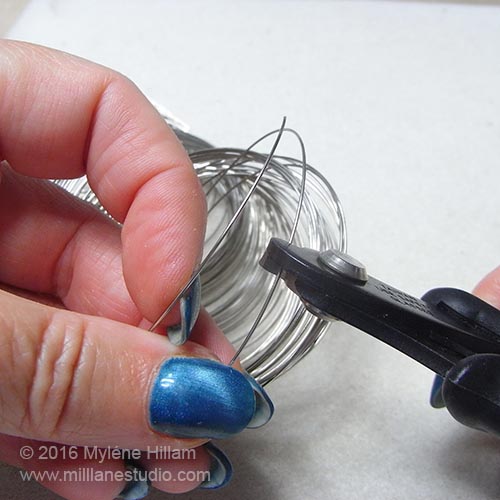
Memory wire shears. These are absolutely essential. Memory wire is made of steel and trying to cut it with your regular jewellery wire cutters will destroy the cutting blades. I know this from first hand experience!
Cut the memory wire long enough to go around your wrist PLUS 5cm (2"). This will give you a little more than you need but it's better to have a little extra than not enough.
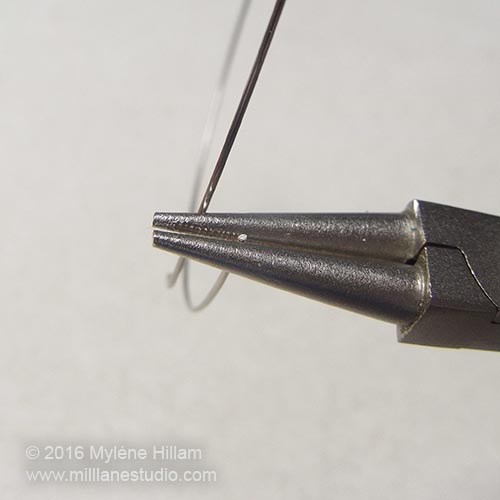
Grip the very tip of the wire in the jaws of the round nose pliers. How far along the pliers you place the wire will determine the size of the loop. For loops in memory wire, I like to make my loop about 1/3 of the way down from the tip, but how far you choose will depend on the diameter of the jaws of your pliers.
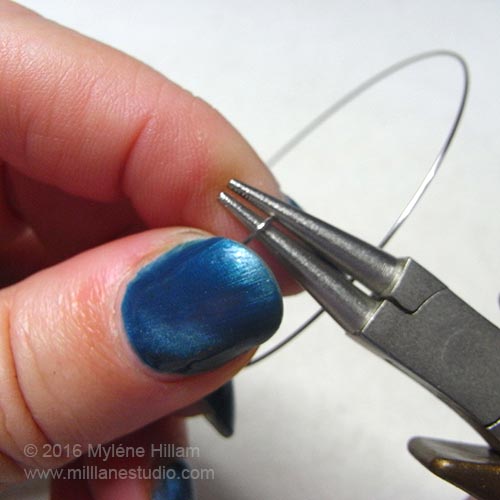
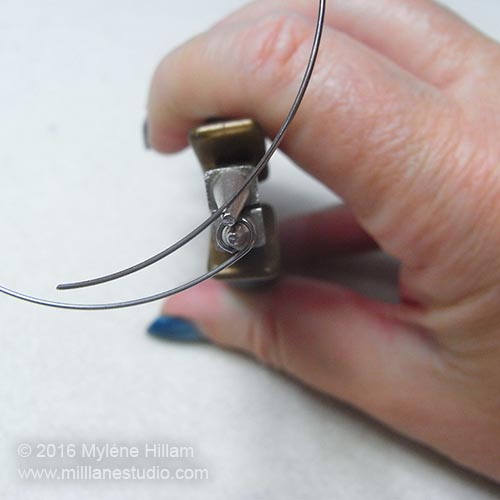
In this example, I'm showing you how to turn an inward facing loop. With the thumb of your non-dominant hand pressing on the outside of the wire, rotate the pliers inwards to turn a loop. To turn an outward facing loop, you'll rotate the pliers in the opposite direction.
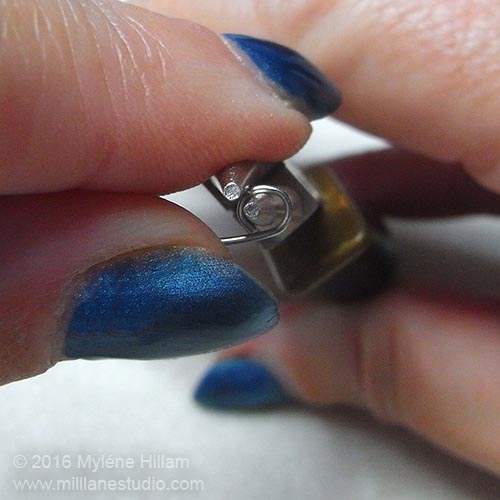
Your loop will still be partially open but this is where my little tip comes in. Instead of trying to rotate the pliers again to close the loop, use the thumb of your non-dominant hand to wrap the memory wire around the jaws of the pliers until it meets the end of the wire.
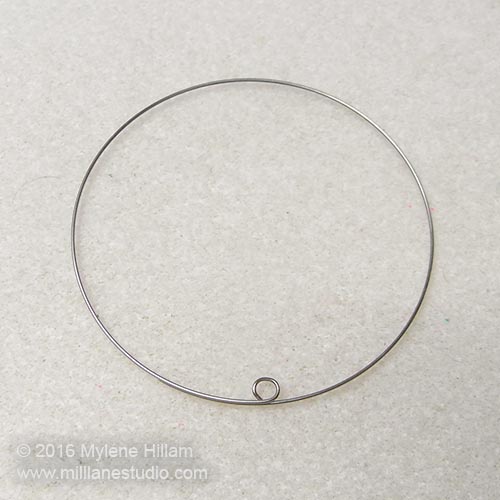
It should look like this!
You will have formed a perfect loop, with no gap to catch on your clothes or space for little beads to slide around.
Now that you know how to make perfect loops in memory wire, go make some wonderful jewellery.
Here's some designs to get you started:
Blush Memory Wire Bracelet
Christmas Tree Memory Wire Cuff
Scalloped Christmas Choker Necklace
Pastel Memory Wire Cuff-Style Bracelet
Pin this Jewellery Technique!
'Til next time.....

If you can't get enough of My Tutorials and you want even more inspiration, click here to find my books and printable pdfs



No comments
Post a Comment