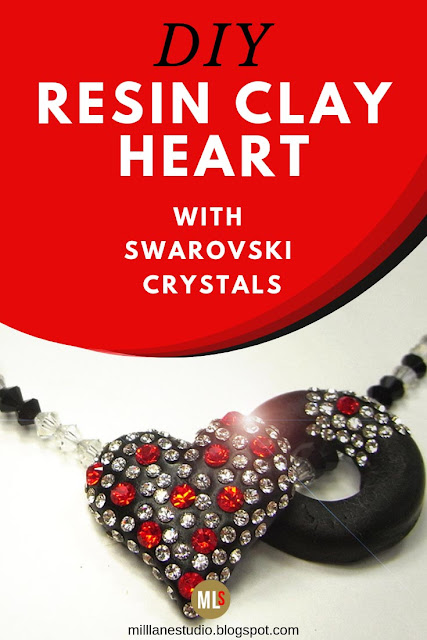
If you've ever gazed longingly in the window of a jewellery store at the sparkly pavé jewellery and wished that you could own one of those exquisite pieces then you'll love this jewellery-making project. Using epoxy resin clay and a selection of sparkly Swarovski crystals, you can make your own look-alike piece of pavé-style jewellery.
Here's a shopping list to help you find the materials you'll need:
Swarovski Chatons: 11 x Light Siam PP24 (3mm); 84 x Clear (2mm)
Talcum powder
Disposable gloves
Note: Epoxy Resin clay is really sticky which is perfect for permanently adhering crystals, but not so great on your hands. Make sure you wear gloves at all times when mixing and working with the clay. I usually powder my gloves lightly so the clay doesn't stick quick so much. The powder won't hurt the clay but it will dry it out faster so only apply powder if the clay is really sticky.
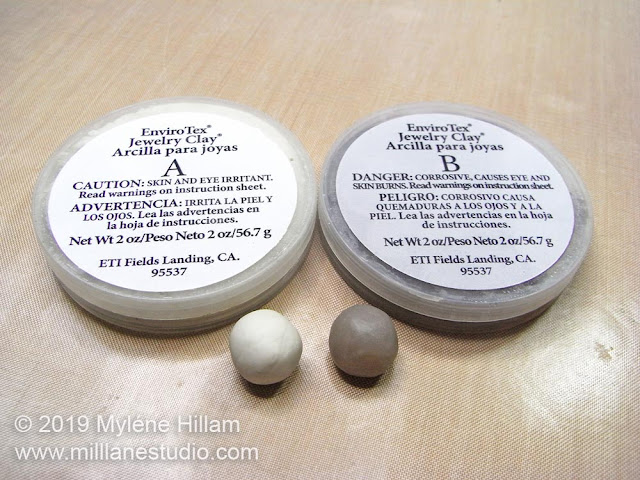
Measure out Parts A and B of the Jewelry Clay in equal quantities, enough to fill the mould of your choice. The easiest way to do this is to roll each piece into a ball and compare them in size.
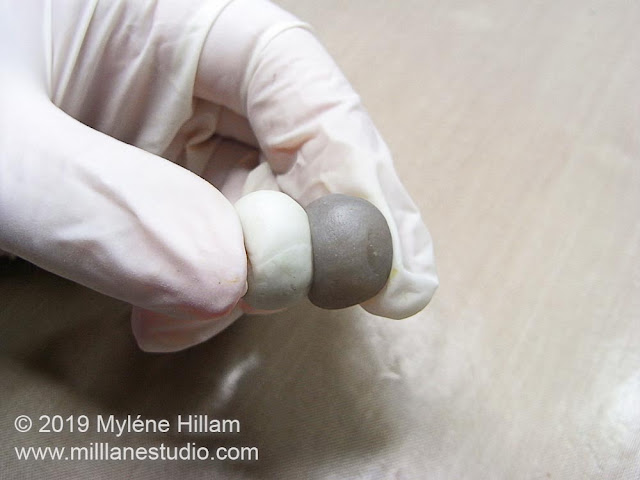
Place the two balls together and begin mixing them.
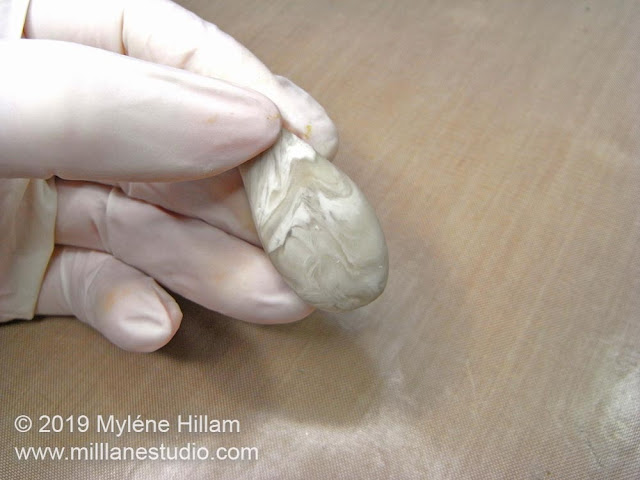
Keep blending the resin clay until there are no streaks of unmixed clay.
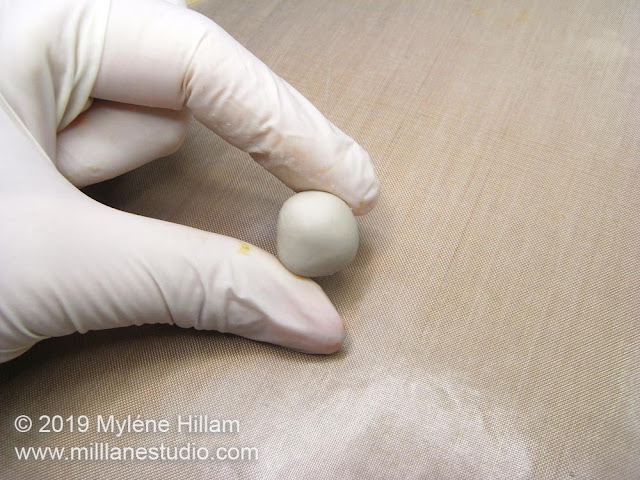
It should be uniform in colour.
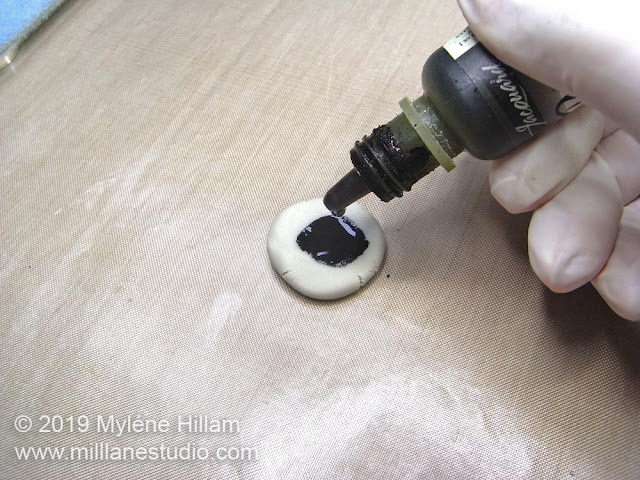
Flatten the clay into a disk and add two drops of the colourant you've chosen.
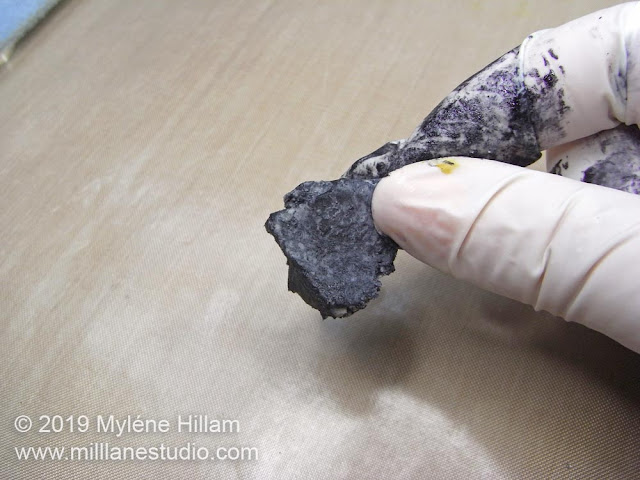
Mix it through the resin clay thoroughly. This is a messy process and powdering your gloves lightly can help minimise how much the clay and the colourant stick to you.
Once the clay is even in colour, you can additional additional drops, one by one, until the clay is solid black.
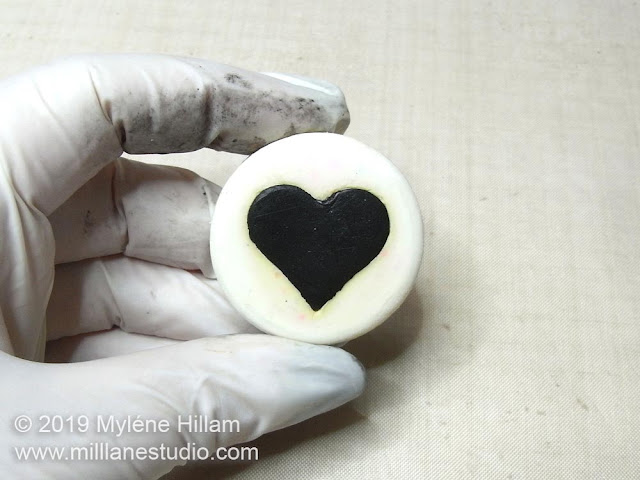
Roll the clay into a ball and push it into the heart mould.
Flatten the back by pressing it onto the craft sheet to give it an even surface that you can attach a flatback finding to.
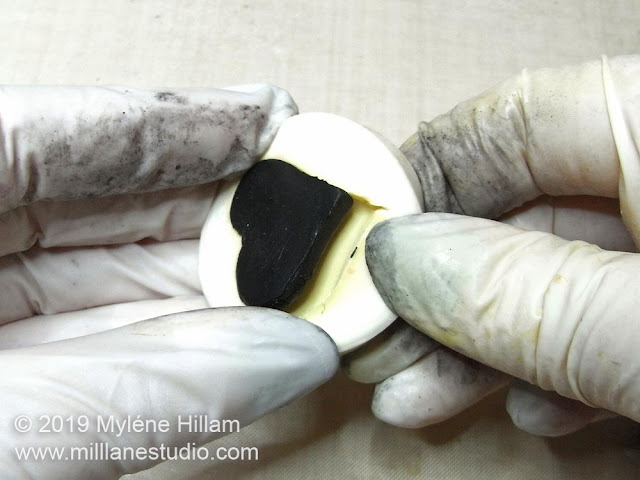
Gently remove the heart from the mould whilst the epoxy resin clay is still soft.
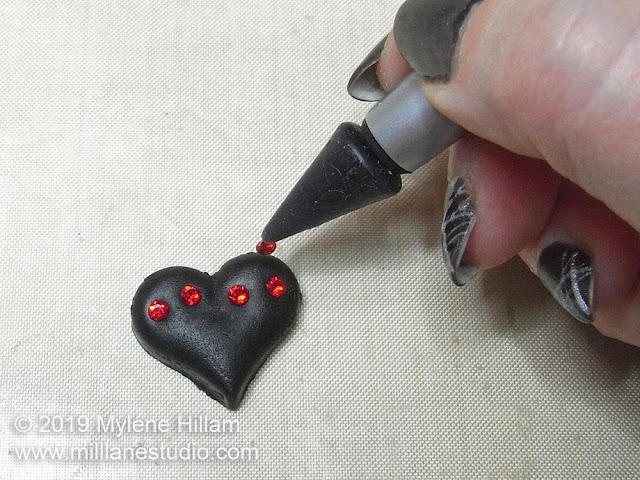
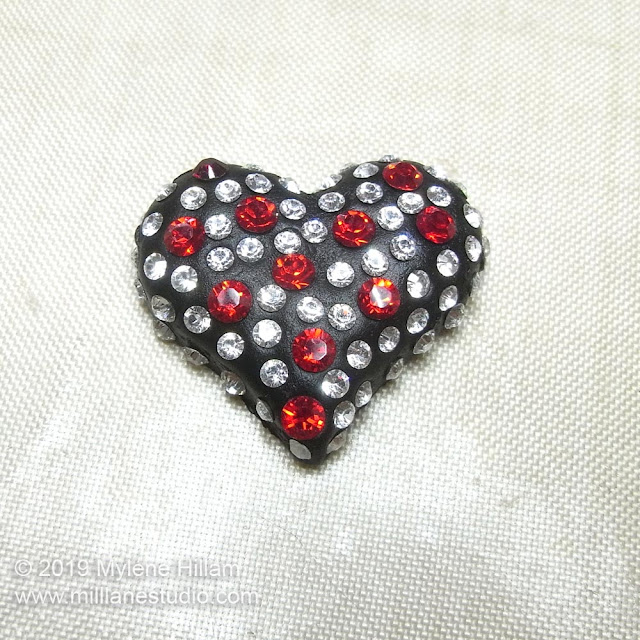
Pick up the Light Siam crystal chatons with the Crystal Katana and place them one by one on the heart. Once you've placed the red crystals, fill in the spaces in between with the clear chatons.
Leave the heart to cure and harden for several hours.
Once the clay has cured, you'll want to turn it into a piece of jewellery. Here's what you'll need:
bolo slide
Faceted black beads: 4 x 10mm; 2 x 8mm
12 x 4mm black Swarovski bicones
28 x 4mm clear Swarovski bicones
silver toggle clasp
1 10mm silver ring
4 x #2 silver crimp tubes
4 silver wire guardians
Beadalon 19 strand silver beading wire: 0.015"
12 x 4mm black Swarovski crystal bicones
28 x 4mm clear Swarovski crystal bicones
8mm flat oval silver chain
5 minute epoxy adhesive
Tools: flush cutters, crimping pliers, chain nose pliers
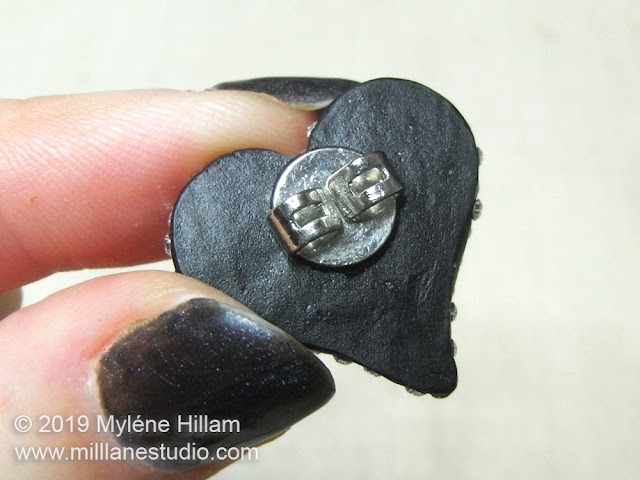
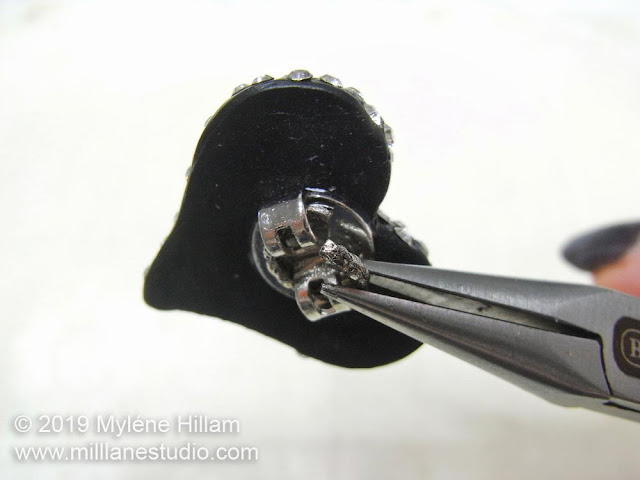
Mix the 5-minute epoxy adhesive and apply it to the face of the bolo slide. Attach it to the back of the heart, positioning it towards the top of the heart so that it doesn't flop forward when worn.
Cut a 25cm (10") length of beading wire. On one end, string a crimp tube, the wire guardian and then thread the wire back through the crimp tube. Crimp it securely.
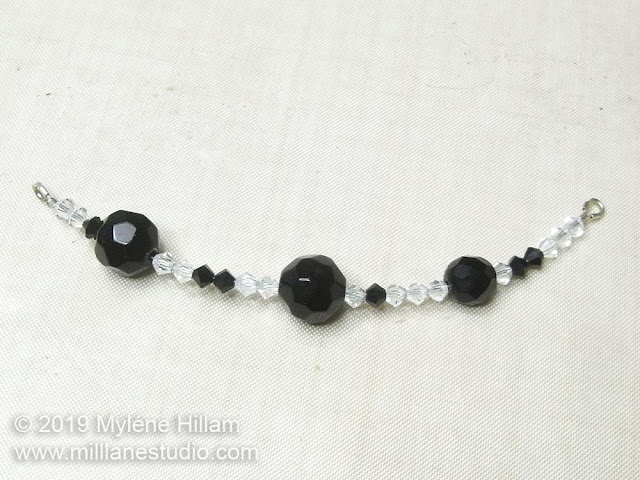
String three clear and two black bicones and one more clear bicone. String an 8mm faceted bead. String three clear, one black and one clear bicone, followed by a 10mm bead. String two clear, two black and two clear bicones and a 10mm bead. String one black and two clear bicones. String a crimp tube and a wire guardian and then thread the beading wire back through the crimp. Crimp it securely and trim away the excess wire. String another length of beading wire following the same stringing pattern.
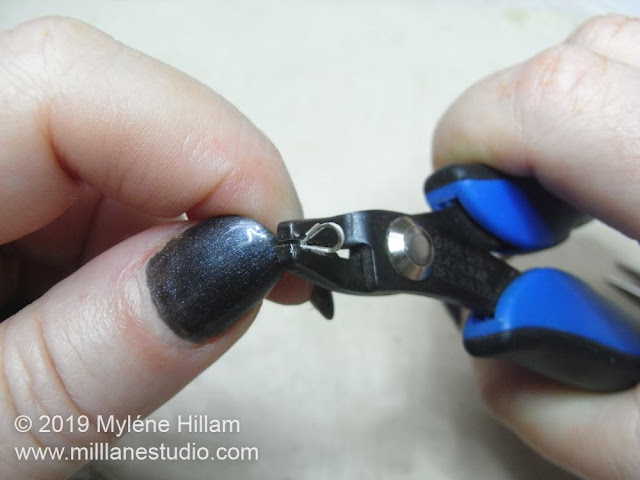
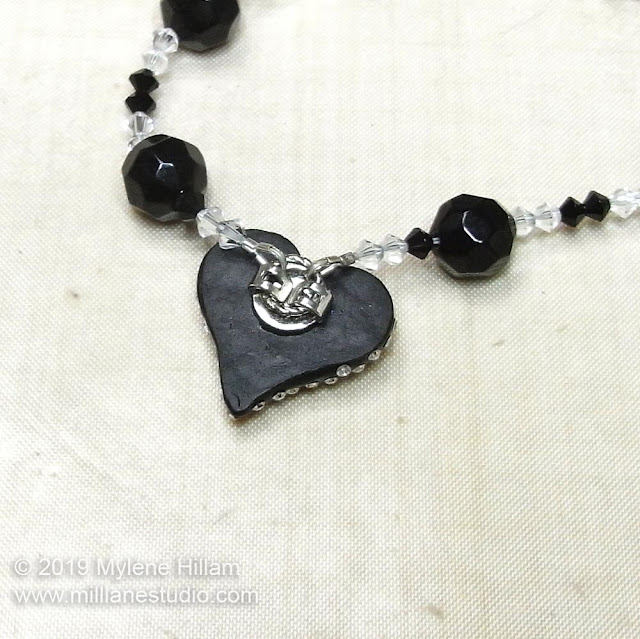
Cut the silver ring and open it as you would a jump ring. Hook it through the two loops of the bolo slide.
Hook on a wire guardian from each of the two beaded lengths.
Cut two 10cm (4") pieces of chain. Open the last link of each chain and hook on the wire guardian on the other end of the two beaded lengths. Close the links as you would a jump ring.
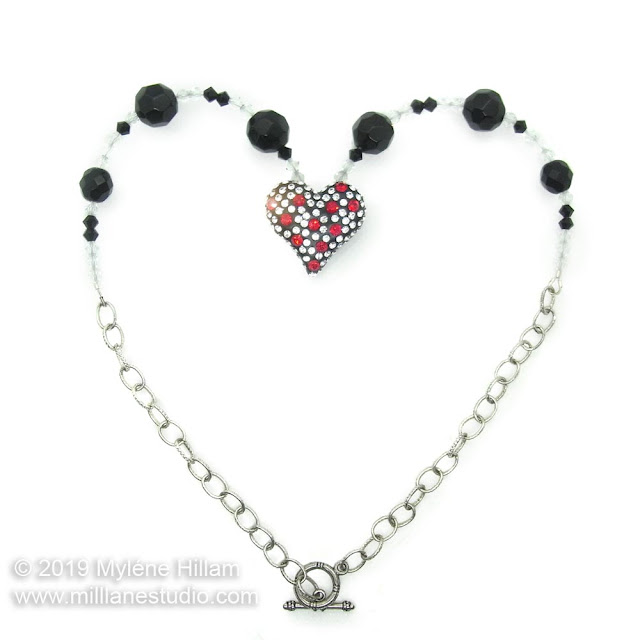
Open the last link on each of the two chain lengths and hook the toggle on one side and the bar on the other. Close the two links and your sparkly resin clay heart necklace is ready to wear!
Pin this Project!
'Til next time.....

If you can't get enough of My Tutorials and you want even more inspiration, click here to find my books and printable pdfs







No comments
Post a Comment