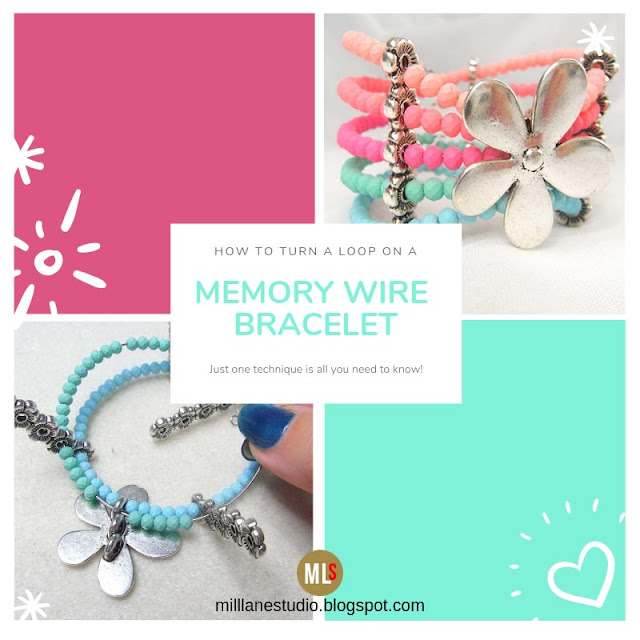
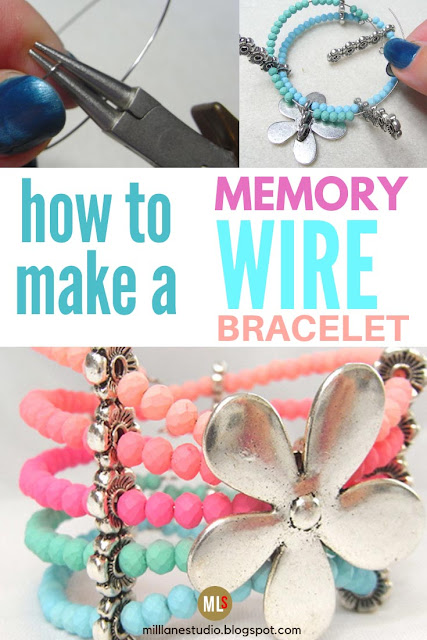
The bracelet is made with five individual coils of memory wire that are connected with spacer bars for stability. You'll need a couple of hours to string the design but it's easy enough for a beginner to tackle. In fact, you only need to know one technique - how to turn a loop on memory wire - making this a great place for a beginner jewellery maker to start. And, if you're new to jewellery making (or just need a refresher), you can see how to turn memory wire loops here.
Silver bracelet memory wire (gold bracelet memory wire)
4mm x 3mm faceted rondelles: 48 each of Lake Blue, Green, Rose, Pink, Light Pink
4 x spacer bars with five holes (try these silver spacers or these gold spacers if you can't get the ones I used)
1 x silver flower metal slider with 3 loops (here's a gold one)
Tools: round nose pliers, memory wire shears, chain nose pliers
Note: Memory wire is made of steel that will damage your good wire cutters so make sure you always use memory wire shears to cut it!
Use the memory wire shears to cut five pieces of memory wire. To make a standard size bracelet, each one should be one full coil plus 1" (2.5cm). If needed, cut the coils a little longer.
Turn an inward loop on one end of each coil. String 3 turquoise beads on one coil.
String the outside hole of a spacer bar onto the memory wire.
String fifteen Lake Blue rondelles.
Insert the wire through the outside hole of a second spacer bar.
String six Lake Blue rondelles.
Insert the memory wire through the outside hole of the flower slider.
String six Lake Blue rondelles, then thread the wire through the outside hole of a third spacer bar. String fifteen Lake Blue rondelles and the outside hole of the fourth spacer bar. String three more rondelles.
Move all the beads along the memory wire to remove any excess space but don't make them too tight on the wire. Trim the wire to 11mm (7/16") with the memory wire shears.
Turn an inward facing loop.
Take a second piece of memory wire. String three Green beads and then pass the memory wire through the second hole of the spacer bar. Continue stringing Green beads following the same pattern as the turquoise beads. Pass the memory wire through the same loop of the flower as the Lake Blue beads. You may need to adjust the number of beads used on either side of the flower to make the slider sit nicely. Finish stringing the Green beads and then turn an inward loop.
String the Rose, Pink and Light Pink beads in the same way with the following variations:
Rose row: thread the wire through the middle hole of the flower slider.
Pink and Light Pink Rows: thread the wires through the remaining outside loop of the flower slider. You may need to adjust the number of beads to make the flower sit properly. To thread the Light Pink row of memory wire through the flower slider, you will need to use pliers to draw it through.
Use pliers to feed the wire through the top hole of the spacer bar. If necessary, bend the end of the memory wire down a little to help you feed it through. Finish stringing the beads and turn an inward loop to complete your bracelet.
And there you have it - a pretty, cuff-style bracelet that doesn't require a clasp, making it a breeze to put on and take off!
Pin this Project!
'Til next time.....

If you can't get enough of My Tutorials and you want even more inspiration, click here to find my books and printable pdfs


No comments
Post a Comment