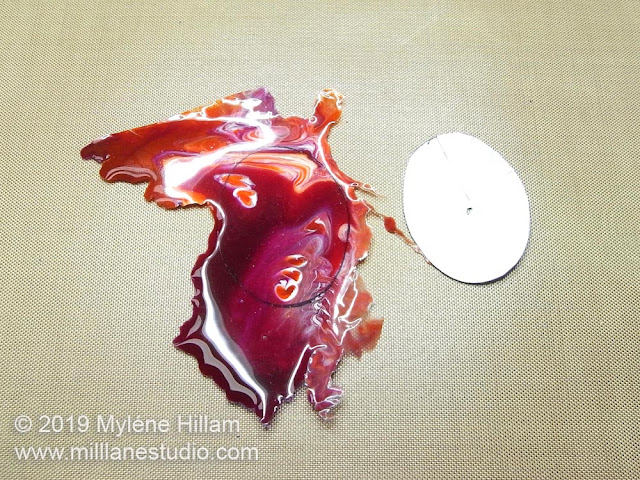
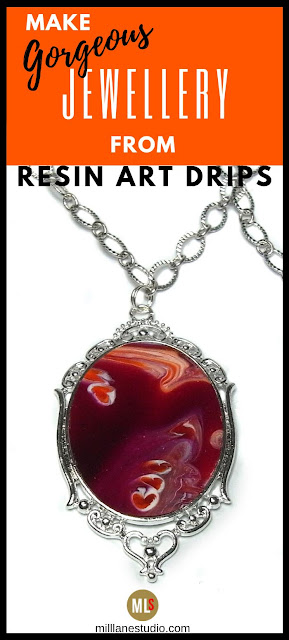
Of course, my need to keep things has also transferred to the resin overflow that drips over the edge of my resin art pieces and onto the table below, where the resin forms beautifully patterned puddles. You couldn't recreate these intricate patterns if you tried and yet gravity can do it all on its own! So I keep all the pieces that are a usable size and this is one way I use them. See the end of the post for links to even more ideas on how you can use up your resin skins.
What you'll need is:
Some resin art overflow (or skins)
Bezel of your choice
Scrap of paper to create a template from
5-minute epoxy adhesive
Wooden stir stick and disposable plastic lid to mix the adhesive on
Tonic Studio Micro Serrated Scissors
Emery board (100/180 grit are ideal)
Permanent Marker
Methylated spirits (denatured alcohol)
Cotton bud (Q tip)
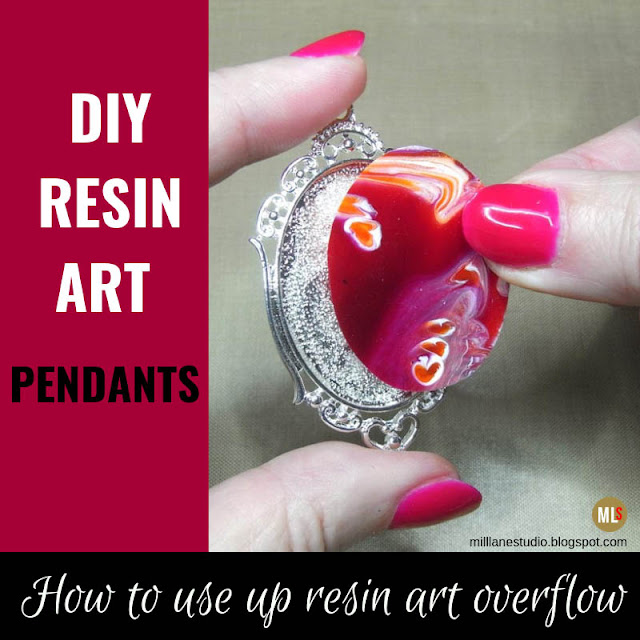
Start by creating a template from the paper. Place the paper over the bezel and press it onto the rim to make an impression. Then cut it out. Now you have an outer frame that you can move around the marbled resin to help you select the patterned area you like and a template that you can trace around. Test the template inside the bezel to see how it fits. You usually need to trim away a little bit more so that it fits neatly inside.
Once you've decided on the area you like, place the template back inside the frame, remove the frame and trace around the template with the permanent marker.
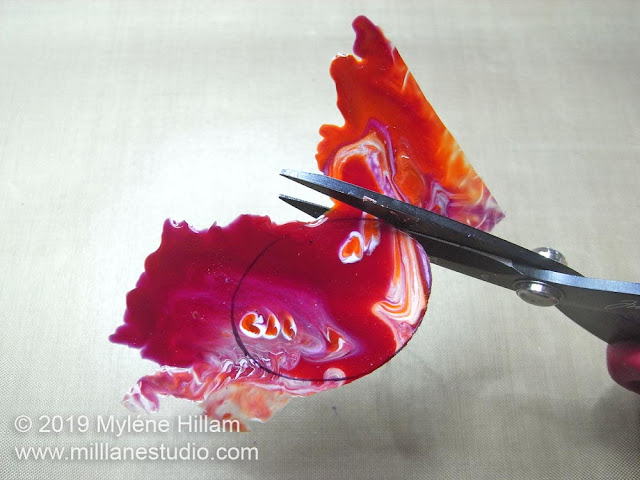
Cut it out just so you can just see the permanent marker line.
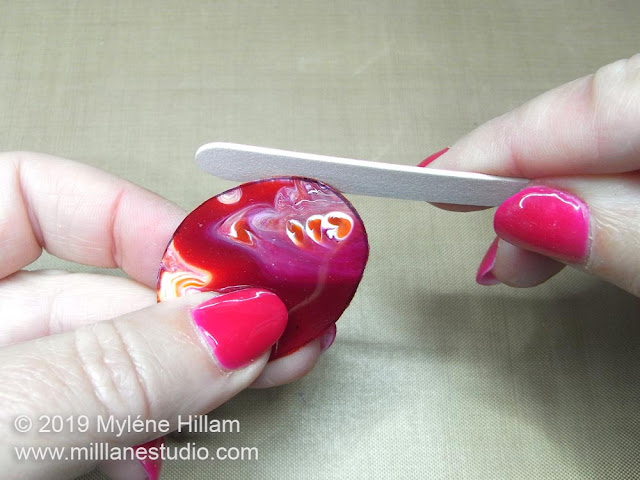
Use the emery board to sand the resin edges. Emery boards come in different grades and the speed at which you remove material will depend on whether you have a coarse or a fine emery board. You don't want to file away too much resin so check from time to time how the resin is fitting inside the bezel. If the resin is too thick for the depth of the bezel, you can also file it to make it thinner.
Once you've shaped the resin to fit the bezel, cut the rounded edge off the stir stick. This makes it much easier to mix the 5-minute epoxy. Dispense equal quantities of the adhesive and mix until it's completely combined. If you're not sure how to do that, see this post.
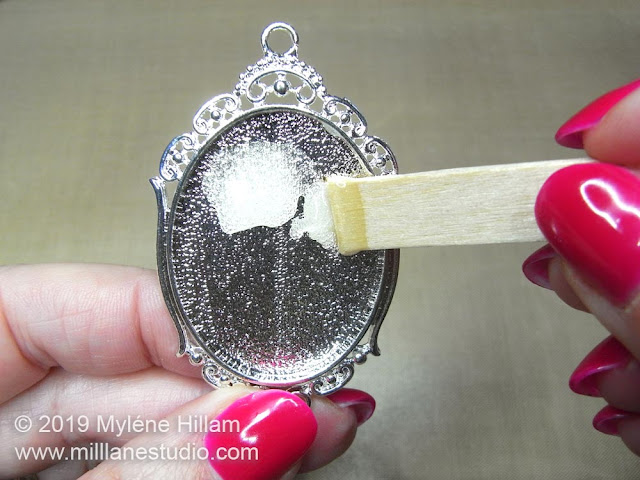
Apply the adhesive in the middle of the bezel and then spread it out to the edges. You want a thin coat of adhesive across the whole bezel but you don't want too much or it will ooze out the sides and you'll have a mess to clean up. If that happens, use some methylated spirits (denatured alcohol) and a cotton bud (Q tip) to clean it up.
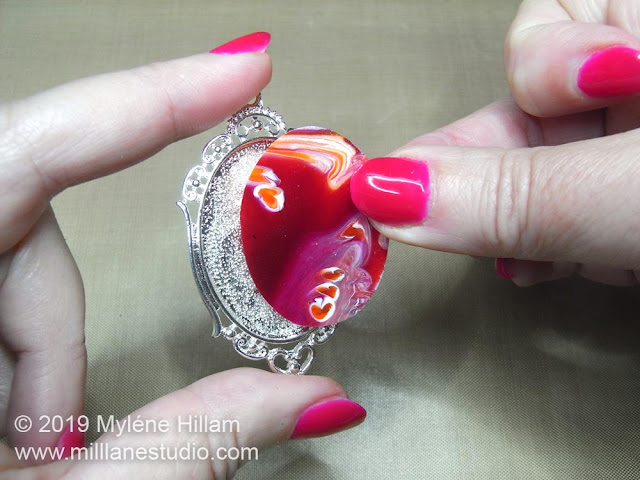
Place the resin inside the bezel and press it down lightly.
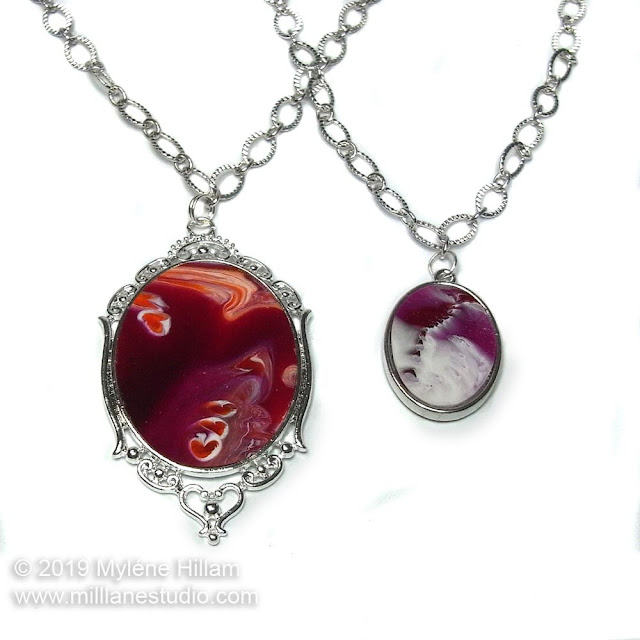
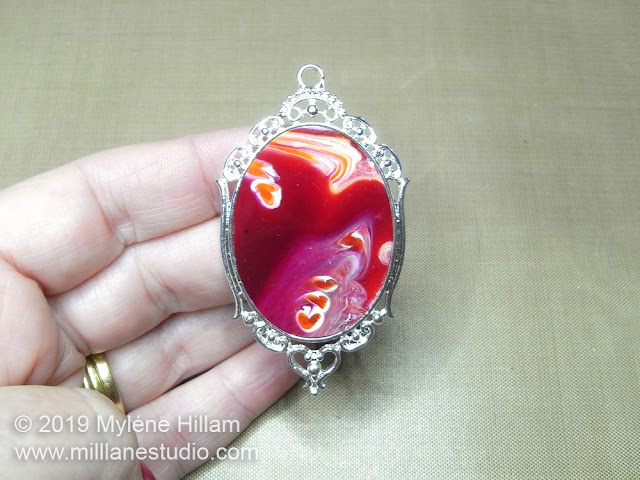
If you have any permanent marker still showing, wipe it off with a cotton bud dipped in methylated spirits. String your pendant on a chain and it's ready to wear in a few minutes.
If you're like me and have a collection of resin overflow that you can't bear to throw away, then check out these other related posts:
Make Orb Beads from Resin Art Overflow
Make Pendants from Marbled Resin
A trick for How to Cut Thick Resin Overflow
How to Mix 5-Minute Epoxy
Pin this Project!
'Til next time.....

If you can't get enough of My Tutorials and you want even more inspiration, click here to find my books and printable pdfs




No comments
Post a Comment