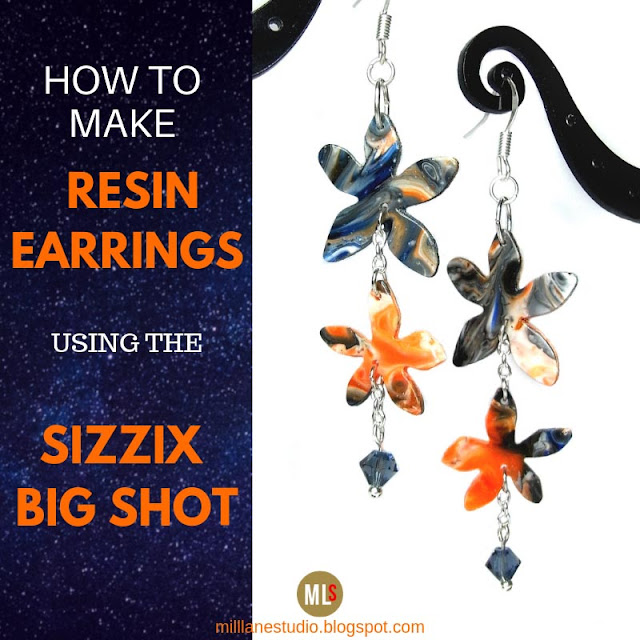
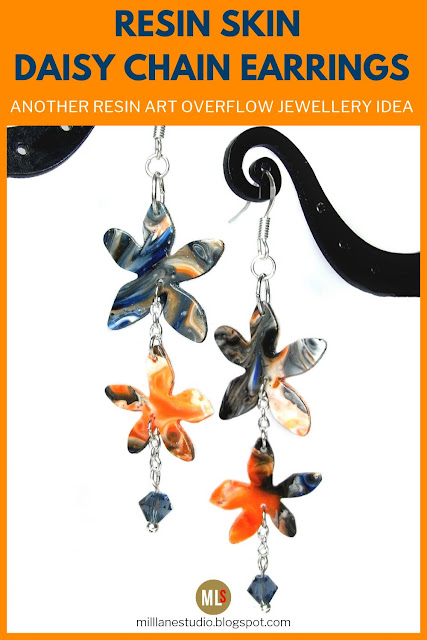
For anyone who has made a few pieces of resin art, you'll have seen the intricate patterns that collect on the table below your canvas as the resin drips over the edge. You just couldn't replicate such gorgeous marbling if you tried! It's probably crossed your mind that you could turn it into jewellery and this post shows you one way that you can. You'll need a die cut machine like a Sizzix Big Shot and steel rule die to cut the resin - plus my special tip which you can see in the video further down the page.
Here's what you need:
Resin Art overflow (or skin) no thicker than 1.5mm (1/16")
Drill with 1mm drill bit
Sizzix Big Shot
Sizzix die - I used Flowers #4 (657011) which has been retired. Try this one instead: 660659 or hunt around for a second hand one on your favourite pre-loved goods site.
2 4mm Swarovski bicone crystals (I used Montana)
2 silver ball head pins
Fine cable chain
6 x 4mm silver jump rings
2 oval jump rings
2 earring wires
Tools: chain nose pliers, round nose pliers, flat nose pliers, flush cutters
You'll also need a craft heat tool or a flat container filled with warm water.
N.B. This project works best with resins skins that are slightly flexible when cured. If the resin you try to die cut snaps, then you will have to use those skins in a different project. Keep an eye out for upcoming blog posts featuring other ways you can use up resin art overflow that don't require die cutting.
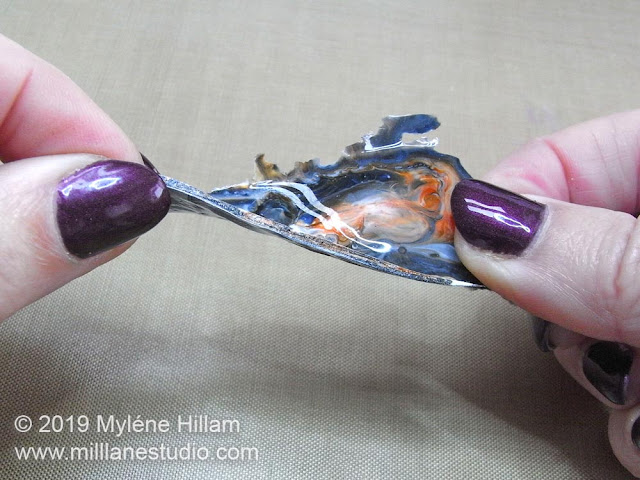
To make it easier to cut, soften the sheet of resin by passing the craft heat tool over it a few times. If you're using warm water, place the resin into the water bath for a few minutes and then dry it off. When the resin is as flexible as shown in this photo, it will be much easier for the Big Shot to cut it.
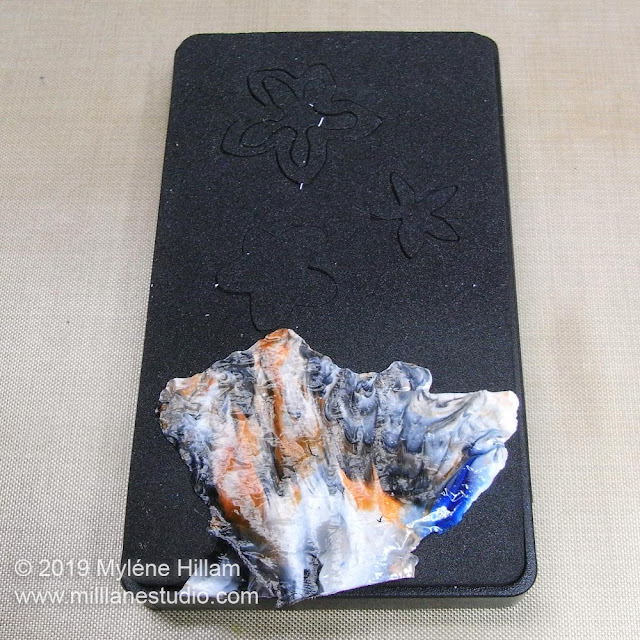
Whilst the resin is still pliable, position it face down on the die. Cutting this way will give you a nice rounded edge on the front of the daisies so you won't have to sand rough edges (Bonus!!)
Sandwich the die between the plates with the dye facing up (resin on top). You need to position it in the centre of the plates. this allows the leading edges to flex as they begin to draw through the machine. If you place the die hard up against the leading edge, you won't be able to draw the plates through.
Slowly crank the handle. If the Big Shot feels like it's struggling, then the resin is too thick. Stop and choose a thinner skin to work with.
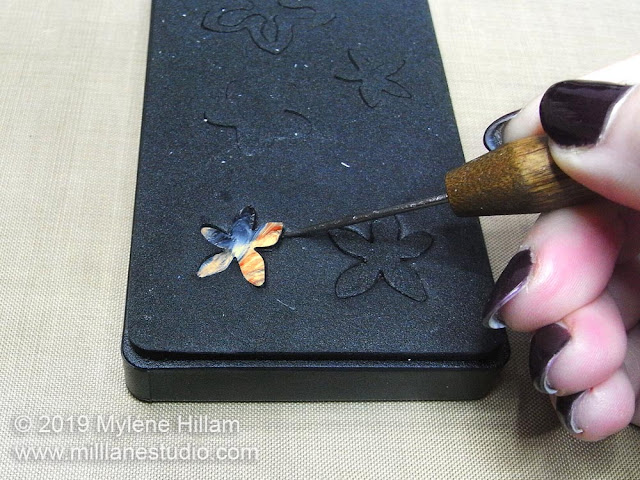
Remove the die from the plate sandwich and remove the die cuts. Sometimes, they'll be firmly stuck below the steel cutting frame and you'll have to pry them out with a needle tool.
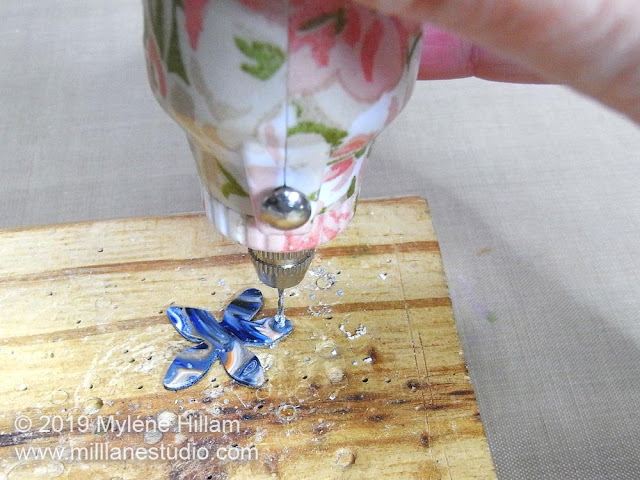
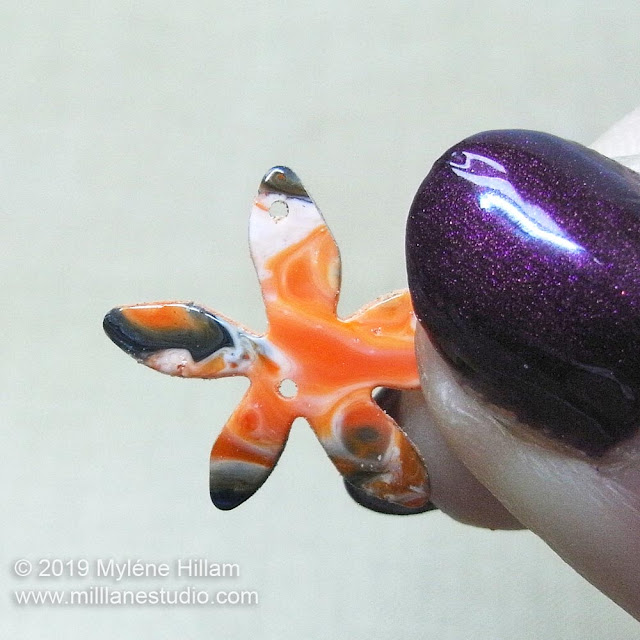
Drill a hole in the top of each flower.
Drill one in between the two bottom petals of each flower also.
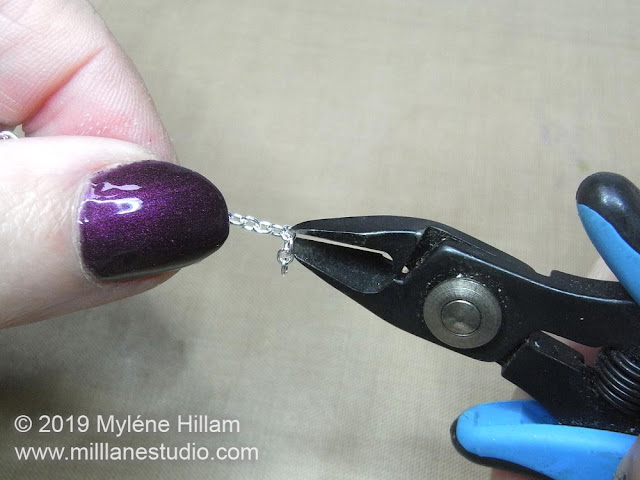
Cut two 3-link pieces of chain for each earring.
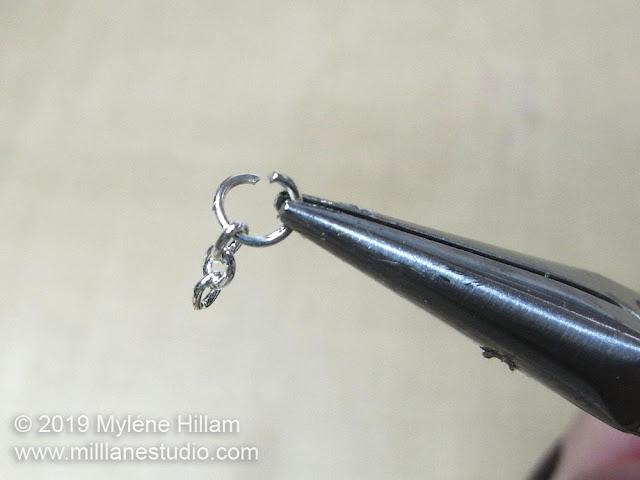
Open a jump ring and hook on one set of links. Hook another jump ring on the other end,
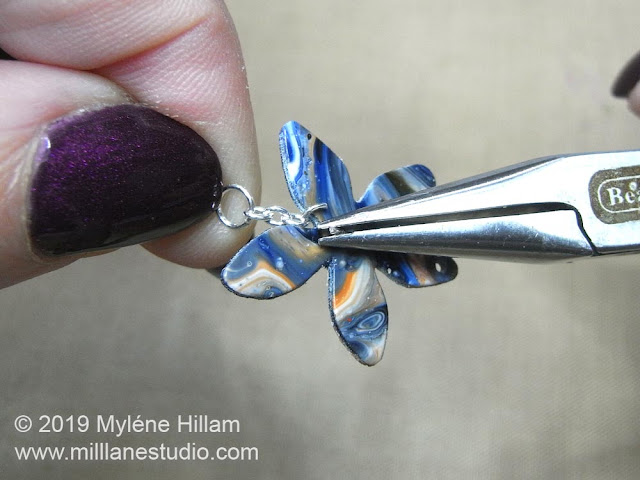
Whilst the jump ring is still open, insert it through the bottom hole of the larger flower.
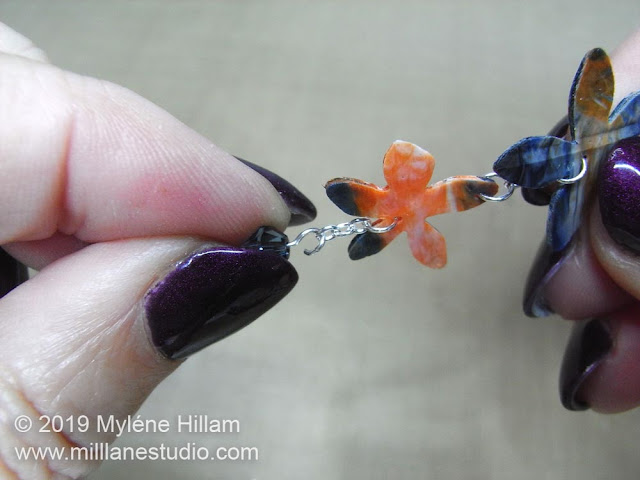
Open the jump ring on the other end of the chain and hook it through the top hole of the smaller flower.
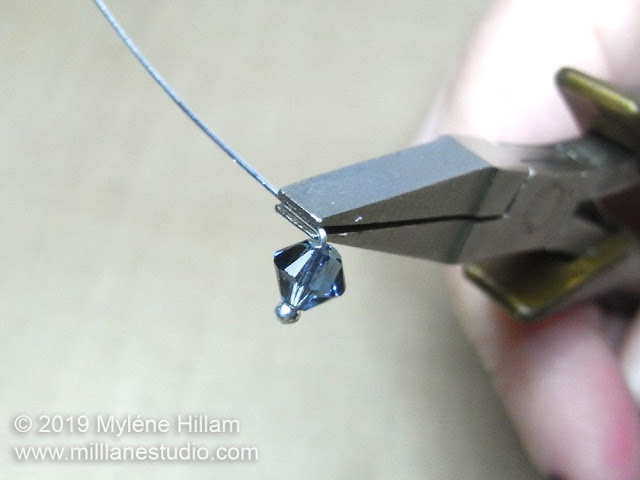
String a bicone onto a head pin and bend it at a right angle.
Trim it to 8mm (3/8").
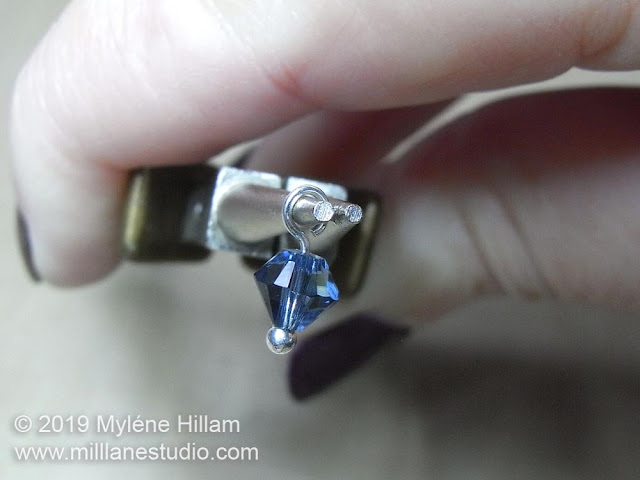
Turn a simple loop.
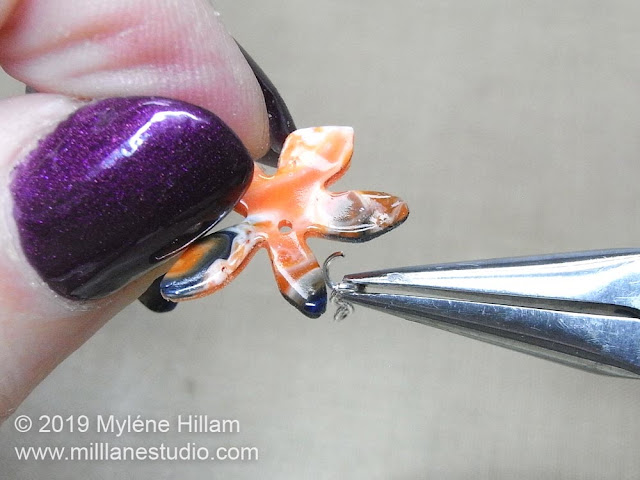
Hook another chain onto a jump ring and insert it through the hole on the bottom of the smaller flower.
Open the loop of the crystal and hook it through the bottom chain link.
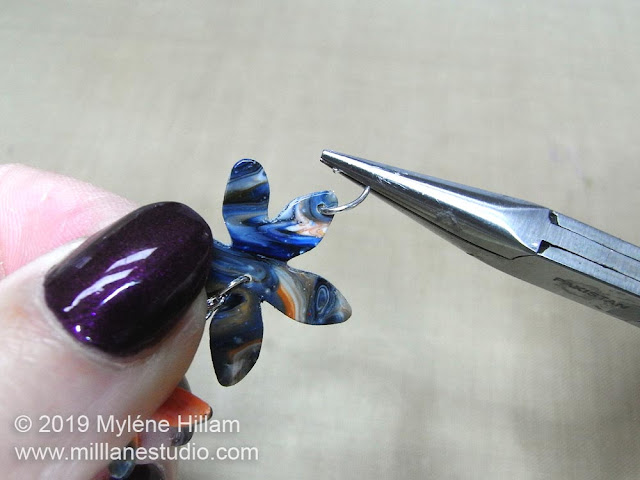
Open an oval jump ring and insert it through the top hole of the large flower.
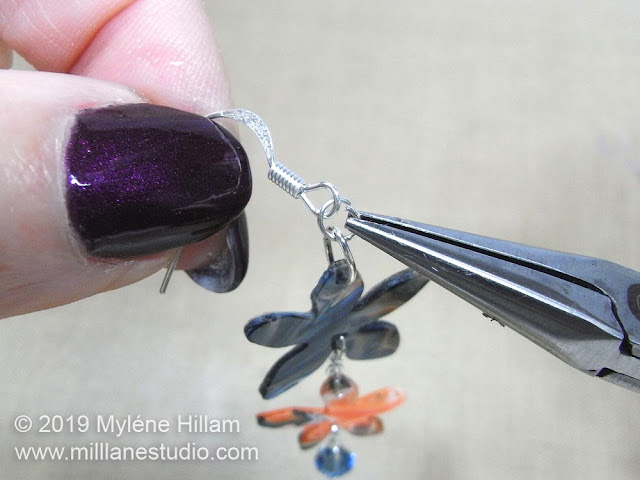
Connect the oval jump to the earring wire with a jump ring.
Now make a matching earring!
Got more resin art overflow? Well here are more ideas for how to use it:
Resin Art Overflow Pendants
Resin Orb Beads
How to make pendants from Resin Art Overflow
Pin this Project!

If you can't get enough of My Tutorials and you want even more inspiration, click here to find my books and printable pdfs






No comments
Post a Comment