This post is sponsored by Realeather®
It's hard to miss the surge in popularity of the leather leaf earrings that Joanna Gaines sported in Fixer Upper. It’s made leather earrings HOT, HOT, HOT and they’re now a staple in any savvy fashionista’s jewellery collection.
Then there’s the geometric trend - the trend that never really goes away. It's simple, classic and timeless. And right now, geometric earrings are popping up everywhere and in such a diverse range of materials like polymer clay, wood and resin. So it stands to reason that if you were to marry leather with geometric shapes that they would be a match made in heaven!
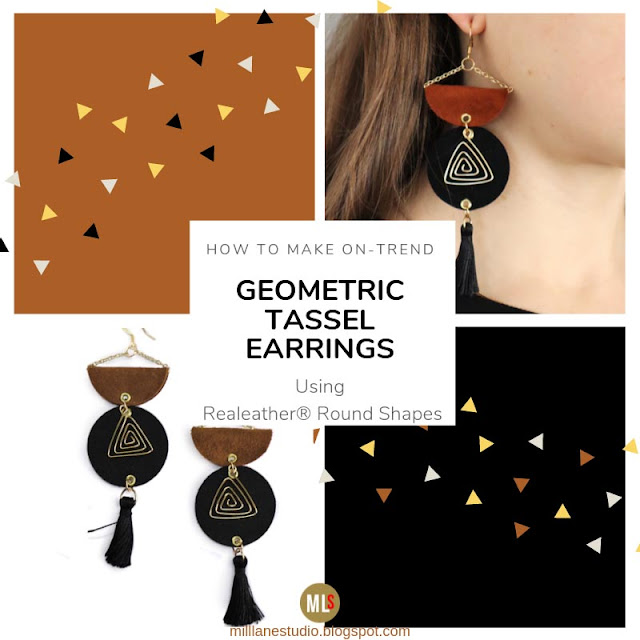
Read on and I'll show you how to take these two on-trend elements and turn them into a pair of bold but classy statement earrings that will glam up any outfit instantly and that you'll LOVE wearing again and again. As you can see below, my daughter loves them so much she has already snagged them!
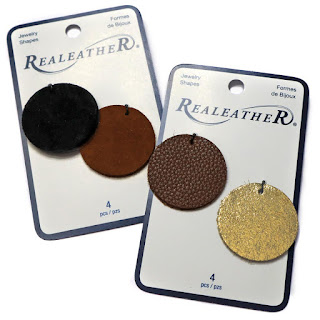
The most essential ingredient of these earrings is without doubt, the Realeather® Round Shapes.
These new leather jewellery shapes come in a range of different colour combinations and finishes. But for this project, I've chosen the Black and Medium Brown combination pack, C4809-28.
(You can find all these supplies at Hobby Lobby.)
- Realeather Circle Shapes C4809-28
- 1-1/2” black tassels
- 4mm (outer diameter) gold eyelets
- 6mm gold jump rings
- Fine necklace chain
- 20gauge non-tarnish wire
- Gold earring wires
You'll also need some tools to help you make this project:
- Combination eyelet setting pliers and hole punch
- Flat nose pliers
- Chain nose pliers
- Round nose pliers
- Flush cutters
- Nylon jaw pliers
So let's get started!
Prepare the Leather Circles
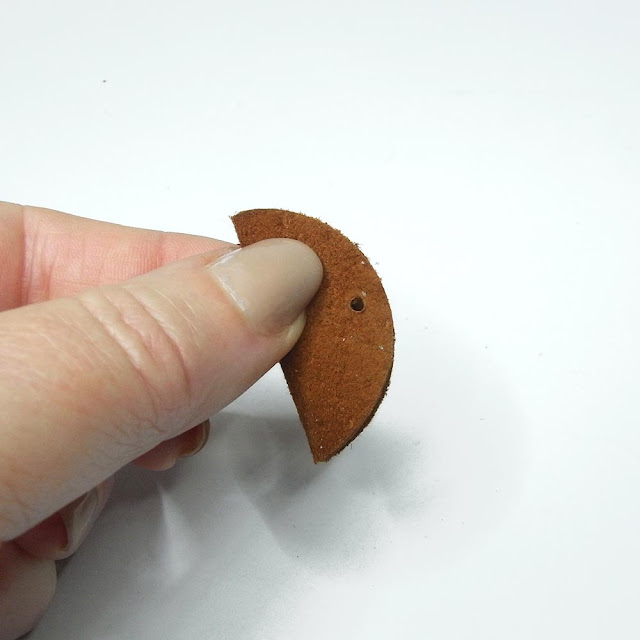
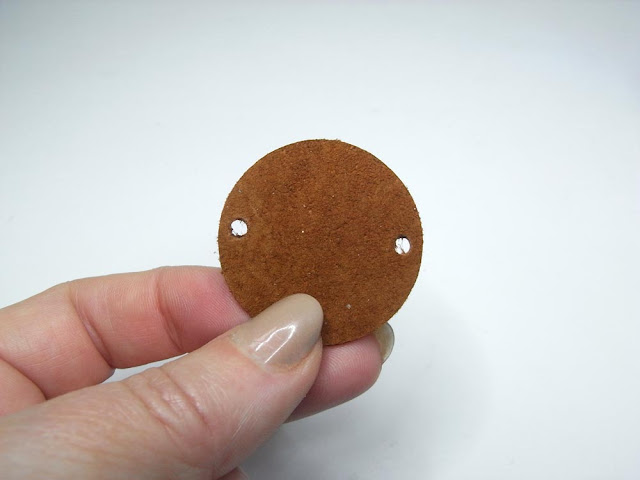
These circles already come with a hole punched in them but this project calls for two holes, so fold the brown suede circle in half with the hole centred.Line up the punch with the hole. The top edge of the punch should be positioned at the top of the existing hole. This will give you the perfect distance from the edge to attach the 6mm jump ring that will connect the next piece in the design. Punch through both layers.
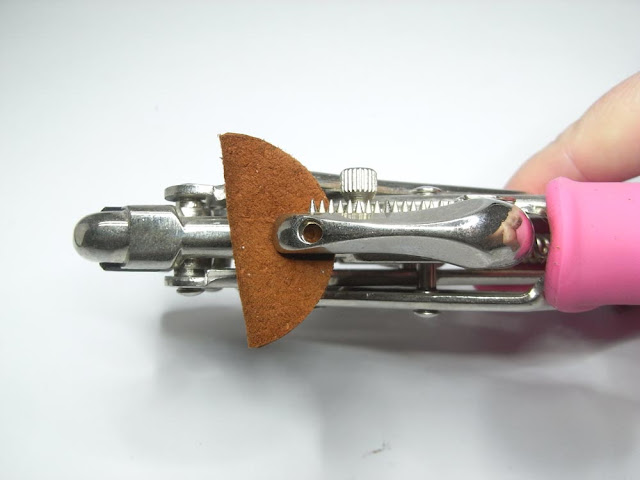
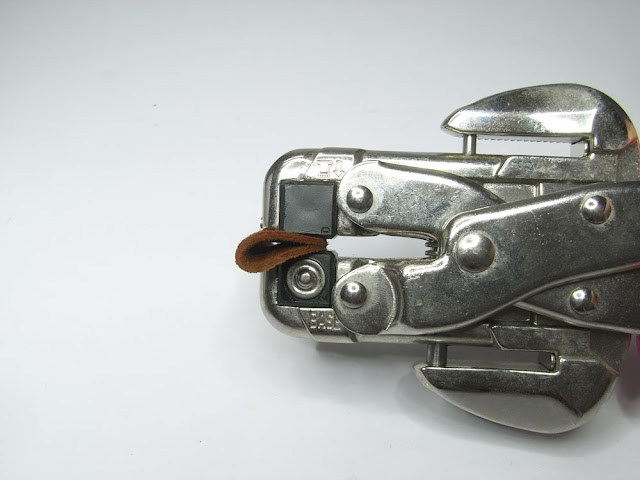
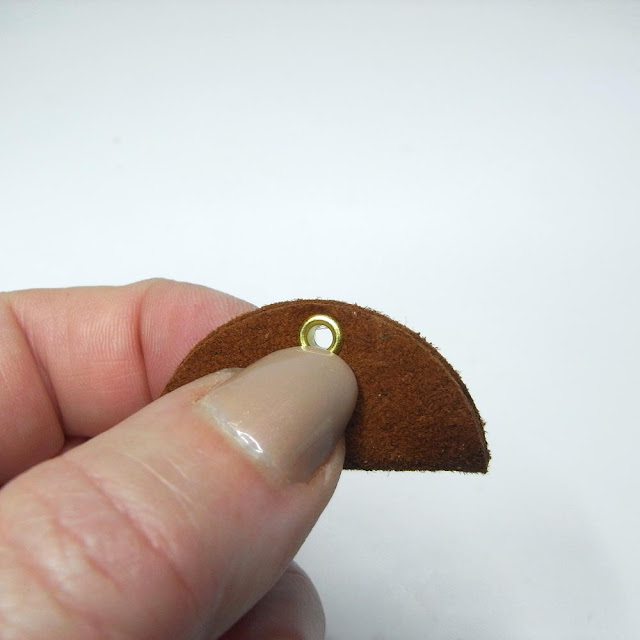
With the circle folded, align the holes and insert an eyelet through both layers. Position the circle on the eyelet setting platform and squeeze the handles to set it. You may need to give it another squeeze to make sure that the eyelet has gone through both layers but try not to over squeeze it or it will distort the eyelet.
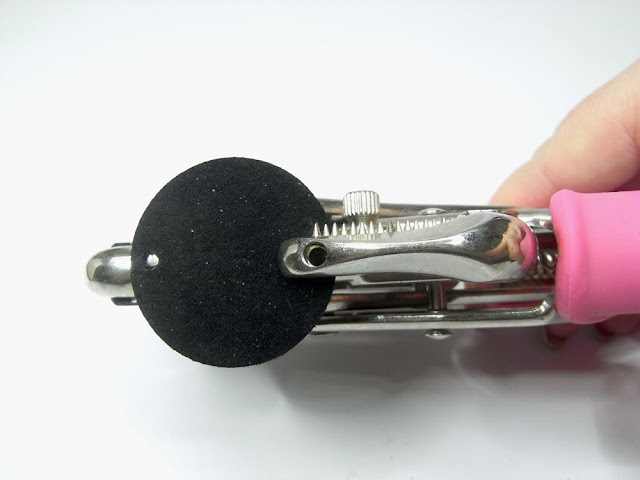
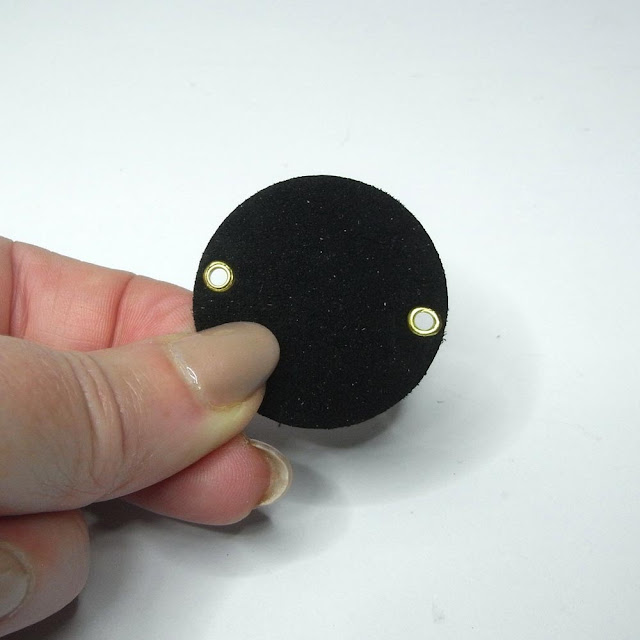
Repunch the hole on the black circle so that it fits an eyelet shaft and then punch a hole on the opposite side of the circle.
Place an eyelet in one of the holes and position it on the setting platform. Squeeze the handles to set it. Set an eyelet in the hole on the other side too.
Put the leather pieces aside for the time being whilst you work on the triangle charm.
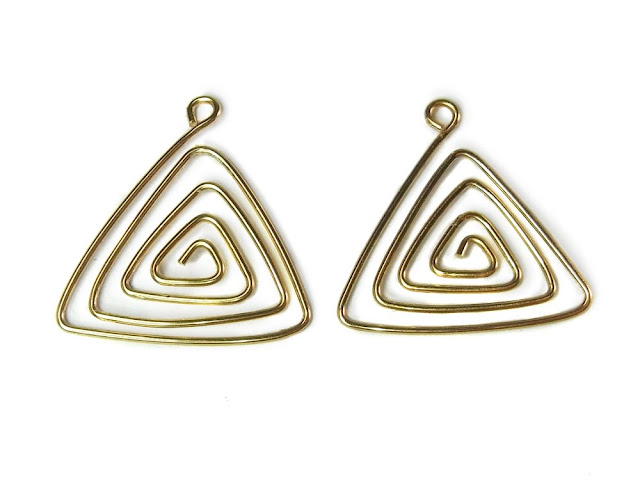
Make the Spiral Triangle
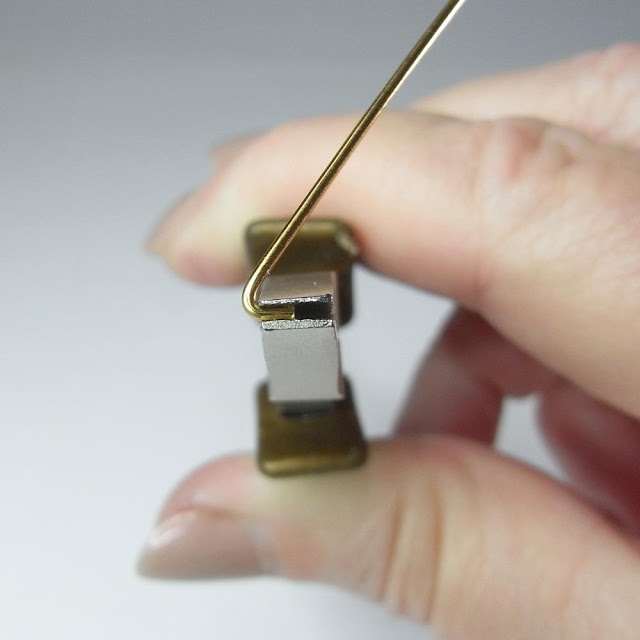
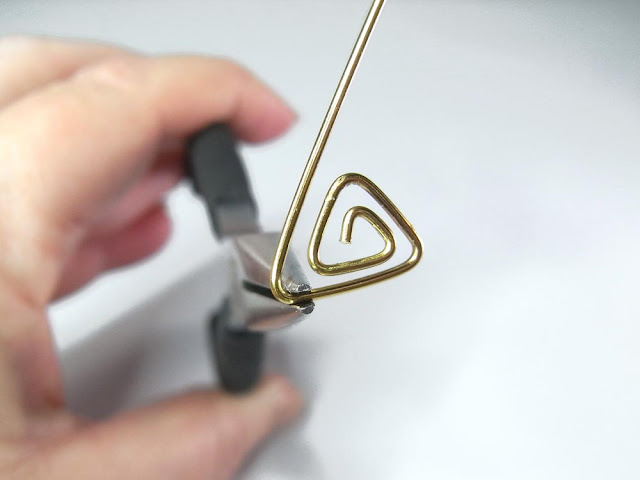
Cut an 8” piece of wire from the spool and then run it through the nylon jaw pliers a few times to straighten out the curves.Place the end of the wire in the middle of the tip of the flat nose pliers and bend the wire at a 60° angle.
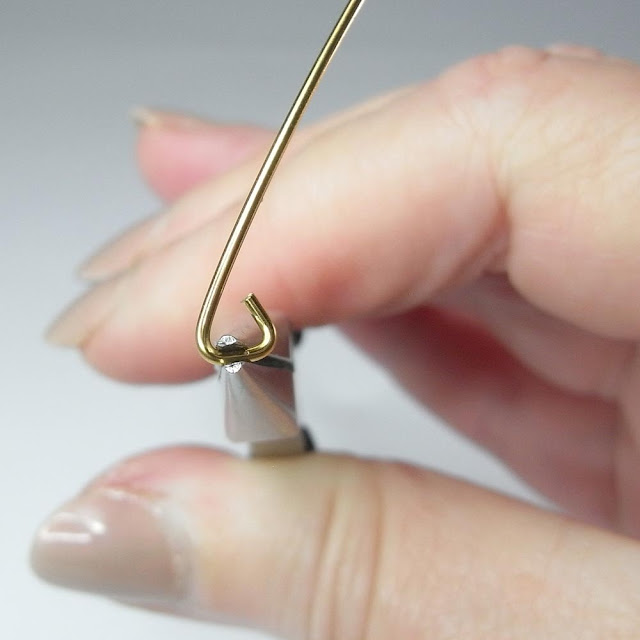
Switch to chain nose pliers to make the rest of the bends. Make another bend in the wire so that the first two sides are about the same length.
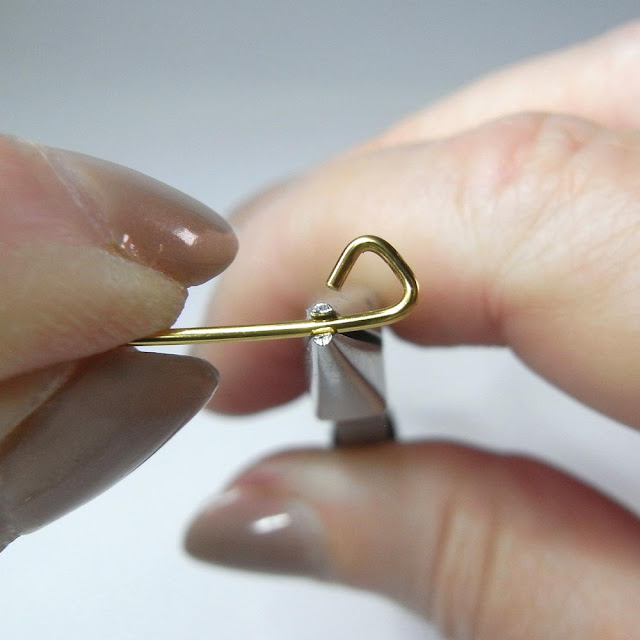
Bend the wire again to make the third side of the triangle.
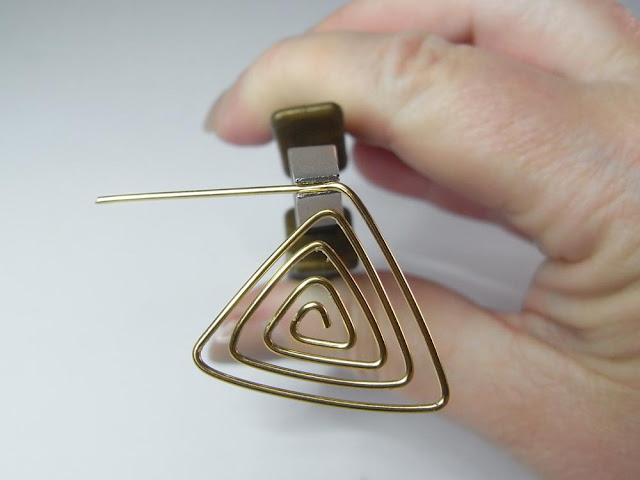
Once you’ve made the base triangle, continue making bends in the wire so that each successive triangle is larger than the one inside it.
Keep going until the triangle measures about 7/8” wide.
Grip the wire above the last point of the triangle and bend it sideways.
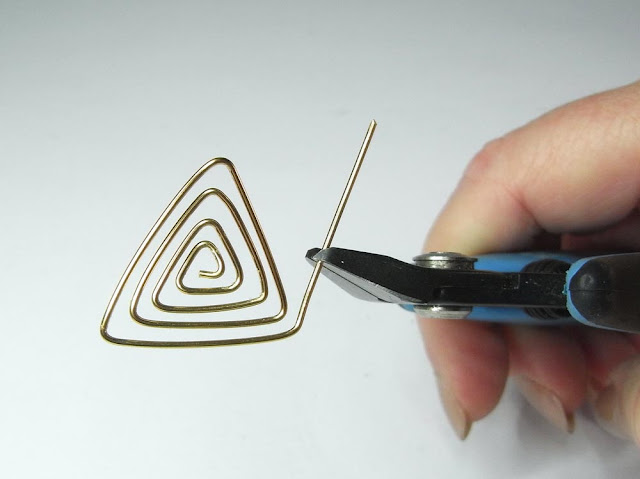
Trim the end to about 3/8” (10mm) with flush cutters.
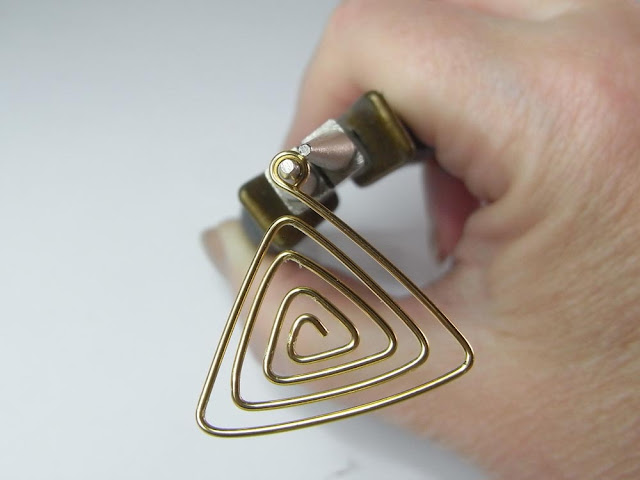
Switch to round nose pliers and turn a simple loop.
Make a second triangle using the first one as a guide for shape and size. Keep checking it as you go along.
It's OK if the triangles are a little different - it won't be noticeable when they're on opposite sides of your face!
Assemble the Earrings
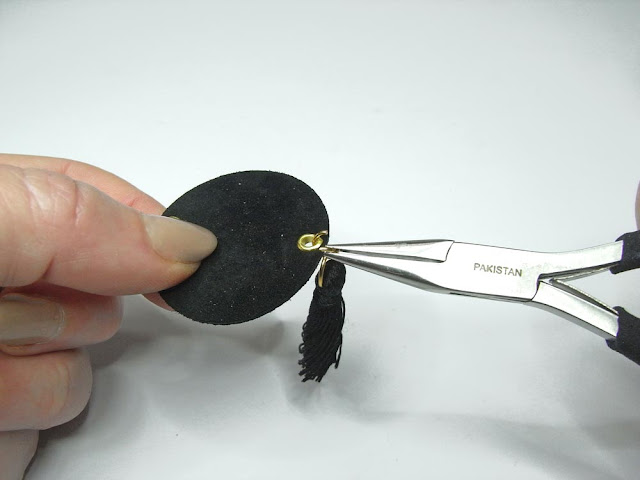
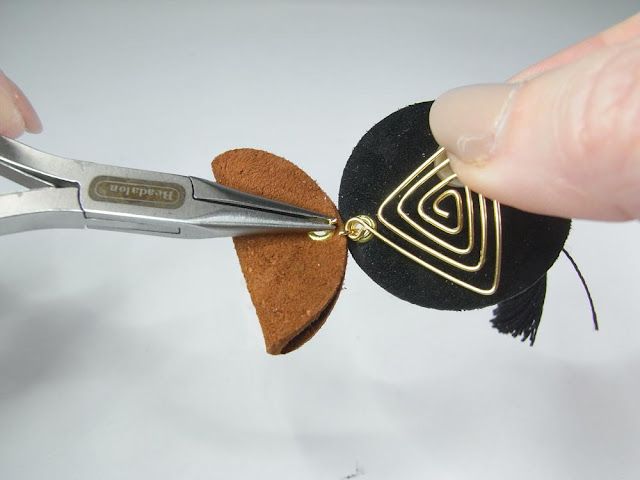
Open a jump ring and hook on the black circle and the tassel and then close the jump ring again.Open another jump ring and hook on the top hole of the circle, the wire triangle and the folded brown circle.
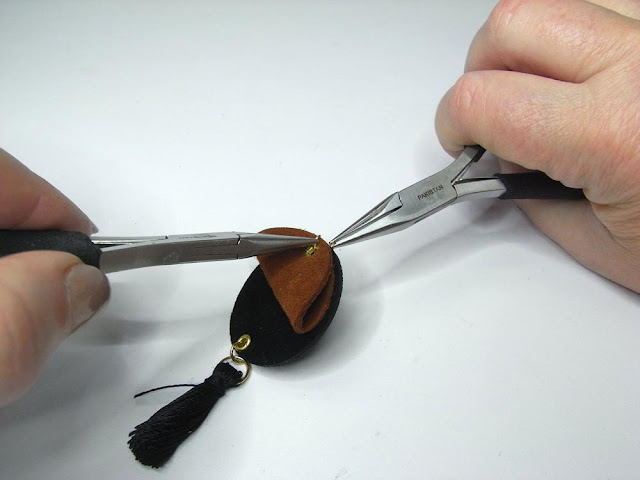
Then close the jump ring to secure all the pieces together.
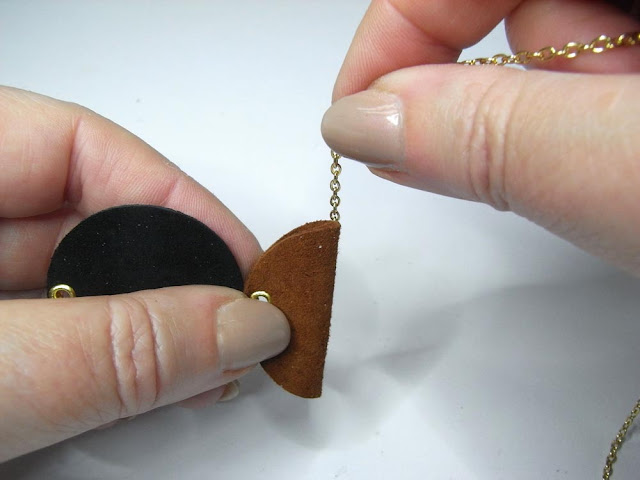
Drop the chain through the folded circle and pull it through the other side.
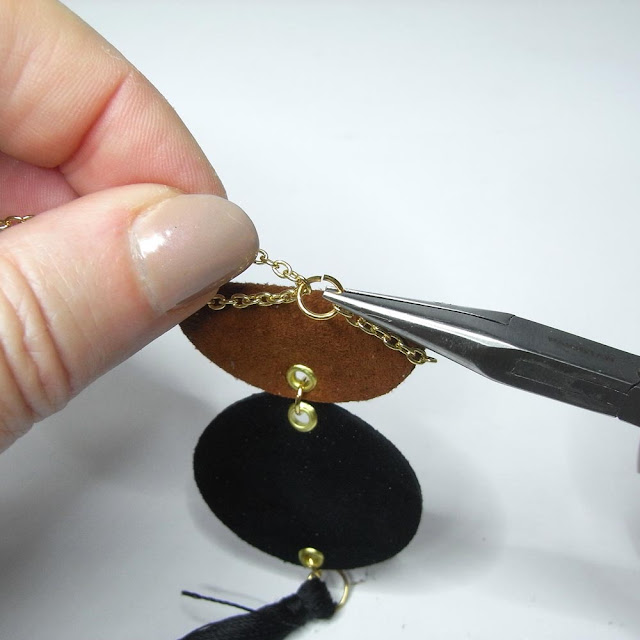
Then hook a jump ring through the end link. Pull the chain up to remove the slack and then hook it through one of the links of the chain. It should form a very shallow triangle.
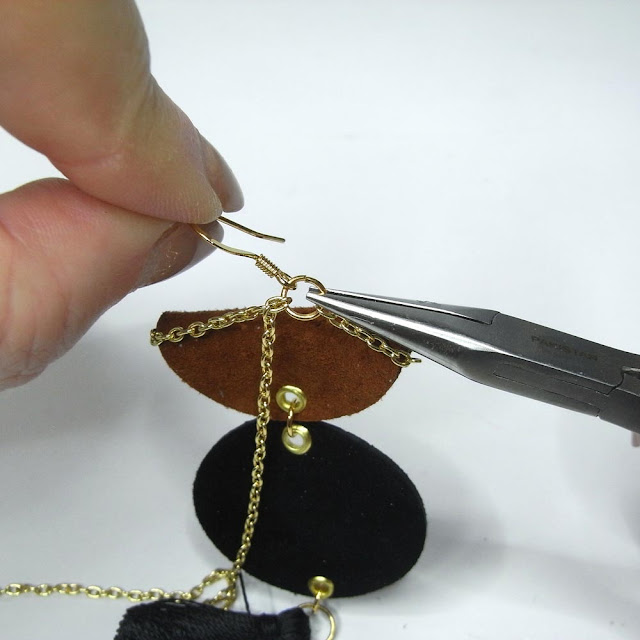
Add the earring wire and close the jump ring.
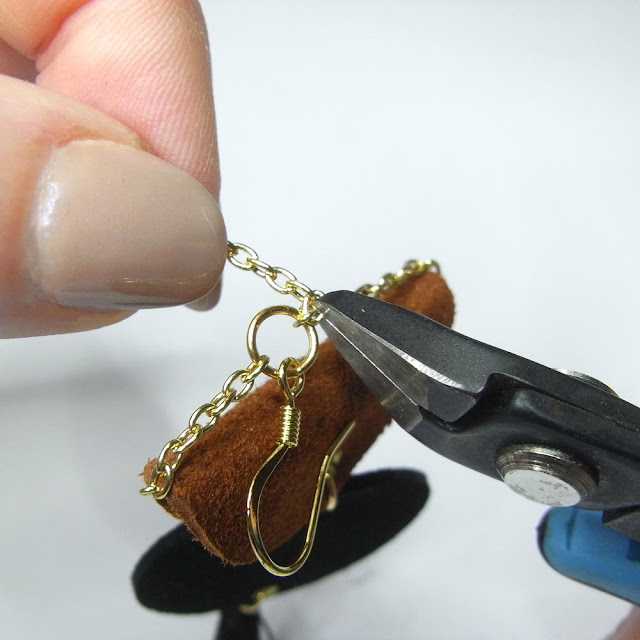
Carefully cut away the excess chain with wire cutters. Then, make up the second earring.
Whether you need to dress up a plain "T", add a touch of drama to your business wear or sophistication to a dinner date outfit, your geometric leather earrings are the perfect accent for your outfit. So wear them.... and show them off!
And then make yourself some more fabulous leather earrings using the other new shapes in the Realeather Jewelry Shape range. See the Realeather website for more tutorials.
Pin this Project!

If you can't get enough of My Tutorials and you want even more inspiration, click here to find my books and printable pdfs






No comments
Post a Comment