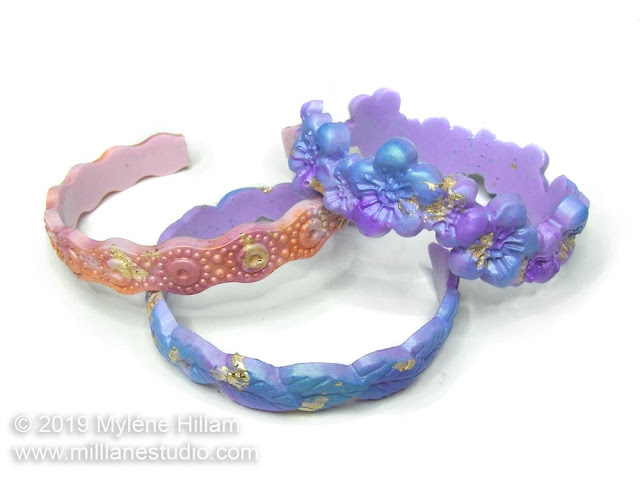
If you're new to resin and don't really know where to start, then these easy textured bracelets are a great project for a beginner to tackle. This simple project is a teaser for what you'll learn in Resin Made Simple online resin classes.
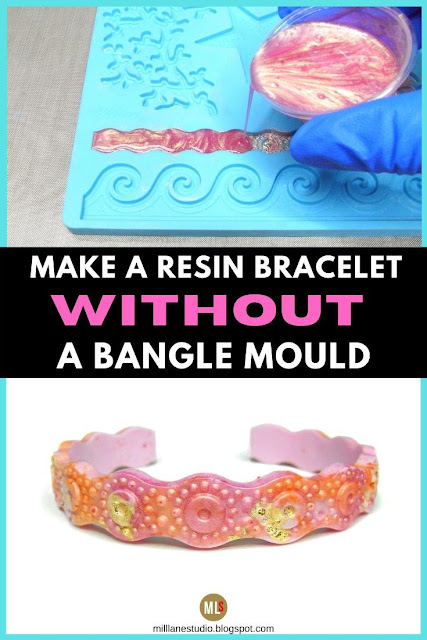
The beauty of these bracelets is that you don't need a bangle mould to make them. They're cast in a silicone cake decorating mould which you can find on Amazon or at big box craft stores.
These pretty bracelets are made with FastCast, a quick-curing white polyurethane resin that will give you speedy results so you won't have to wait around for 24 hours to demould your piece. You can measure, mix, pour and demould in under half an hour. So the trick to working with FastCast is to have everything ready at hand and to work quickly.
Here's what you'll need:
Pearl Ex powders: Pink Gold; Pumpkin Orange
Bracelet form (use one of your own bangles or cuffs)
Soft paintbrush
Wooden stir sticks
Permanent Marker
Elastic bands
Nitrile gloves
Prepare the mould
Keep in mind that once you pour resin into your food moulds, they should not be used for food again.
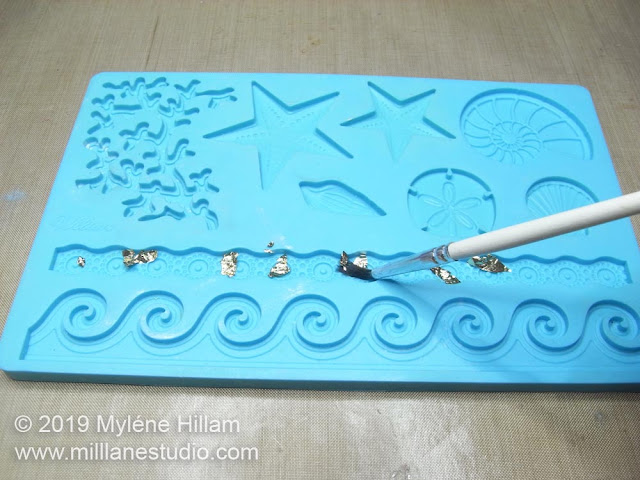
Break off several small pieces of gold leaf and gently push them into the mould randomly, using the brush to press it against the surface. Try not to fiddle with it too much or it will lift off the surface and then float in the resin.
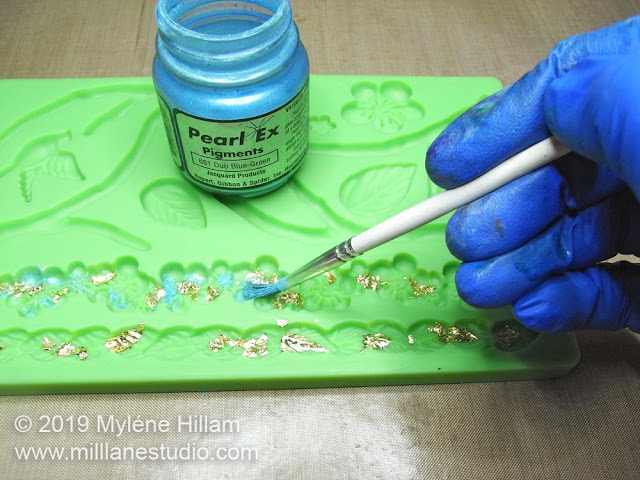
Gently dust the two Pearl Ex powders randomly in the mould. Take care not to dislodge the flakes of metal leaf. (I use pink and orange to dust the mould but I forgot to photograph this step so here it is in a different mould)
Mix and Colour the Resin
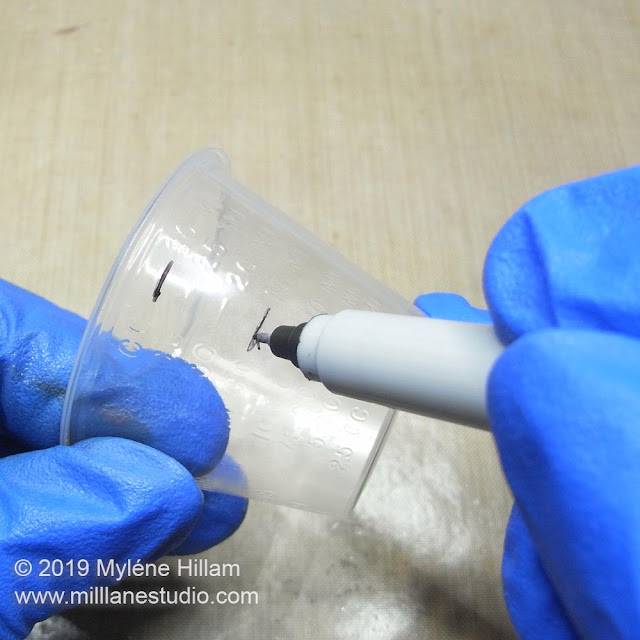
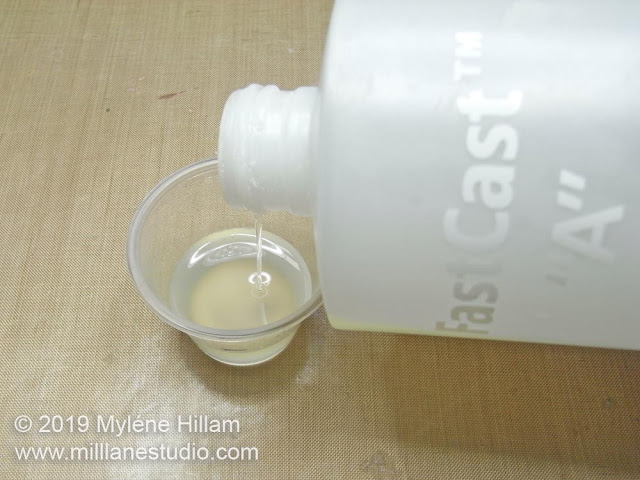
Place a mark at 15ml (1/2oz) and another at 30ml (1oz) on the measuring cup using the permanent marker. This will be enough to fill several other smaller pieces on the mould as well.Measure out Part A of the resin to the first line.
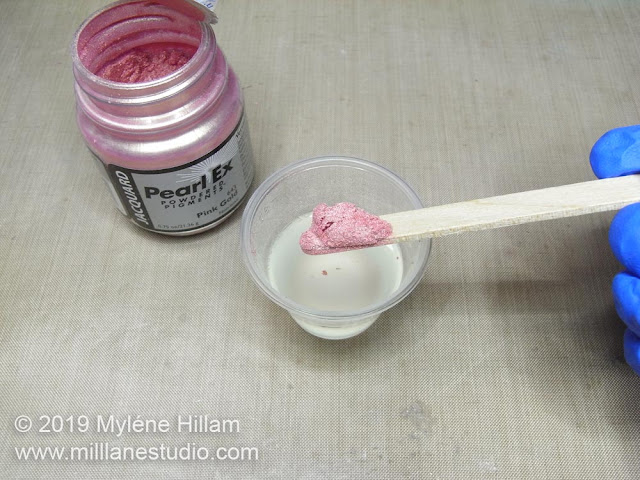
Scoop out a generous amount of Pink Gold Pearl Ex using a stir stick.
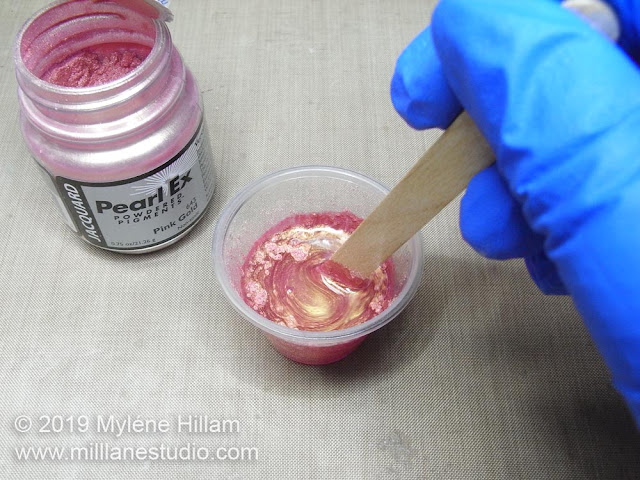
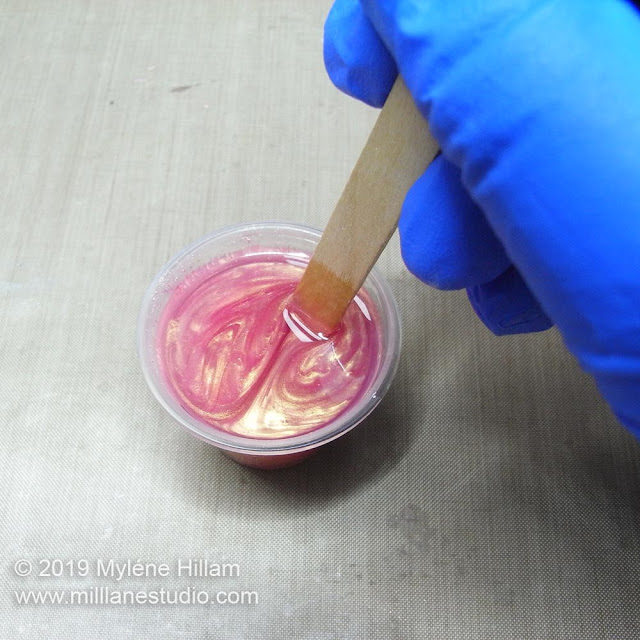
Mix it thoroughly through Part A until there are no lumps. At this point, you can take your time mixing the colour into Part A. It won't begin to cure until you add Part B.
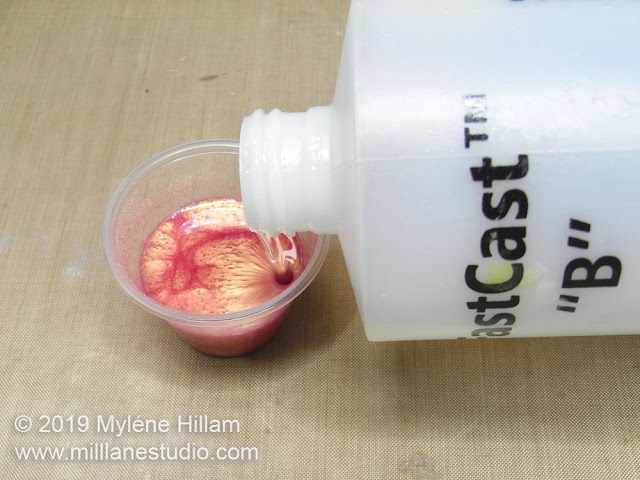
Measure out Part B of the resin into the same cup. Now the clock is ticking and you need to work quickly so that the resin doesn't cure before you finish filling the moulds.
Mix the two parts together THOROUGHLY for 30 seconds, scraping the bottom and sides of the cup. Pour the resin into a second cup and mix for another 30 seconds. You'll notice that the cup begins to warm up and this is an indication that the resin is already beginning to cure, so don't delay in pouring.
Pour the Resin into the Mould
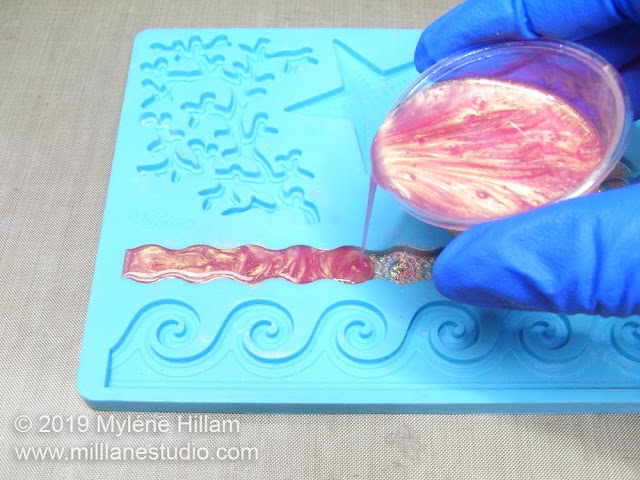
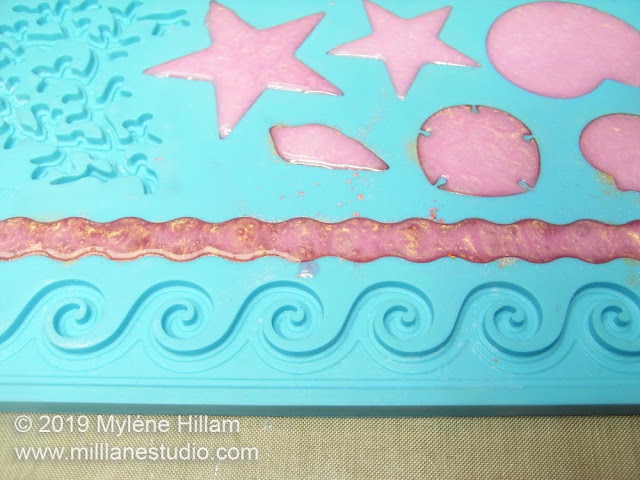
If you're able to, pinch the lip of the cup. This will make pouring into the narrow mould easier. If you can't, then keep a square of toilet tissue handy to wipe up the resin if it dribbles down the outside of the cup. Pour the resin into the wavy strip first. Then pour the rest into the remaining cavities.You'll notice that the pearly look of the resin changes to a solid opaque finish as the resin cures.
Demoulding and Finishing the Bracelet
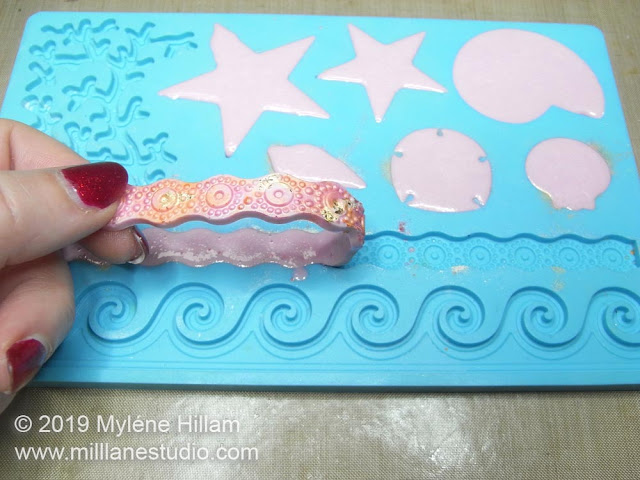
After about 15 minutes, you'll be able to demould the pieces. You need to do this whilst the resin is still flexible. You'll know if it's ready because it will easily peel away from the silicone. If it doesn't, leave it for a few more minutes and test again.There is no trimming or sanding required when you make a bangle using this method (unless you've had a spill whilst pouring).
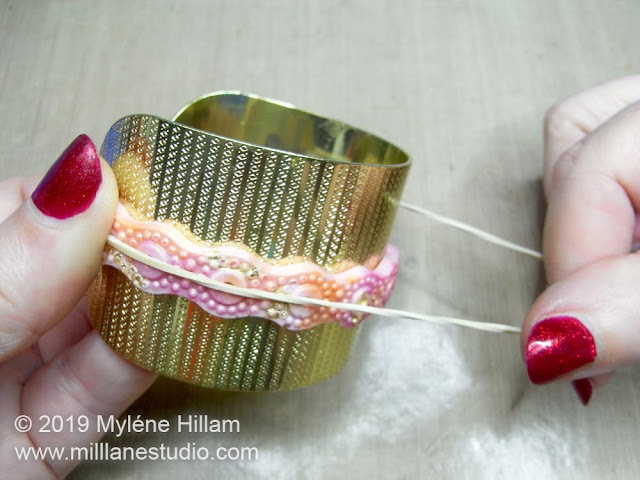
To turn the strip of resin into a bangle, place it around the bracelet form and secure it with an elastic band. Leave it for several hours to harden (I like to leave it overnight).
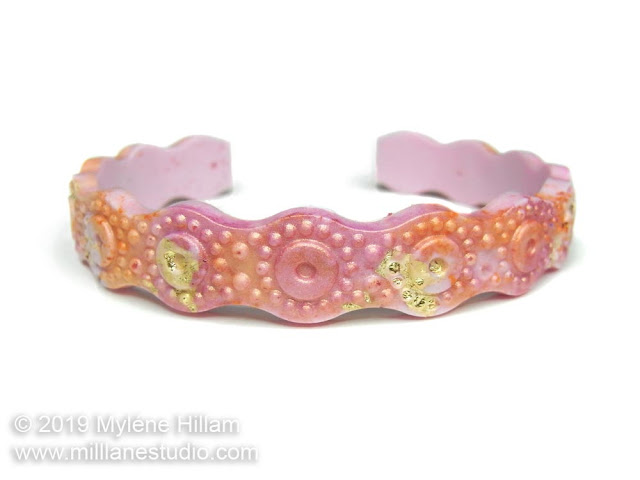
Once the resin has hardened, you can remove the elastic band and the bracelet will stay in this shape. And now, your bangle is ready to wear!
Learn how to make resin jewellery like a PRO. Come on over to Resin Made Simple and see all the classes you can take online to increase your skills and gain confidence in working with resin. Get expert tips from a resin master who's been working with resin for more than 12 years.
Pin this Resin Project!
'Til next time.....

If you can't get enough of My Tutorials and you want even more inspiration, click here to find my books and printable pdfs



No comments
Post a Comment