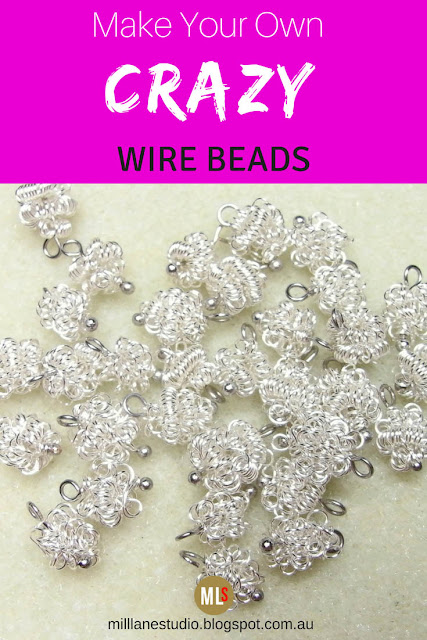
These Great Balls of Wire are made using the Coiling Gizmo. I've had this neat little gadget for quite some time but I hadn't used it before so this was the perfect opportunity.
To make your own balls of wire, you first need to create a coil following the instructions that come with the Coiling Gizmo. I've used the thinner mandrel and 28 gauge non tarnish silver wire for bright, shiny beads. It took about 3 metres (10 feet) of wire to make a coil the full length of the mandrel. From that I coiled about 7 beads.
Once you've made the coil, cut the anchor wire and slide the coil off the mandrel.
Unwind the first couple of coils and wrap the wire around a headpin.
Continue wrapping the coil around the headpin stretching it as you go.
Continue wrapping the wire back over itself.
This will help create a fuller bead with a rounded centre.
The bead should look something like this.
Now push the ends of the coil together squeezing the wire coils into each other. This will help make a firmer bead. You can also reshape the bead a little by pinching and rolling it between your fingers.
Use flat nose pliers to turn the headpin at a right angle. Trim the headpin to approximately 8-10mm.
Use the round nose pliers to turn a loop and the wire ball bead is ready to be incorporated into your project.
And here it is amongst all the pretty AB beads on my beaded chain.
Now I'm much happier with the way it looks.
If you'd like to make your own Great Balls of Wire, you can download the printable pdf version from the tutorials page at Mill Lane Studio.
Now, it's back to the production line for me - there is still much to do!
Pin it for later!
'Til next time.....

If you can't get enough of My Tutorials and you want even more inspiration, click here to find my books and printable pdfs


No comments
Post a Comment