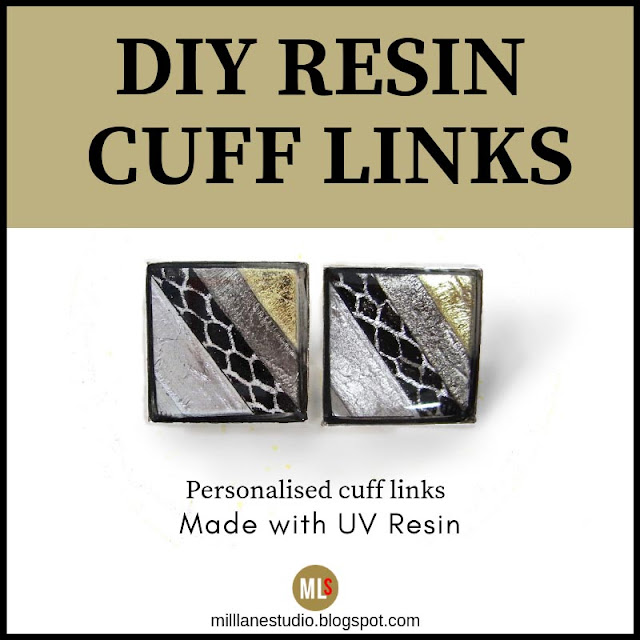
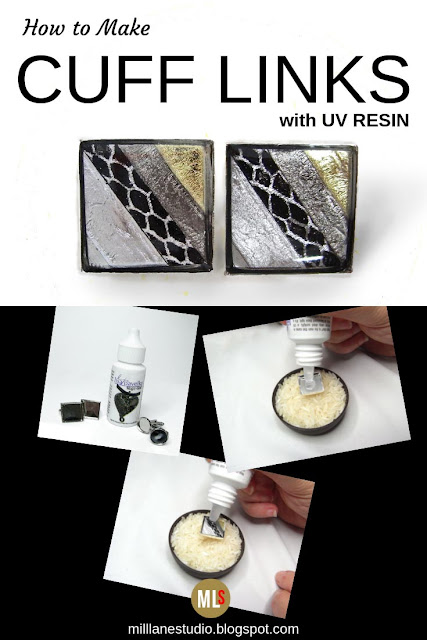
This is a really easy project, once you've decided what to embed in the resin. If you're looking for ideas on what to put in the cuff link bezels, take a look at this post which shows you three different looks to try.
If you want to create Friendly Plastic cuff links like mine, then visit Jen Lowe's blog for a great video showing the Fracture and Fusion technique.
Here's what you'll need to make the basic cuff links:
- Pair of silver plated cuff links: square or round
- Item to embed in the resin
- Magic-Glos UV resin
- Dye based ink pad (any colour will do)
- Scrap paper
- Utility knife
- Ruler (If you're using Friendly Plastic, use one with a cork back so it doesn't slip. See a tutorial here for how to make your own)
- Tim Holtz Tonic Scissors (to cut the Friendly Plastic)
- Paddle pop stick
- UV 9-watt lamp
- Small, deep lid (a coffee jar lid)
- Rice or sand
- Gas or BBQ lighter
- Double sided tape
Create a Template to Fit your Cuff Link
If you're using a photo or Friendly Plastic in the base of the cuff links, you'll need a template to use as a cutting guide.To create the template, press a cuff link into the inkpad and then stamp it on scrap paper. You can clean away any ink left on the bezel with rubbing alcohol.
Cut it out using the knife and ruler, keeping the paper intact to become a negative frame. This will be helpful if you're using an image (or a piece of Fracture and Fusion Friendly Plastic) as you'll see later on. Trim the four sides a little more so that it fits inside the cuff link bezel.
Test that the template fits.
I'm working with a fused strip of Friendly Plastic that I had left over from some other projects. You can see those here and here. It's a really good idea to make up a strip larger than you need so that you can use it in multiple projects. It's even better when you're pressed for time and you have these on hand and ready to go (like on Christmas Eve when you need a quick last minute, but very eye catching gift! 😉)
Seal Photos and Images
If you're using paper or a photo instead of Friendly Plastic then you need to seal it so that the Magic-Glos doesn't wick into the paper causing discolouration. A word of warning: Don't use Mod Podge with Magic-Glos as it is not compatible. Instead, seal the paper with Translucent Liquid Sculpey and follow the baking instructions on the bottle.Place the negative template over the Friendly Plastic or image and move it around until you like what you see in the frame.
Place a piece of double sided tape on the back of the square template (the piece you trimmed to fit the bezel) and centre it inside the negative frame. Remove the frame and then cut out the square. You can use the Tonic scissors or the ruler and knife. I preferred the knife because you get a cleaner cut, but it takes a lot of passes with the knife to cut all the way through Friendly Plastic.
Cut a matching square and check that they both fit inside the cuff links.
Pour the Resin in Layers
Support the cuff link in the small bowl of rice or sand. Squeeze a blob of Magic-Glos into the centre of the cuff link and then spread it out to the edges with a paddle pop stick. Place the square of Friendly Plastic over the Magic-Glos.Squeeze another blob of Magic-Glos into the centre of the Friendly Plastic and then spread it out to the edges. You need enough to completely cover the Friendly Plastic. If there are any bubbles in the resin, pass the BBQ lighter briefly across the surface to pop any bubbles. Make sure you keep the flame moving at all times so that the Magic-Glos does not catch alight. If bubbles keep returning after you've popped them, it means you don't have enough resin underneath the Friendly Plastic. Just add some more.
You can create the second cuff link at the same time. Place the container under the UV lamp or in direct sunlight (i.e. not behind glass) and allow to cure for approximately 10 minutes.
You will need to top up the bezels with a second and third coat until you achieve a nice dome. Cure in between each layer. And that's it!Present them in a Gift Box
For a really professional finish, present them inside a cuff link box. Chances are, the recipient won't guess that you've made these yourself, so why not add a little "handmade by me" tag to the back of the cuff links.If you'd like to print off this tutorial, you can download a pdf version from my website, Mill Lane Studio.
If you're looking for ideas for personalising cuff links, see this post:
Resin Cuff Links - Jewellery for Men
Pin this Project!
'Til next time.....
If you can't get enough of My Tutorials and you want even more inspiration, click here to find my books and printable pdfs


No comments
Post a Comment