I've already made my bracelet and knotted off the cord ends to keep them in a neat bundle. Form the bracelet into a circle with the ends overlapping. Take a length of cord about 20cm (8") long and hold it about 4cm (1 1/2") from one end. Place this along the bundle of cords.
Hold it under the thumb of your non-dominant hand and with your other hand, begin to wrap it around the bundle of cords including the cord you laid down in the previous step.
Continue wrapping the cord around the bundle loosely, working back towards the cut end of the wrapping cord. Make about 4 or 5 wraps.
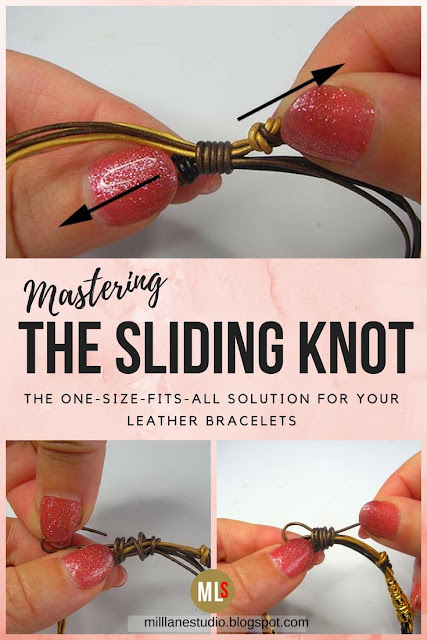
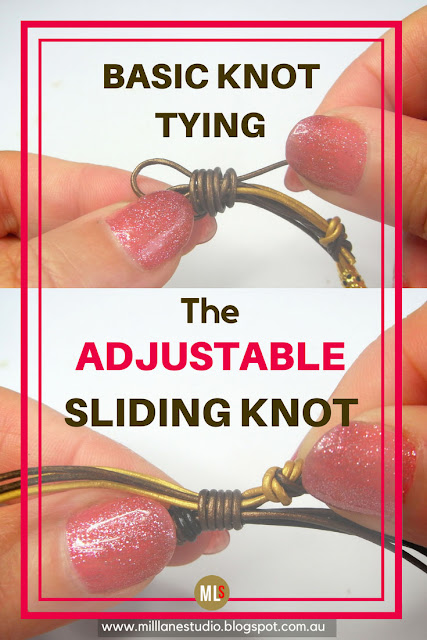
Thread the tail back through the coil you've just created....
and pull it back out at the first coil.
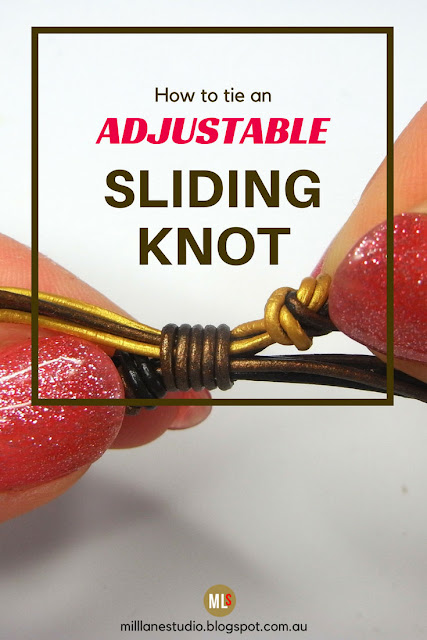
Next, adjust the coil so it sits neatly and pull both ends of the cord in opposite directions so that the knot is secure.
Trim away the excess cord close to the coil.
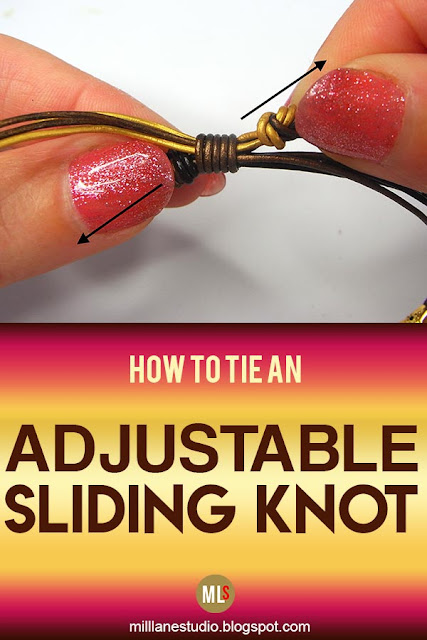
To tighten the bracelet, just pull the two knotted bracelet ends in opposite directions.
To loosen the bracelet, grip the bracelet cords (not the knotted ends, but the bracelet itself) next to the coil and pull them - they will slide through the knot making the bracelet larger.
And there you have it! A really neat way to finish a bracelet with no cord ends and no clasp!
See this related post:
Beaded Kumhimo Bracelet with Sliding Knot
 |
| Add caption |
'Til next time.....

If you can't get enough of My Tutorials and you want even more inspiration, click here to find my books and printable pdfs


No comments
Post a Comment